Sunday 29 January 2017

The Battle for Horn Street : Operation Sealion

To recap the Germans are pushing inland from the coast their objective to capture and hold the main road A20 into Cheriton and Folkestone. The detials can be found here   The Battle for Horn Street. (Hopefully I have learnt how to do links now? ) We are still on S day (invasion day) 14th July but by now moving into the afternoon. Initial beach heads have been secured and a strong Element of German infantry supported by Panzers are joining up with a Fallschirmjager company who have already advanced to St Martin's church. The scene is set.......

The Germans advance straight up Horn Street having scouted the area they have not found significant resistance, presumably this is why the German Oberleutnant has sent the Fallschirmjager down the road in advance ? They are followed by the might of newly arrived Panzers
A better shot of the full scale german advance, an armoured Sdkfz 222 and a PanzerJager I have taken up a position on the hill to provide covering fire whilst the infantry and armour negotiates the railway cutting.
The Germans have placed an observer unit in the church to call in Stuka support if needed
The plucky Brits aren't going to let the Germans have it all their own way ! Infantry from the 8th and 9th Royal Fusiliers is rushing up to defend the road, they are supported by the 113th Field Artillery who even at this early stage have managed to bring two 25lbrs and a 2lbr anti tank gun to the area, these have been hooked up to Bren Gun Carriers who will also hopefully get stuck in.....
The field artillery are entering the battle from the north driving past Danton Farm the A20 in the distance
With church bells being rung all over the area the Home Guard are out in force, squds from both the Folkestone and Cheriton Home Guard have rushed to the area in delivery vans, they jump out and immediately run into the cafe ? Hopefully not for tea and scones !
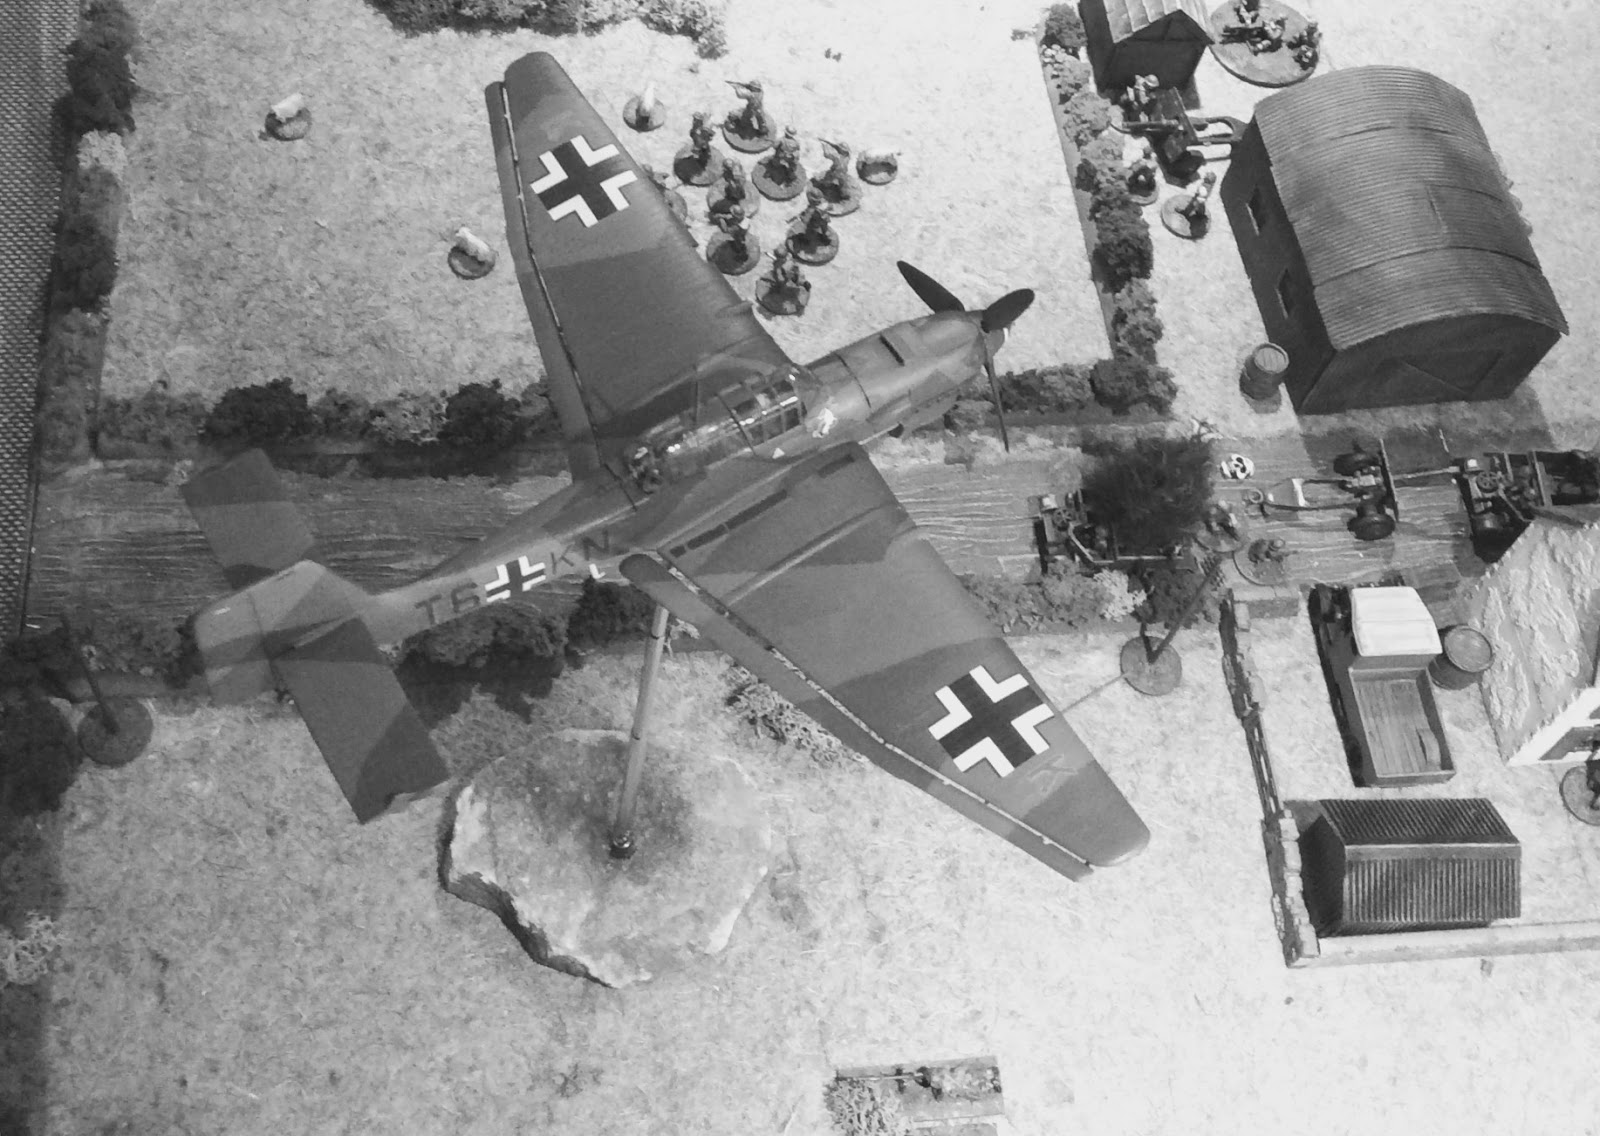
Seeing the advancing field artillery from their vantage point the German air observer calls in a bombing run, hearing the wailing from the Stuka the crew jump for cover but the leading Bren Gun carrier is blown to pieces, the gun is ok but the road is now effectively blocked and it will take some time before the field artillery can deploy.....if only they had used the main roads !
Meanwhile in the south the German blitzkrieg trundles on....in the foreground they have a Fallschirmjager 80mm mortar crew who begin to lay down smoke to support the attack........textbook stuff...but will it work ?
More Fallschirmjager have made it into the railway cutting, whilst vehicles clearly can't cross other than the bridge infantry appear to be able to advance through, the steep sides giving plenty of cover but preventing them from running.
Finally the artillery is getting itself sorted but the farmer has parked a van in the way so it takes a turn for one of the crew to move this out the way
The cavalry arrive.......we'll some of it the 8th Royal Tank Regiment have entered from the west down the A20 and immediately engage the advancing enemy, their tanks are dated compared to the German Panzer IV but the 2lbr guns they carry pack enough punch. The Matilda is virtually immune to anything the Germans have but the A9 is made of fairly thin tin !
The Germans have wheeled artillery up to the hill as well Pak 36 and a 75mm light Gun, when they see the Home Guard taking up defensive positions these start to shoot into the buildings of the right (the edge of Cheriton) 
Why the allies didn't blow the bridge I don't know the Panzer II is the first armour across, whilst the leading Fallschirmjager make a heroic charge up Horn Street itself.
Some of the British infantry seem slow to get in place more bothered about the farmers livestock....whilst the Germans start shooting into the town !!
The road block cleared the final antitank gun can be moved up and deployed
A welcome sight over head a Gloster Gladiator from Biggin Hill mainly on a reconnaissance flight over the beaches ensures at least some of the German infantry keep their heads down, whilst the machine guns it carries are very noisy they have little real impact.
The Germans are laying down smoke across the fields to limit visibility, but the British have managed to knock out the Panzer II which can be seen running by the bridge the PzIV has simply pushed it out the way and driven straight down the street. The smoke is hampering the artillery getting a clean shot.
Fallschirmjager are now pushing into the fields....across the cutting 
Having stayed too long over enemy lines eventually the Gladitor takes a hit and has to head away from the battlefield hopefully he can make it to Hawkinge  or Lympne airfields ?
Surrounded by smoke the Fallschirmjager are dug in but pinned down to the west
There has been fierce hand to hand fighting in the terraced houses on the right, not surprisingly the Fallschirmjager forced the home guard to flee, but at a critical strategical location the British have also sent in troops to take the house back......the house changes hands about four times in the battle.
The view down Horn Street the 38(t) which has held back starts to move up to the bridge 
The allied artillery which now has a great position is hampered by smoke......shaken but the early morning rush, the Stuka attack and the prospect of the German invasion being a real event not just a rumour they are almost unable to hit a single target !!!!
Whilst hand to hand fighting takes place in the buildings the PzIV has made it to the cross roads looking now for more targets....the armoured 222 has turned down the A20
With a flank attack the A20 repeatedly fires at the Pz but is unable to score a knock out hit
More infantry across the railway cutting
Not quite sure of their orders the Matilda pushes forward to try to secure the bridge
The German artillery 'park' on the hill is relentless firing into the town, luckily the Panzerjager is not on form and as the most power unit on the battlefield it has limited success....no medals for them.
The German infantry are right up to the town and assault one of the Bren Gun Carriers luckily they are repulsed but things are looking grim for the allies
The A20 is blocked by German armour, the Matilda in the fields is finally able to knock a track off the PzIV immobilising it, but it is still able to fire and I am sure german enginees will soon have it fixed. The Bren Gun carrier has nothing powerful enough to impact the armour so is holding back.
The 38(t) and the Matilda fight it out in the fields but German numbers are building up around the road junction, the German Oberleutnant can be seen in the distance, by the washing line, setting up a german road block.

A final shot of the battle from the church roof. The Germans have achieved their objective to cut the road, their is still resistance in the west where the British infantry have the Fallschirmjager pinned down, the Matilda and the A9 are still fighting, but it is only a matter of time before they will be outflanked and forced to retire. The Germans can now turn their attention to Cheriton and Folkestone itself the prize being the Harbour.

A couple of notes about the battle. Firstly it was tremendous fun so thanks Martin for a great day, a game played in perfect spirit. The British artillery was utterly useless all game but then so was the German ? Barely a hit between them this was reflected in the fact that only one tank the Pz II was actually knocked out. Medals on the German side go to the heroic Fallschirmjager who charged alone down the road to take the objective, at this stage they were unsupported and were eventually killed to a man but it took a lot of British resources to get them out. On the allied side the Homeguard on the far side on the battlefield, were under repeated attack throughout the battle but held on and held on, until they were forced by a random event to retire from the field....this is what made Britain great and bodes well for future battles 'B' company  from the Folkestone Home guard will from now on play as veterans. We had many memorable moments one which sticks with me being the British Mortar team running into the cafe only to find it had already been taken by veteran  Fallschirmjager......mistake ! We also learnt a few things about big battles and 20 plus dice each is a little too big....but I just kept adding units. More to come and I am running a Sealion Demo game at Dumfries so a bit of planning to be done 😀

Saturday 28 January 2017

Blood in the Sand : Retreat to Olynthus

After the battle of Actae the Chalcidian army was forced into a rapid retreat. General Kyknos lay dead on the field whilst General Triptolemus the Mygdonian leader celebrated his success. He was drinking heavily with his close friends and officers when the news  was brought to him that rather than dispersing in disarray elements of the Chalcidian army had regrouped. Spilling his wine as he lept to his feet he ordered the advance guard to chase them down immediately. His plans had been to spend a couple more days celebrating and then take the good news back to his king to receive what he hoped would be a trophy statue set up in the famous Mygdonian hall of warriors, his fame and future name secured in marble. Now as he stumbled to his horse he faced the prospect of shame and disinheritance for allowing the Chalcidian dogs to escape. Threading to kill any man who stopped in the chase he relieved himself against his horse and then clambered into the saddle.......

After two days and nights of hard chasing the falcon had its prey in its sights. The rear guard of the Chalcidian army, now under the command of Nikeratos a seasoned captain had been cut of close to the village of Paphasa. This would be the last chance on the retreat to Olynthus for Triptolemus to cement his victory as beyond the arid flats land around Paphasa the Chalcidian peninsula was protected but fortified villages and towns.

(An opportunity then to play a small game using Lion Rampant rules, 28 points each side, one slight modification allowing the better trained Hoplite Phalanx's to move albeit slowly even when formed up, we played the hammer an anvil scenario straight from the book 😀 the battle clearly took place at dusk as the photos are a bit dark !)
General Triptolemus and his Royal Companion Cavalry gallop forward, he had hidden two units in amongst the rocks by the village, the Archers and some slightly untrustworthy Galatian mercenaries. In the distance the Chalcidian rear guard immediately realise they have been trapped, with forces in front and dust clouds appearing behind them (the scenarios forces the blocking force to split its army into three and some has to be brought on behind the enemy from turn two)
A better view of the village, the Chalcidians are looking to force a way through on the west whilst pinning the Mygdonian light troops with light cavalry.
Chalcidian light cavalry, Hoplites and Slingers moving through the village. What you can't see is the unit of Mygdonian Royal Cavalry which having charged on behind rolled a terrible 'double one' and fled the field, the general will have them flayed if he catches them😡
Meanwhile the Galatians, very noisy and smelly are demonstrating at the light cavalry but the cavalry are too clever to be caught
The General has seen the risk that the Chalcidians will escape down the flank and brings his heavy cavalry across....
Only to see the lighter cavalry scamper past....(the objective for the Chalcidians is to get as many units as possible over the battlefield)
The risk now is on the other flank, so whilst the archers hold the centre ground Triptolemus brings his cavalry across the other side.
Again the light cavalry using its greater speed is able to scamper past off to safety, the infantry however, is much slower and the Royal cavalry charges wildly into battle, despite taking significant casualties the spearmen and leading Hoplites are beaten and scattered.
The battle still in the balance is turning the way of the Mygdonians and Nikeratos is forced to pull back to a low hill outside the village.
The hill of the last stand.....which has ever since been called the Hill of Nikeratos
Rather than waste his own valueable troops Triptolemus sends in the smelly Galatians and the poorly armed Slingers are no match.

Finally then the battle was up only the light cavalry had been able to escape and General Triptolemus was happy that he could now return to Mygdonia a celebrated hero, only the Blood in the Sand remained where the carnage of battle had taken place. Of course with this level of open hostility it would only be a matter of time before King Laertes III would be looking for revenge.

Thursday 26 January 2017

The Battle for Horn Street : Operation Sealion

The German Wehrmacht officers have climbed to the top of St Michael's church to discuss the best plan of attack with the Fallschirmjager Oberleutnant. From this vantage point they can see down Horn Street, over the railway bridge right up to the junction with the A20 and the outskirts of Cheriton to the East. Whilst they can see very limited activity in the area they know their task is to take and secure the road junction to prevent allied troops using the A20 to reinforce Folkestone, allowing the Fallschirmjager dropped earlier in the morning to take the harbour with only a limited fight. It is obvious from this position that their main challenge will be getting enough troops across the railway cutting before the allies can reinforce the road junction.....as they look over their shoulder they can see in the sky the familiar outline of Stuka's which they have called in to delay any allied troops reaching the Area........as they climb back down the tower they are quietly confident 😀

Age of the Wolf Campaign : Battle Two

Our second battle in the SAGA Age of Wolf campaign saw the Anglo-Saxons raiding against the Vikings, this seemed like an unlikely situation but we had randomised the campaign actions for each faction. The Vikings had chosen to stay at home and recruit more troops. Luckily the campaign system allows unequal forces to recruit more mercenaries to make up the numbers. So the Saxon Lord Cuthred was able to hire a unit of mercenary Carologinian warriors lured by the promise of Viking loot.

We rolled up a random scenario and the Saxons are looking to ambush a Viking baggage train carrying  illgotten gains back to their home village. With fairly limited terrain, quite small warbands and a narrow 3 foot battlefield this led to quite a tactical battle with neither side wanting to jump to the attack too soon.

The Vikings led by Ivar Sveinson have detected the Saxon ambush and formed up desparate to protect their booty, which is being carried on the two ponies and the wagon, these act as separate units and gave the Vikings a good advantage of extra SAGA dice and mobility.
The Saxon ambush is sprung, Cuthred sends the Carolinian mercenaries out to the left to try and flank the norsemen, but they are blocked by Ivar Hearthguard. The baggage train immediately sets off to the left.
Cuthred initially holds back his forces choosing to shoot with his bowmen...but they are fairly ineffective to start with
The Carologinian mercenaries rush down the left
I seem to have missed a few photos here n all the excitement, the hearthguard and the mercenaries all but wiped each other out so the battle focussed around the central gap between the woods. Cuthred urges on his Bodyguard...but both leaders are reluctant to commit all their Warband as the baggage remains tantalisingly close.
Cuthred calls up more warriors to attempt to break through but as the baggage slips away in the distance he quickly reorganises his band and rushes over to the left, this leaves the gap open and one pony is led away to safety.
Cuthred and Ivar face off at the gap the baggage can be seen slipping away in the distance.
Again a gap in the photos.....eventually with almost all the troops wiped out some of the Saxon warriors manage to get to the wagon...only to be spiked by the horns, turns out the baggage is way tougher than it looks.....careful play and extra dice from Ivar allow him to invoke the Norse god Loki and any Saxon units under a couple of men get wiped out !
Finally Cuthred himself faces off against two of the few remaining norsemen intent on cutting them down to get to the wagon, but he is now all alone and even a great warrior like him is vulnerable at the end of a hard battle, he is knocked to ground ...seriously wounded as the Vikings make their escape.

A clear victory for the Norsemen and the Saxons trudged home deafeated and demoralised, carrying Cuthred limp body. Luckily he was able to recover but with a serious long term wound. The Saxons will have to defend next campaign turn.

A good battle and the campaign has thrown up some interesting battles. The challenge with any of these systems is keeping it balanced as the Vikings rolled up some definitely advantages in the after battle round whilst the Saxons continuing their bad luck were struck by famine. We have then worked through the next campaign season and with the Saxons and the Normans both defending we only have one battle to play. The Danes will be raiding the Saxons......let's hope Cuthred can recover. More coments on Paul's Hobby Horse Blog.