The initial deployment after the first turn or so
Union 1st Brigade has to enter from their encampment, beyond them the 2nd Brigade
The Union 3rd Brigade entering by Cookesville Church
Rebel 3rd Brigade enters on one of the hills
Union 4th Brigade arriving from the other road from Cookesville, squeezed in by the stream they find it hard to deploy
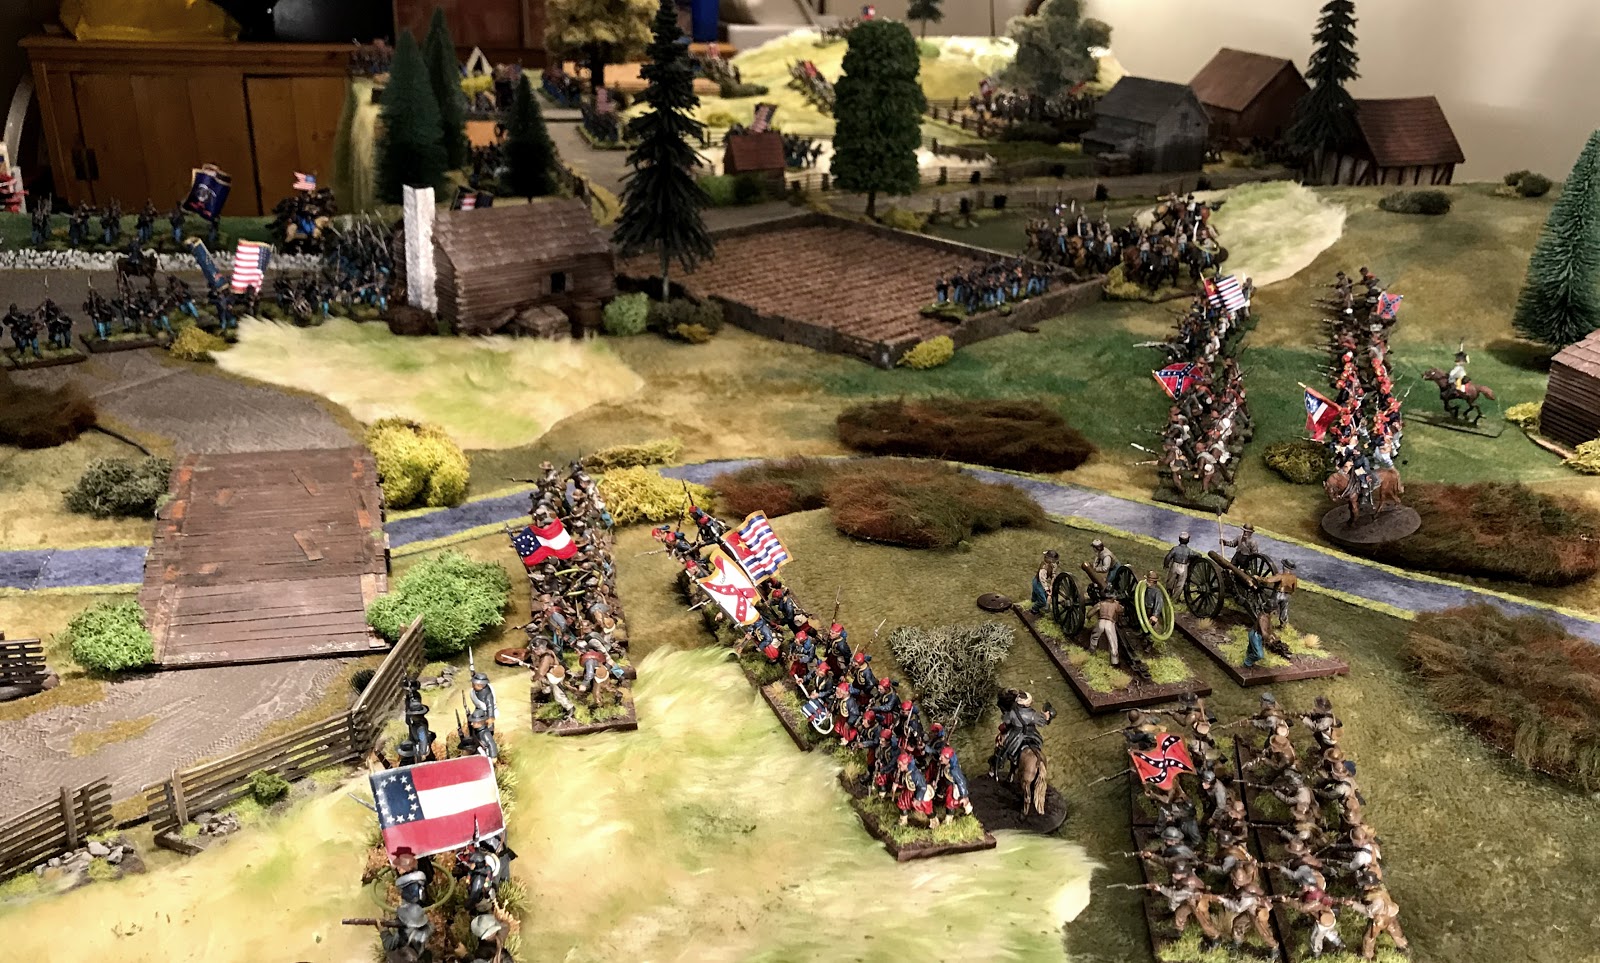
And come under immediate attack from the Rebel 2nd Brigade who have flank marched and deployed very quickly into line !
The Rebel 4th Brigade rushes forward from the woods
The Rebel 1st Brigade enters from around Martin’s Farm
Massed Infantry of the Union 2nd Brigade striding forward across the turnpike
The 2nd Brigade has a powerful artillery battery which sets up in the trees by the road
The Artillery from the Union 1st Brigade deploys in their camp to get into action as soon as possible
Ranks of Rebel infantry slogging through the muddy ploughed field (it goes without saying that with this number of troops deployment was a real challenge for both armies it was going to prove to be a battle of attrition)
The Union 1st push forward into one of the corn fields under cover of their guns who target Rebel forces on the high ground
The 2nd Brigade advance to the turnpike and enter the ‘Wheatfield’
Union 3rd Brigade having marched from the town choose to turn to the west to march towards the bridge
Eventually the rebels entering from the Wood (one of two Louisiana Brigades) advance beyond the log cabin
The flank attack has deployed with supporting artillery on the small hill, luckily for the Federals they can’t hit a barn door and barely score a hit all battle

An overview of the battle at this stage
The Union 1st Brigade with greater numbers looks to directly assault the high ground, but the rebels are particularly hard to shift
In the centre the Louisianan’s have formed up and chase off the pickets to secure the ploughed field
Union 4th Brigade makes very slow progress, unable to deploy properly they get very bogged down
The battle enters a period of ferocious exchange of fire across the whole battlefield but it is unclear where a break through might come ?
Hand to hand combat on the far flank
Federal reserves from the 3rd Brigade wait to be ordered forward
A view from behind the Rebel lines, again the Rebel artillery is ineffective but are taking casualties themselves from the Union Guns in the camp
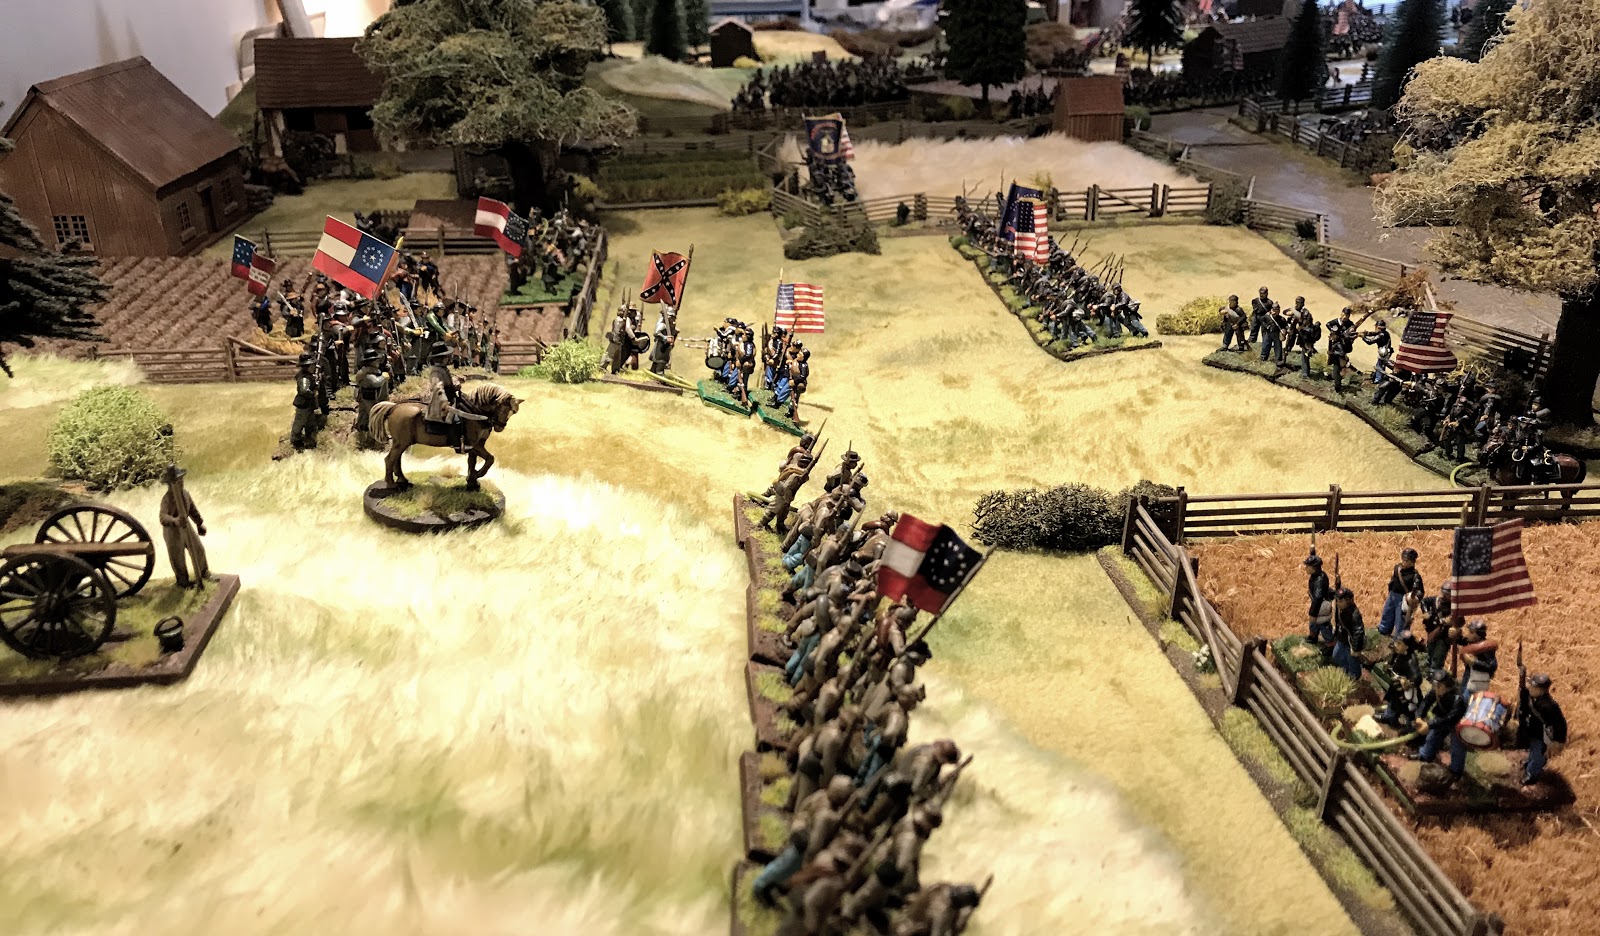
Now at the stone wall the Louisianan’s stop to exchange fire with the Union 3rd Brigade
The combat on the far side of the stream
.......and in colour 🙂
Part of the Union 3rd Brigade look to flank the flankers but are not quick enough to make it count
Having weathered the first assault the Rebels rush down the hill
Things are now incredibly tight all along the battleline with front line Regiments being badly shot up and reserves eager to get into the fight
The 1st Brigade bringing up reserves to hold the left flank counter attack
The battle at the stone wall, one notable feature of the battle was the number of Regimental officers killed ‘‘tis lowered morale and may Regiments only stayed in the fight with the support of Brigade commanders
The union artillery has concentrated on the Rebel guns and by the end of the battle only two of the Rebel guns were still operational.
The Rebel cavalry brigade were much more active than their Union counter-parts who never fired a shot. The Rebels eventually advanced to shoot into the flank of the Union 3rd Brigade
The Louisiana Brigade at the stone wall, but they are reluctant to break across the open ground
Beyond the stream Union Zouaves of the 4th Brigade charge into combat
Captured in a period shot.
The final position on the left of the battlefield.
At this point it was clear that despite many hours of fighting neither side could gain a significant advantage to call it a victory. The union forces were winning on the left with numerical superiority, the centre was a stalemate across the walled field. On the right fighting around the bridge was ferocious but no side could get a breakthrough. As darkness fell the two generals chose to withdraw with their armies substantially intact.
The Rebels had lost a significant number of regimental officers and almost all their artillery, the Union had defended their position. Strangely perhaps this battle reflected too closely the nature of the ACW, with vast numbers of troops slugging it out but unable due to the nature of the combat to bring a decisive victory or to knock the enemy army out, both have survived to fight another day on another battlefield.
Final thoughts at the end ....wow this was a massive battle and thanks to Martin for the enthusiasm and patience to stick with it. It was visually stunning and every now and then we just had to stop and stare 🙂 The rules worked really well giving a good game, easy, fun and mentally stimulating. Future games will see a slight amendment to the morale checks. The scary thing is I have quite a lot of stuff to paint and can see us looking to fight some more historical battles in the future. As always happy answer any questions....😀