Having packed away the Bunker Hill game and whilst ruminating on what next I came up with the foolish idea that as I gradually increase my AWI collection we could continue to play skirmishes and battles in some sort of historical sequence. The internet is a bonus here as there are several quite detailed timelines. Now the intention right from the start is not to play every small skirmish but pick those skirmishes which have some interesting twist or novelty. Some of the larger battles will by necessity be tackled in bite sized chunks, and like all good plans we may change things and not go in absolutely date order. We’ll see ?
So you ask what did the timeline come up with the Battle of Kemp’s Landing was a small engagement ideal for a small skirmish game. I won’t run through the whole history which is adequately covered on wiki. But in summary in October 1775 John Murray Lord Dunmore landed in Virginia to flush out potential rebels. Thomas Gage had dispatched a number of the 14th Foot to support Dunmore in his actions. Having searched with and without success he led his small force north towards Kemp’s Landing. The local Princess Anne County Militia were called out by one Joseph Hutchings and Anthony Lawson a prominent local landowner. Their intention was to set an ambush for the British. The action took place on the 15th November. Historically the Americans were poorly led and the ambush launched too early, the regular British infantry fired one volley and the rebels fled, bring chased through the difficult swampy ground. The British capturing Hutchings and Lawson a few days later.

A map from the time annoyingly North to the bottom !
A search on the net also turned up this commemorative plaque of the engagement
So I thought this would make an interesting scenario with the British ambushed but the essence of the scenario is the American forces attempting to escape thought the difficult terrain away from the British. Well that was the plan.
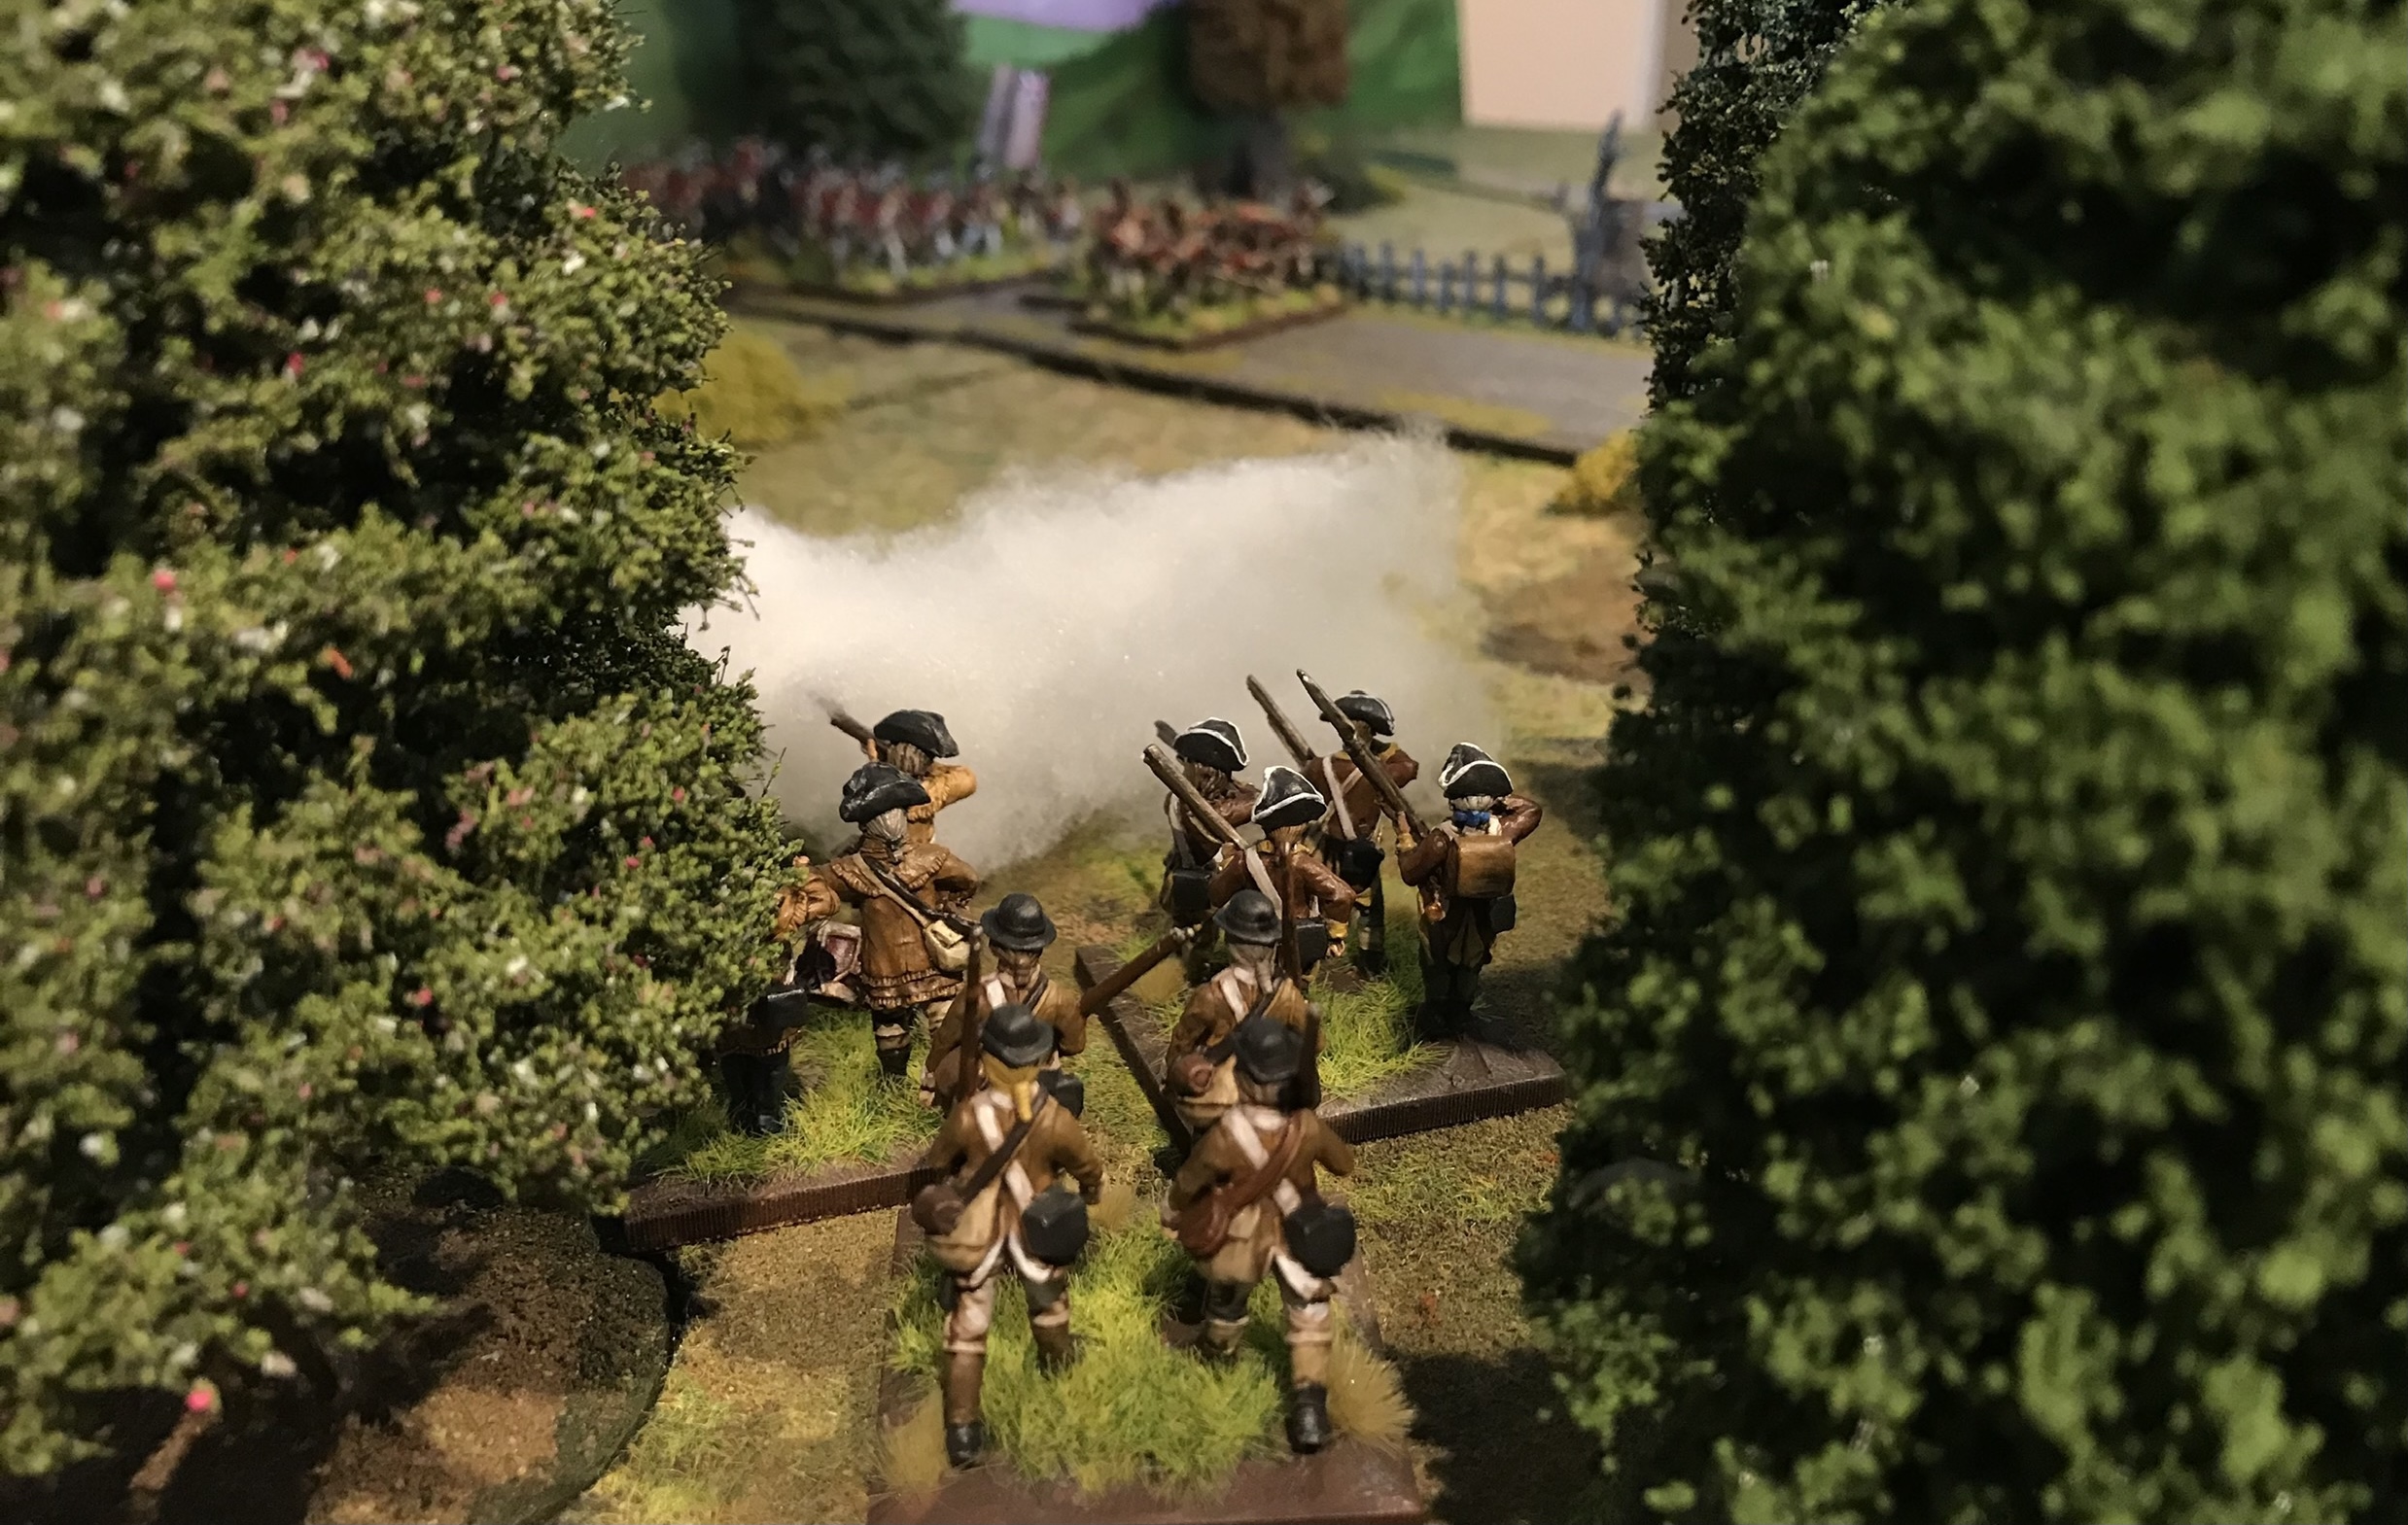
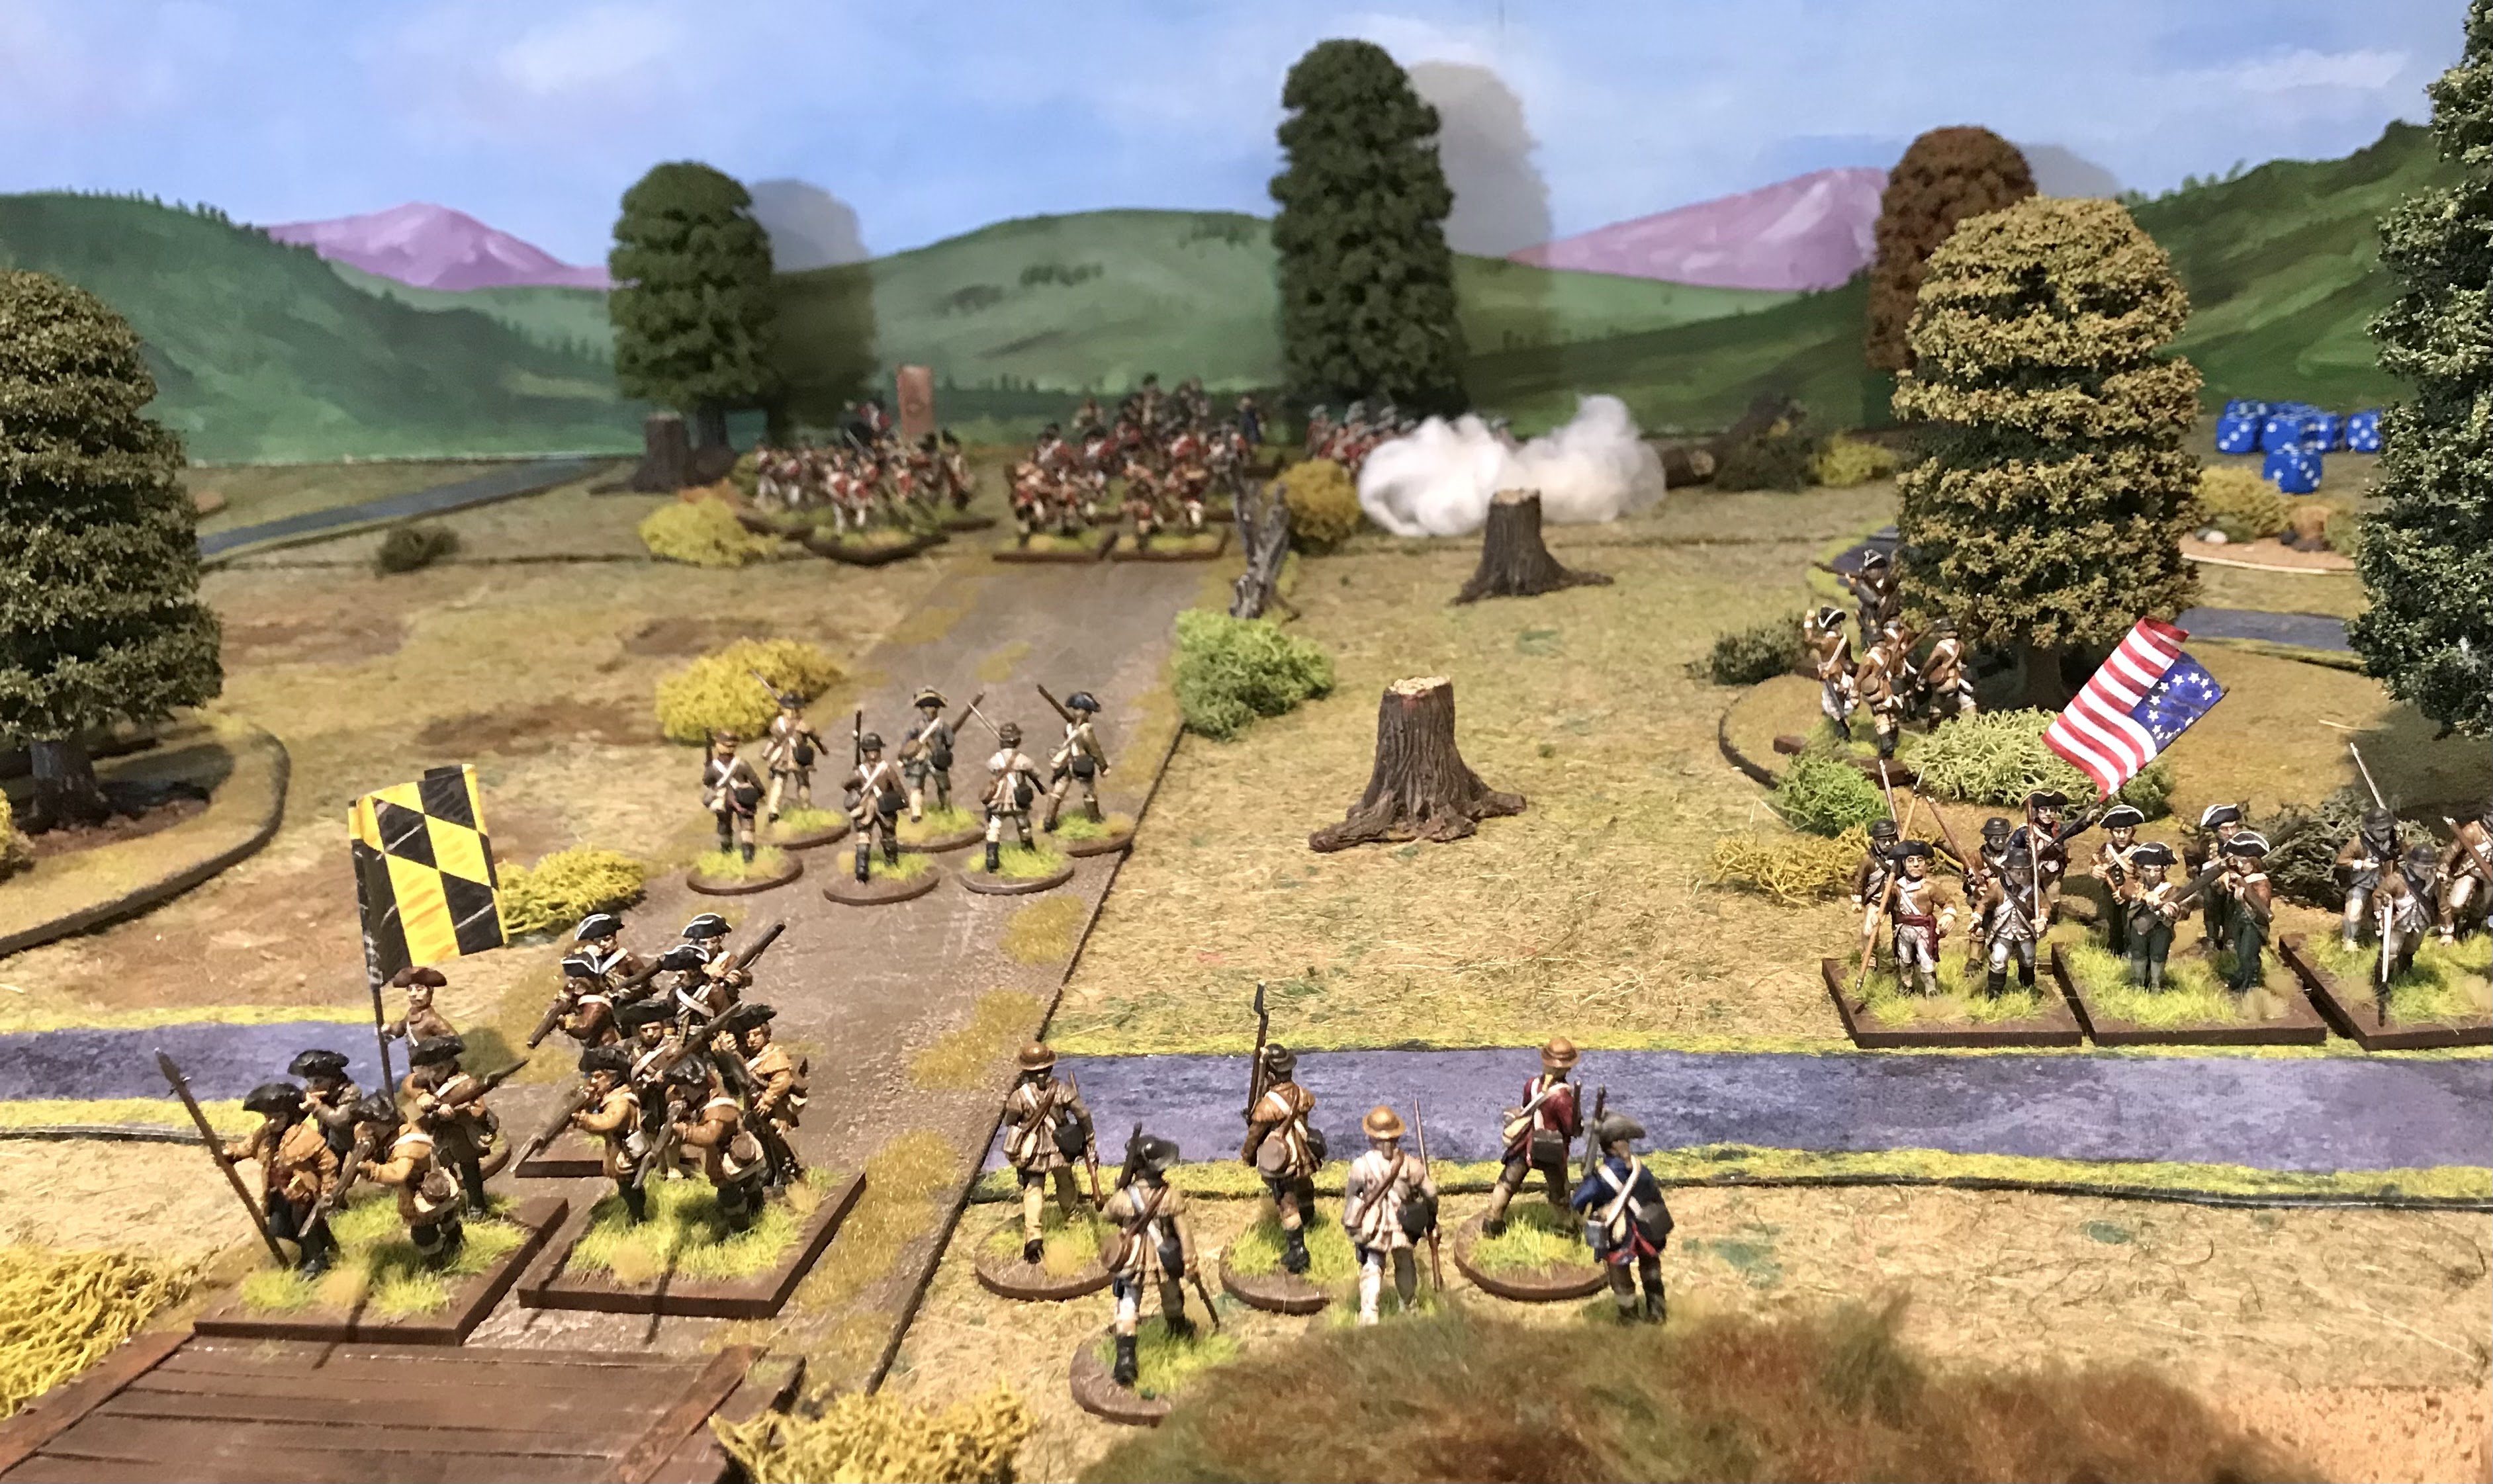
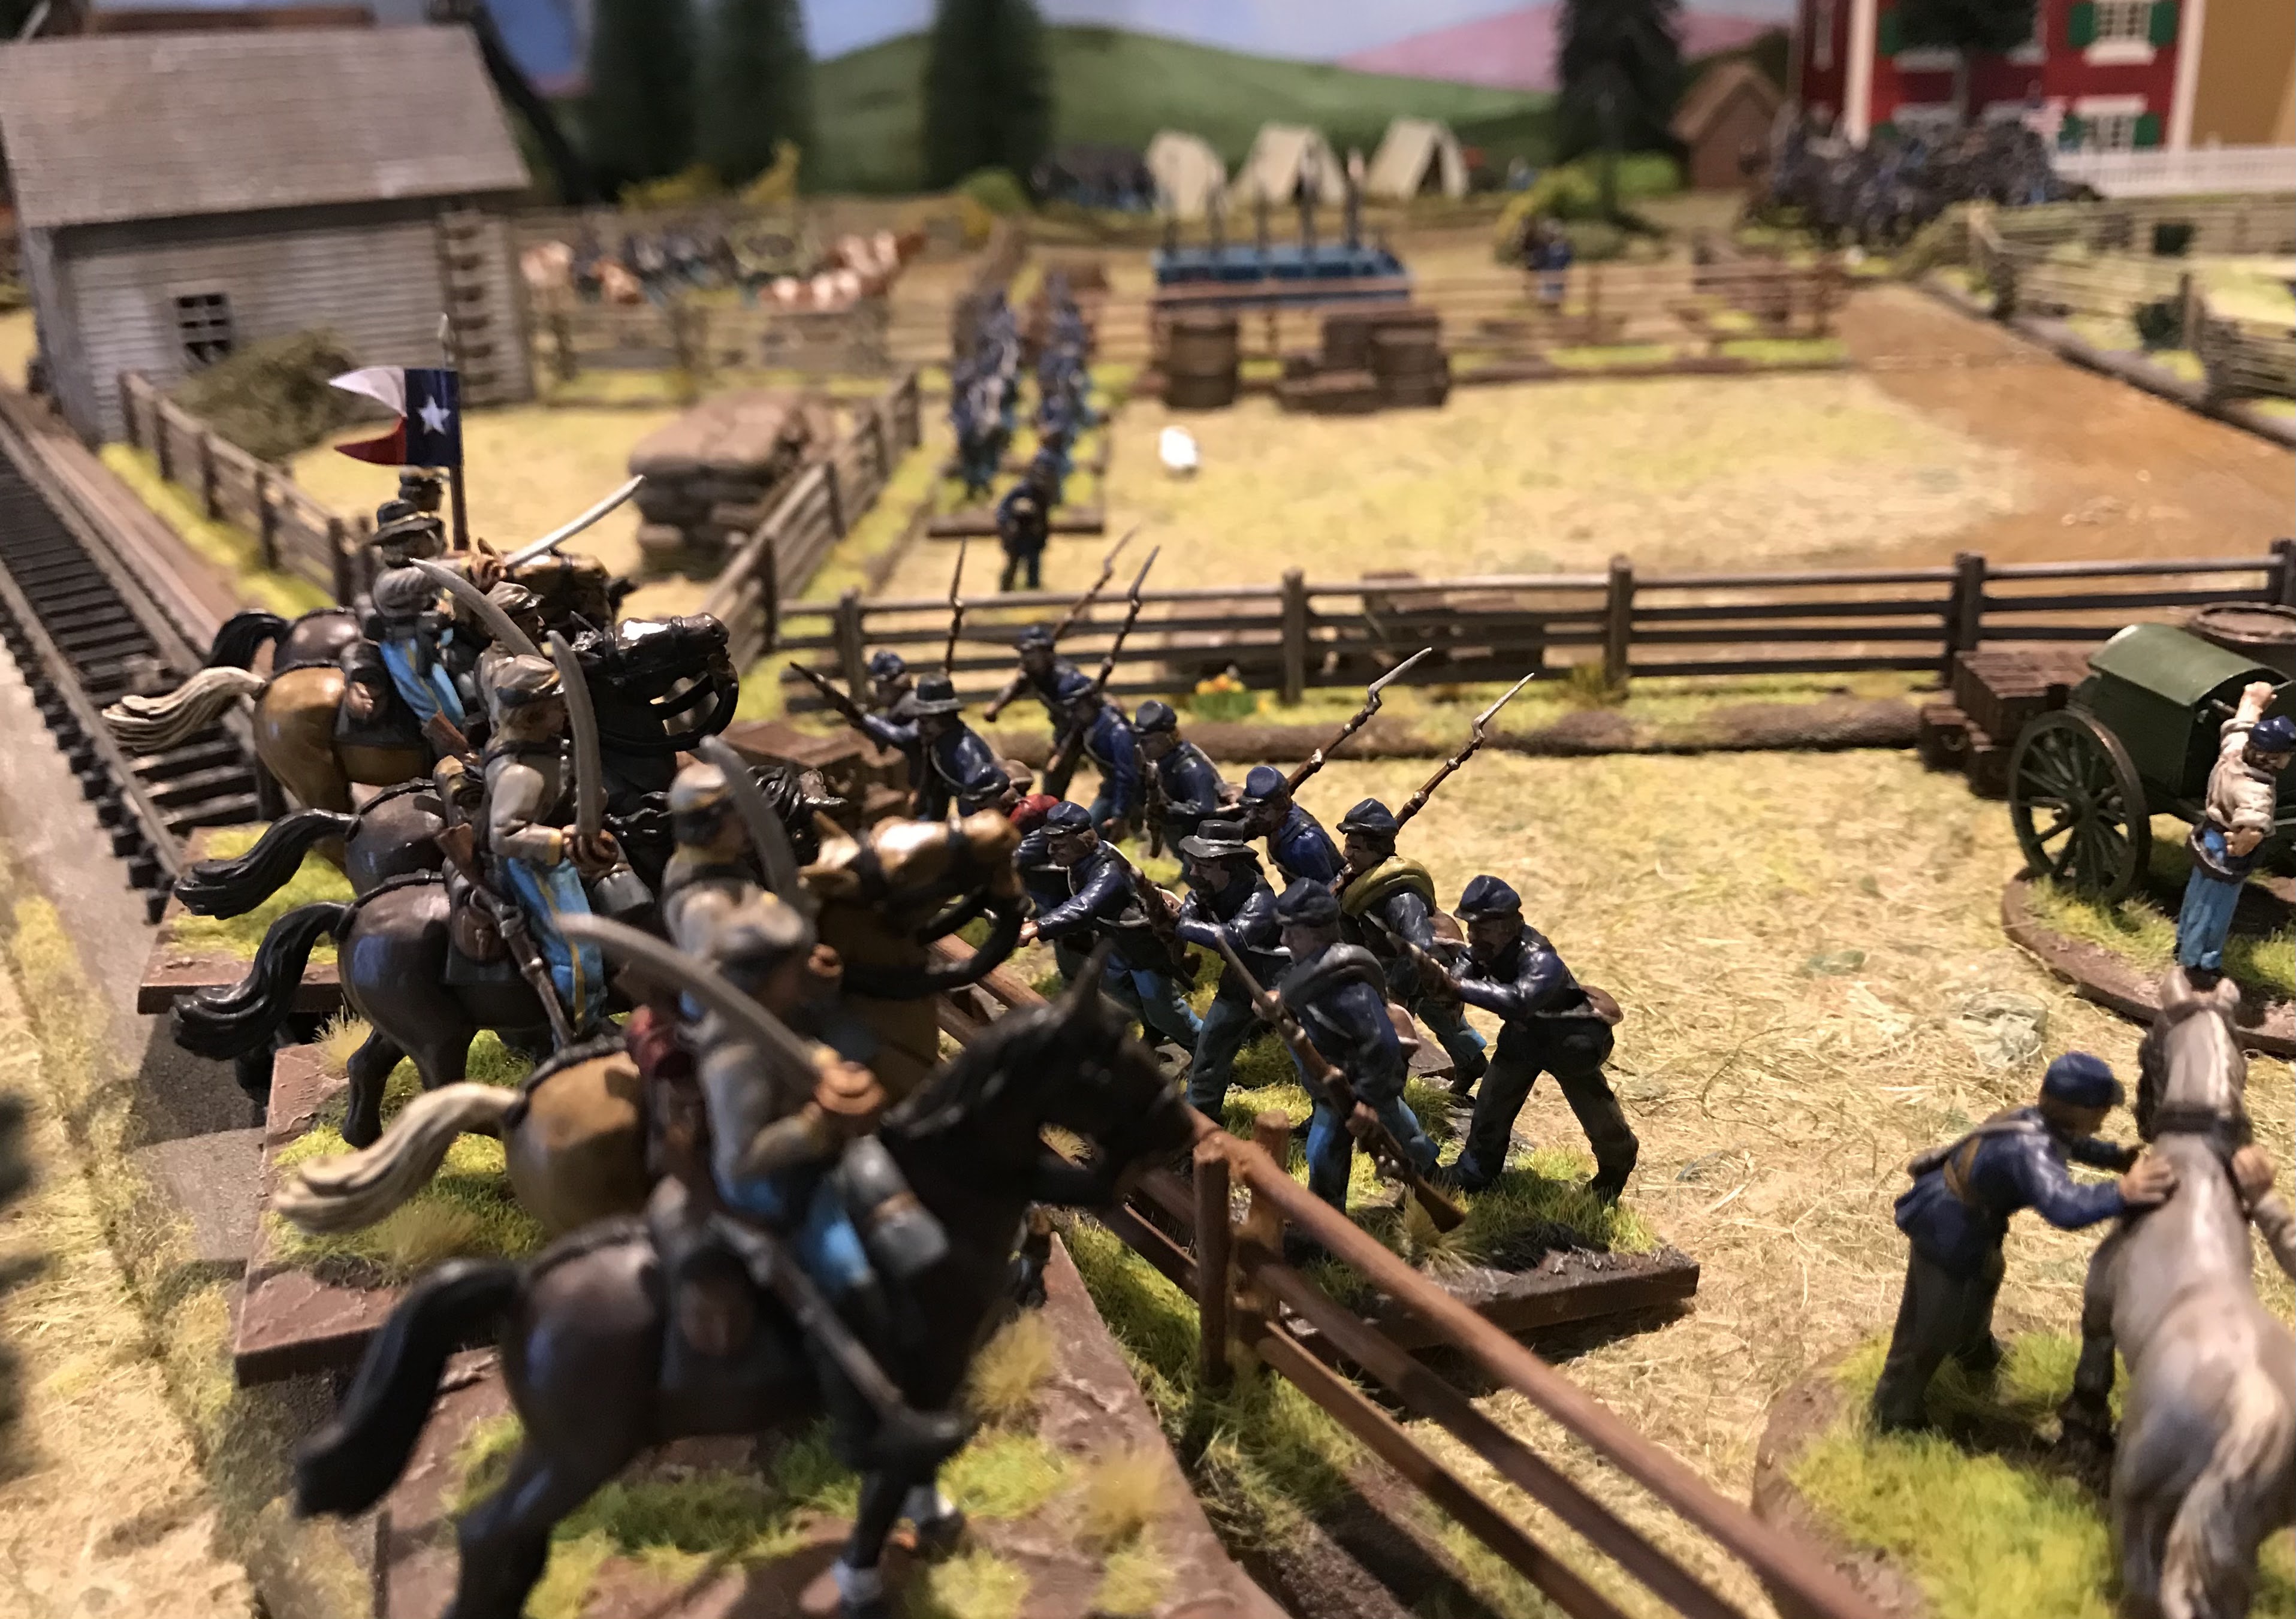
The battlefield as set up, the American ambushes are set up in the woods, the fateful first shots have already been fired. The small stream slows movement, the Elizabeth river itself is only crossable at the bridge. To reflect the port leadership the American who have both Lawson and Hutchings can’t use their leadership. The British are supported by one unit of Loyalists but they are ‘green’ and may be uncomfortable fighting their neighbours.
Lord Dunmore leading the column forward, light company to the front regulars behind.
The Rebels should have waited but have fired alerting the British, rather than stand the Americans must flee for their lives. Victory conditions are based on the number of units who escape in the 8-14 turns. The British get a bonus if they can capture or kill Lawson or Hutchings.
The Princess Anne County Militia in the woods
They do have some skirmishers spread out and although good shots they have the usual short 12” range.
Activating quickly some of the militia immediately start to pull back, the streams require a turn to Wade through
The Rebels continue to fire.....but shouldn’t they be fleeing ?
..............that’s better they are starting to pull
The rebels put up a fierce volley and the leading British light infantry are forced back down the road, (shameful to say they failed a rally test and left the field of battle !)
From bad to worse the British loyalists arrive and promptly fail an activation with a double 1, rather than advancing they choose to shoot into the rear of the British company nearest to them !!!!!!!!!!!! Luckily they don’t kill anybody but being fired on form behind clearly had a negative impact on the British morale.
Putting the rebels to the bayonet......cold British steel, but again the British fail to make an impact and are pushed back.
Rather than running away the rebels are putting up a stiff fight
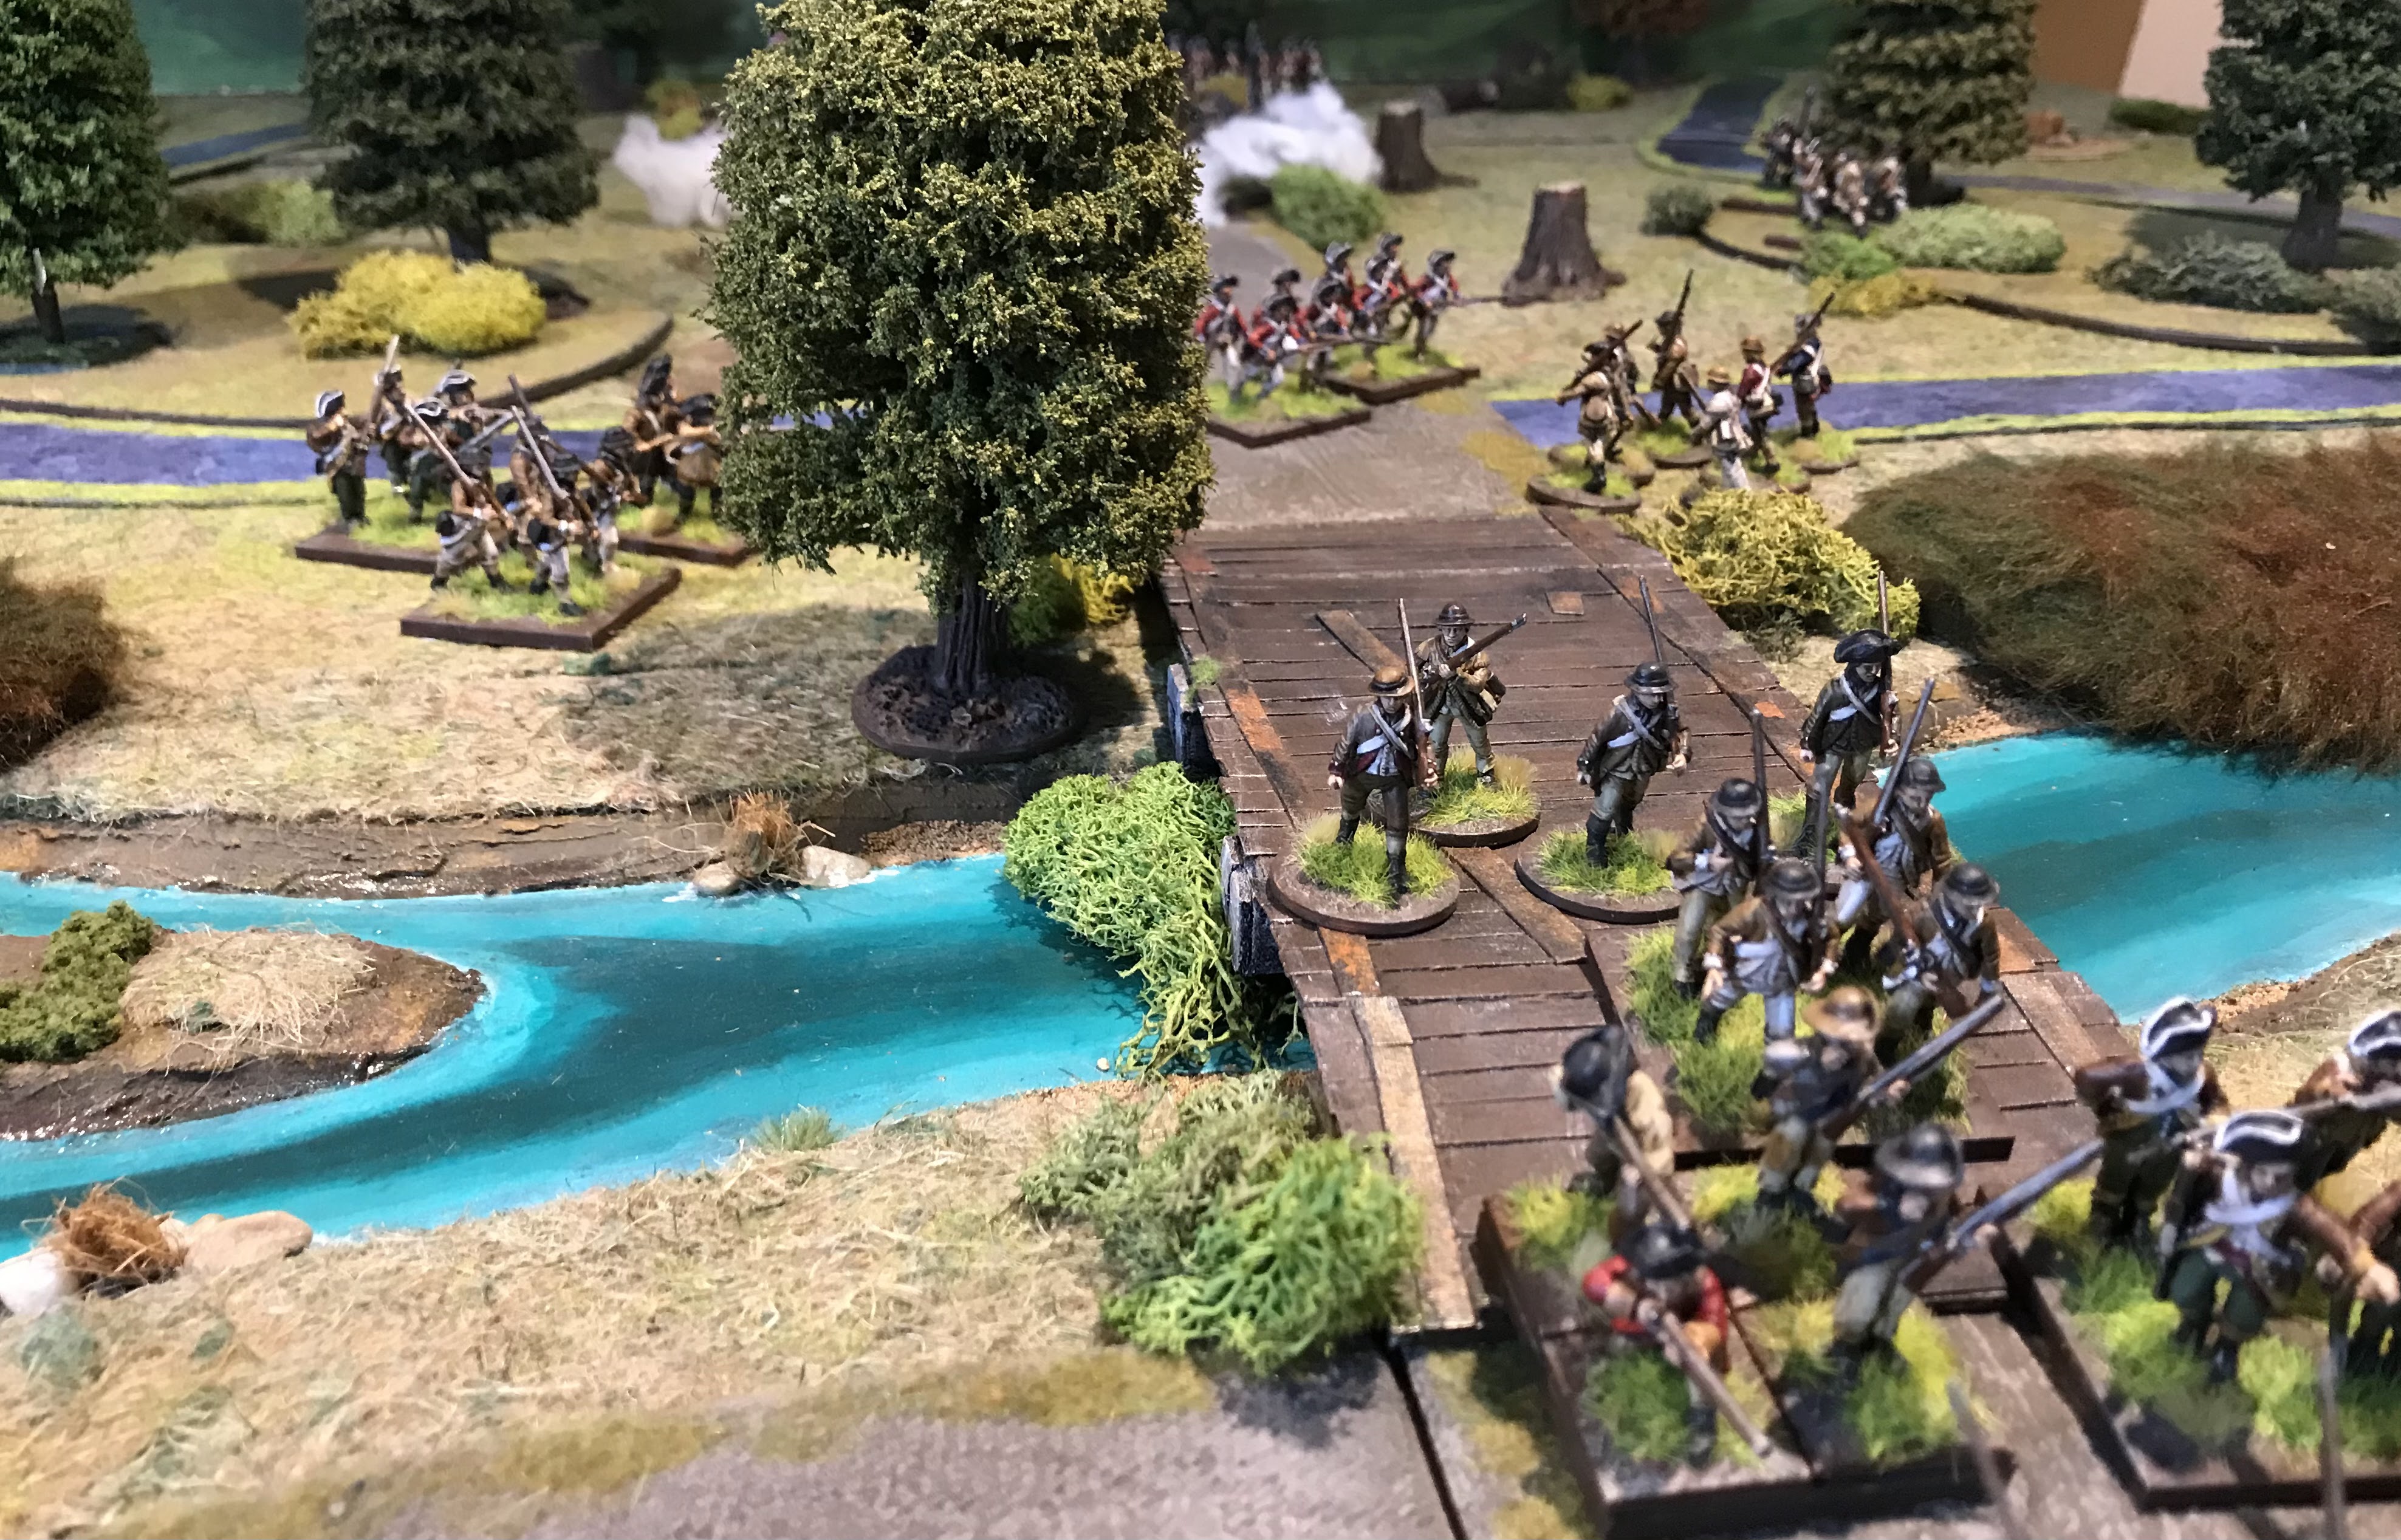
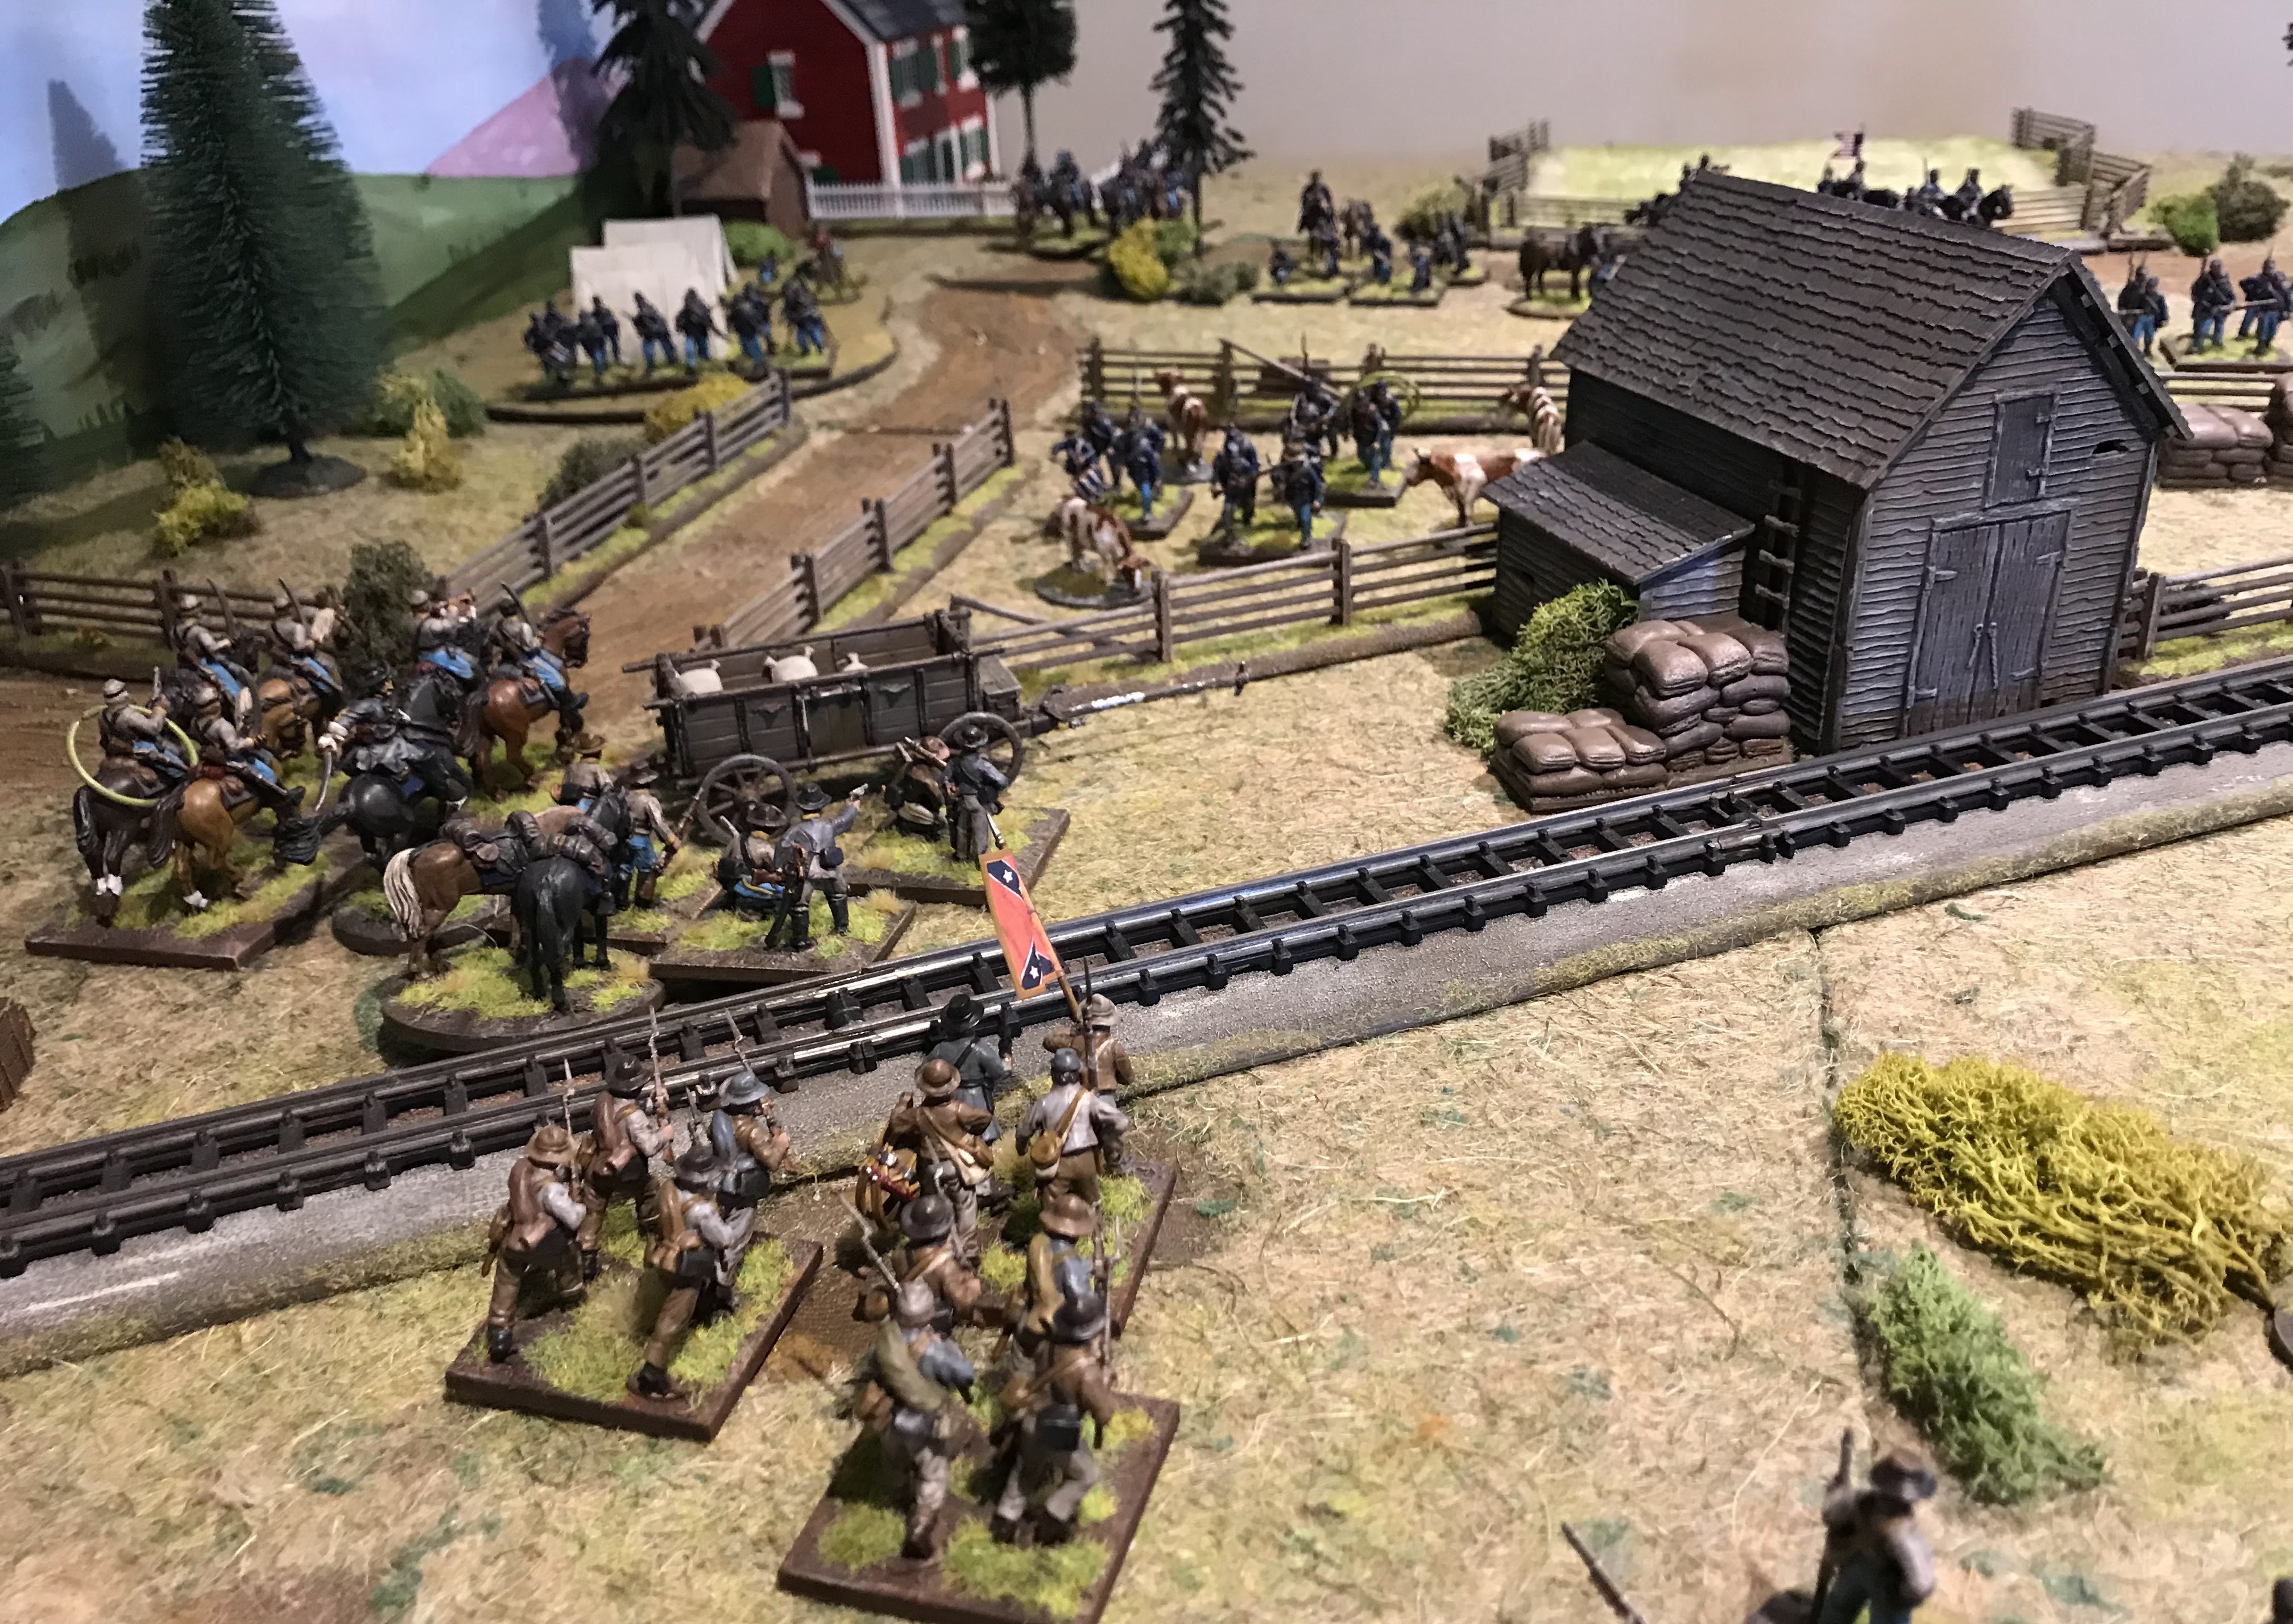
Lawson is getting away across the bridge back to Princess Anne Church
The British are bogged down on the road, an infuriated Dunmore can see the leading protagonists getting away, curse them !
Hutchings is getting across the bridge too
What ? Having fought the rebels in the woods another dire morale roll sees another British company flee the field ! Shameful behaviour, likely they will be flogged
The bridge acts as a difficult bottleneck but the British can’t get enough troops to ‘cork the bottle’ and more rebels slip away
You can almost hear them whistling Yankee Doodle as they march away a good days work.
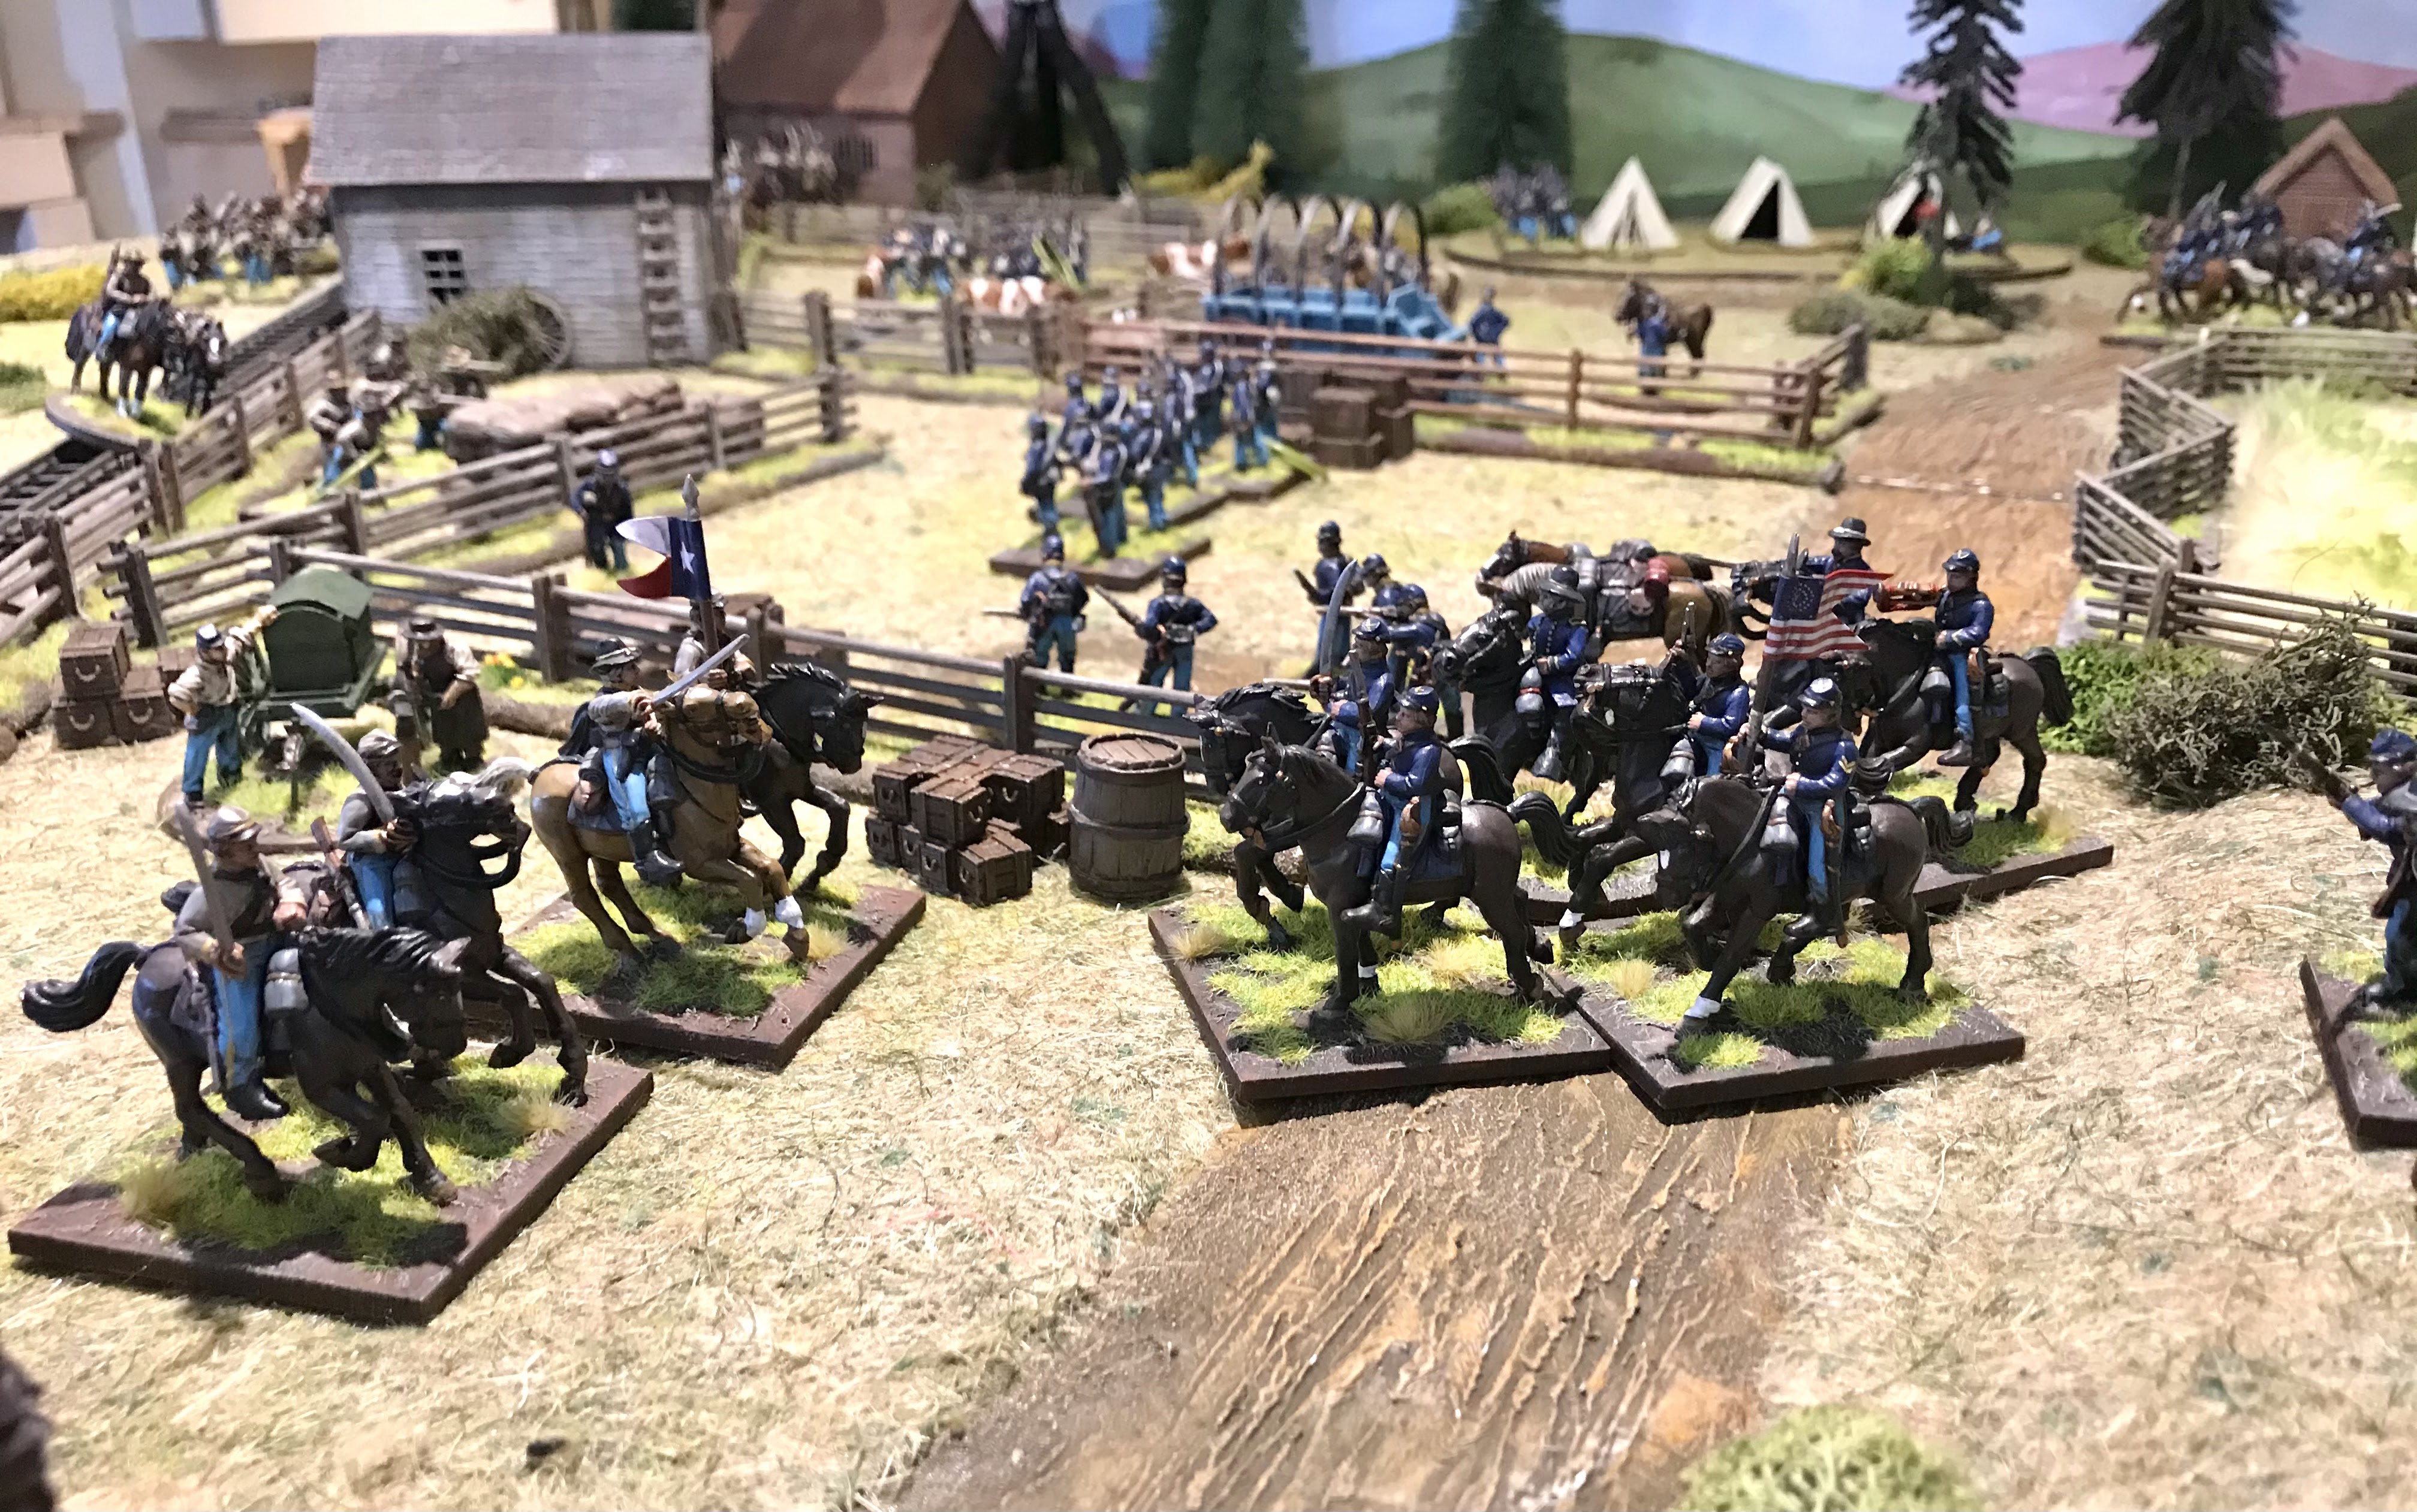
A few British soldiers do make it close to the bridge but they are outnumbered and ineffective in stopping the flow.
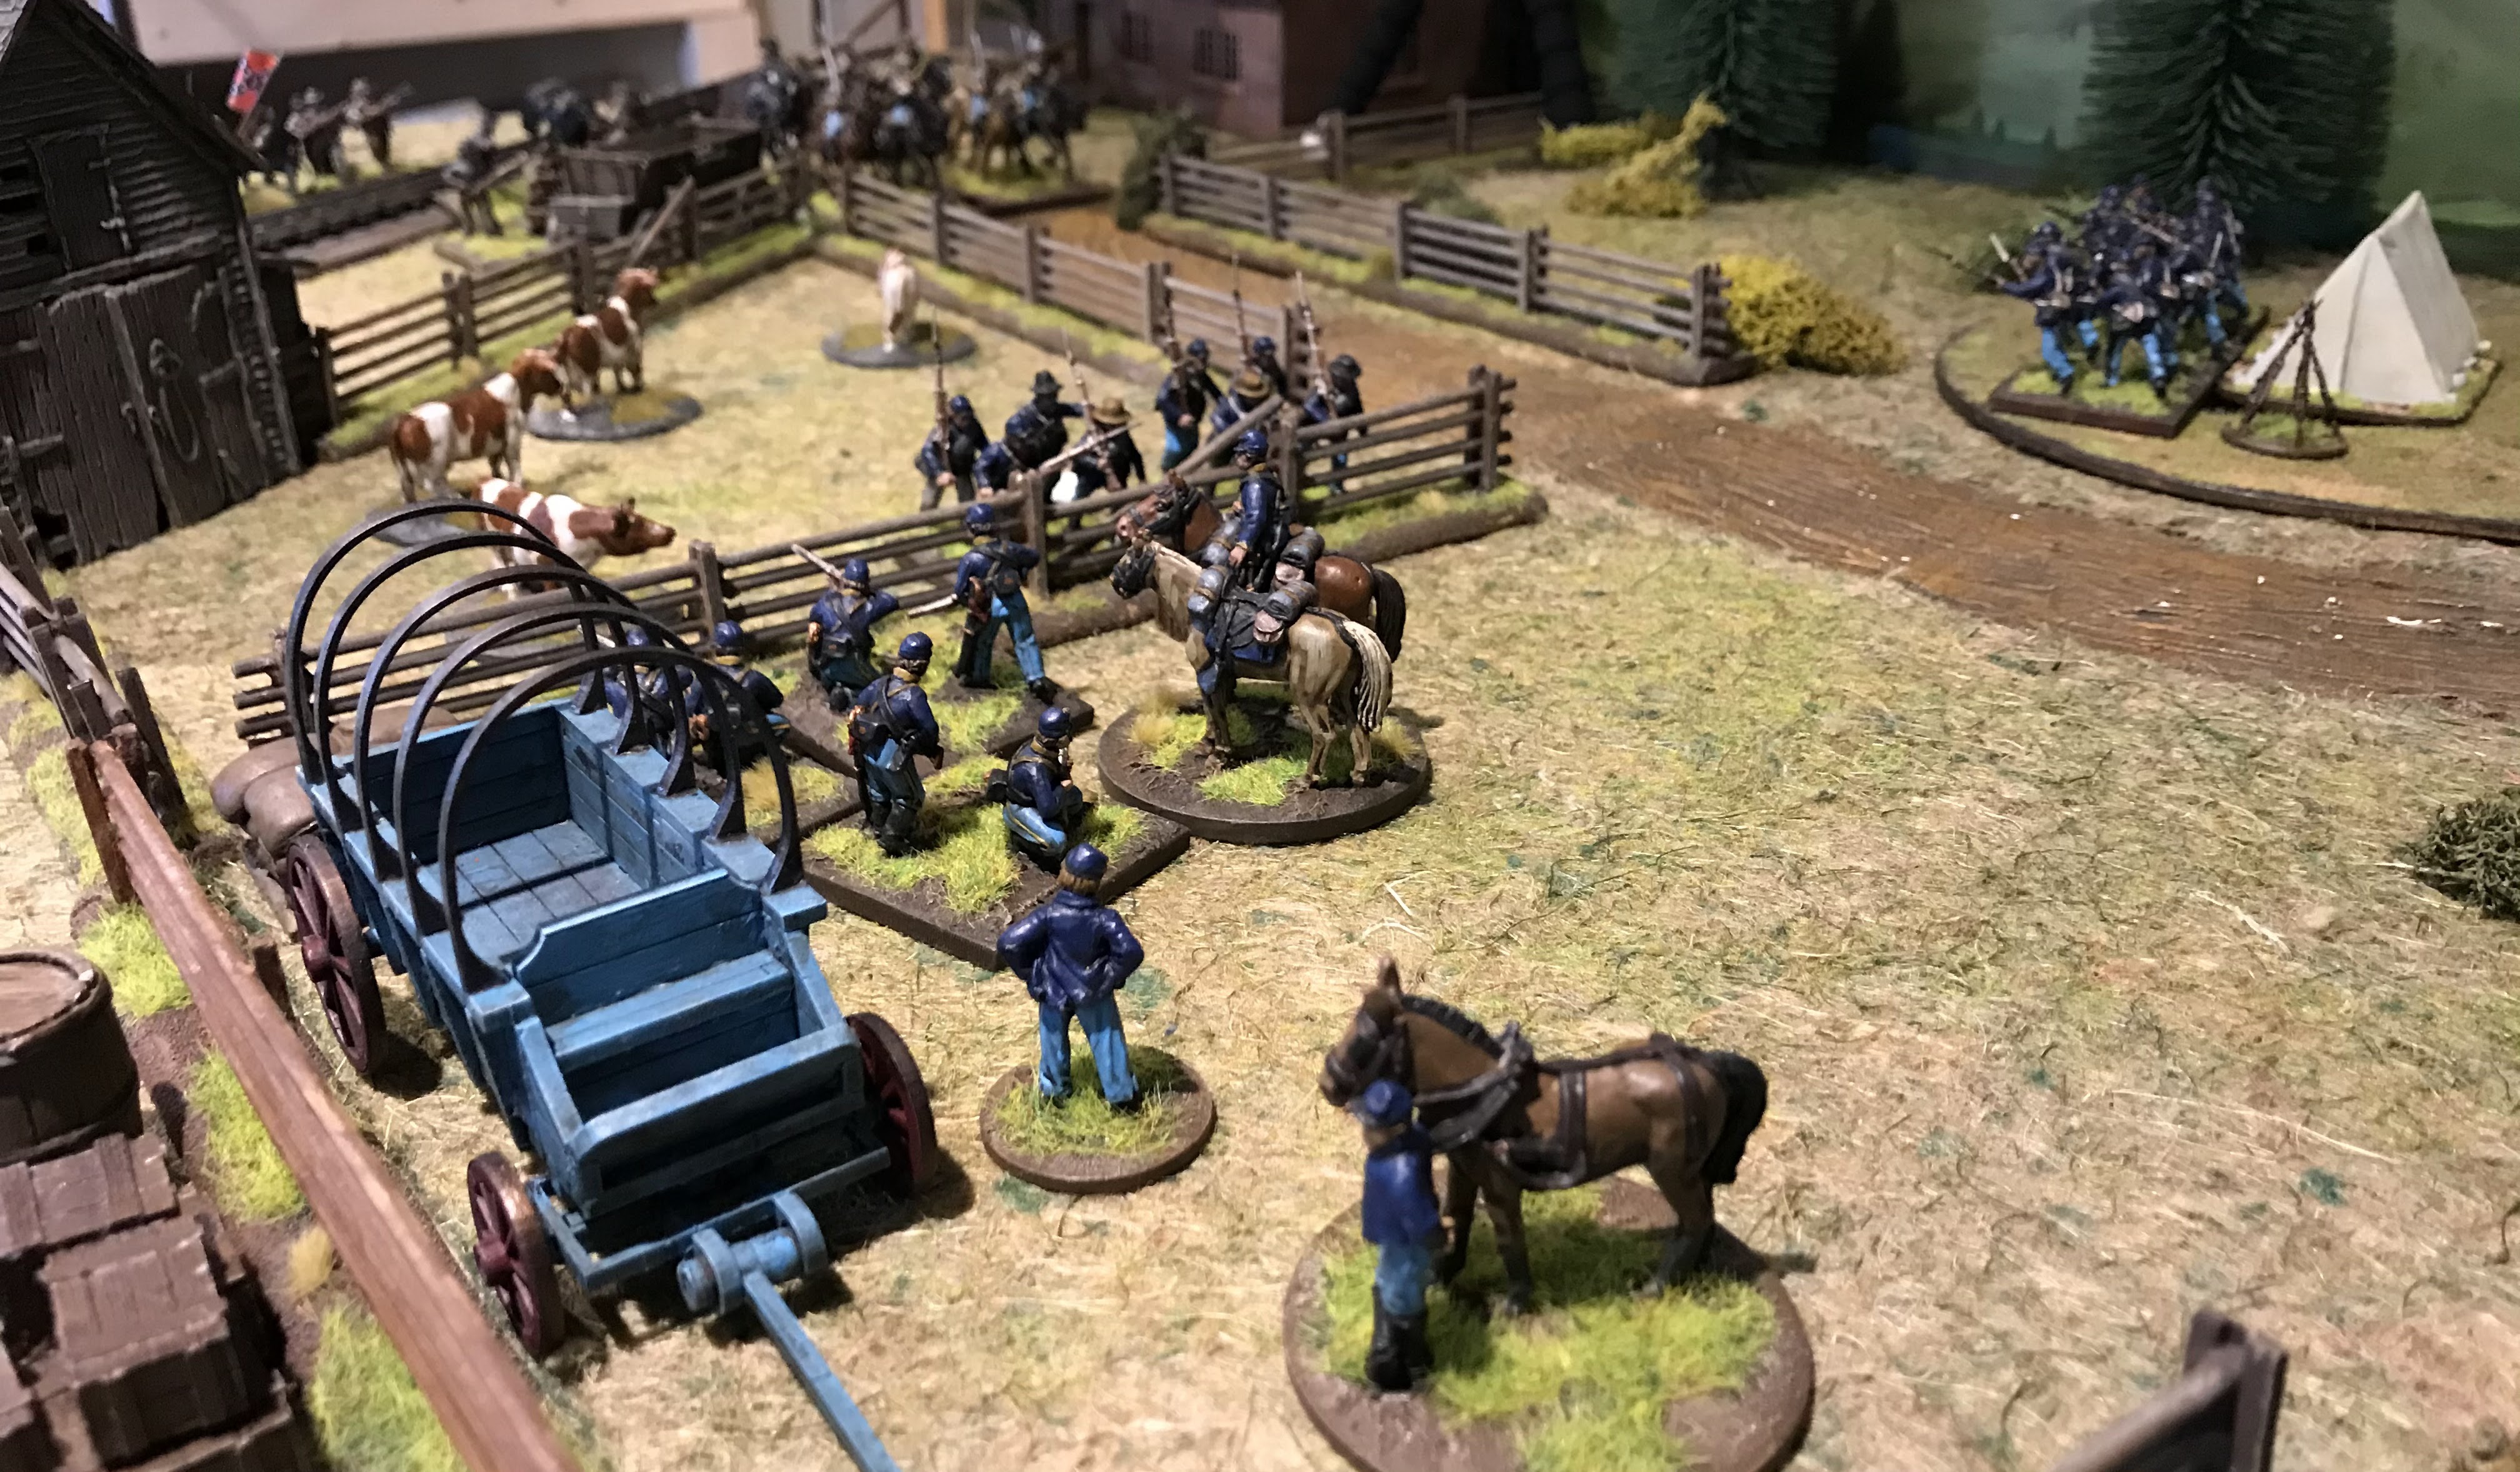
In the final turn of the battle the loyalists have at least start to fire at the Rebels but the units are exchanging fire and enough of the rebels have already got away.
The final count had three units escaped and none destroyed a strong American victory , historically the British only suffered a single minor casualty so these County militia were much tougher than their historical counterparts. A fun game, on reflection we came to the conclusion that Rebels and Patriots is particularly hard for the attacking side as the activation to move or shoot means the defenders have an advantage. However, the British again failed some key morale tests despite the majority of them being veterans. Lord Dunmore will regroup !
Next up another skirmish and then we might try another larger battle 😀 I need to get some Hessians painted quick as the enter the conflict soon !
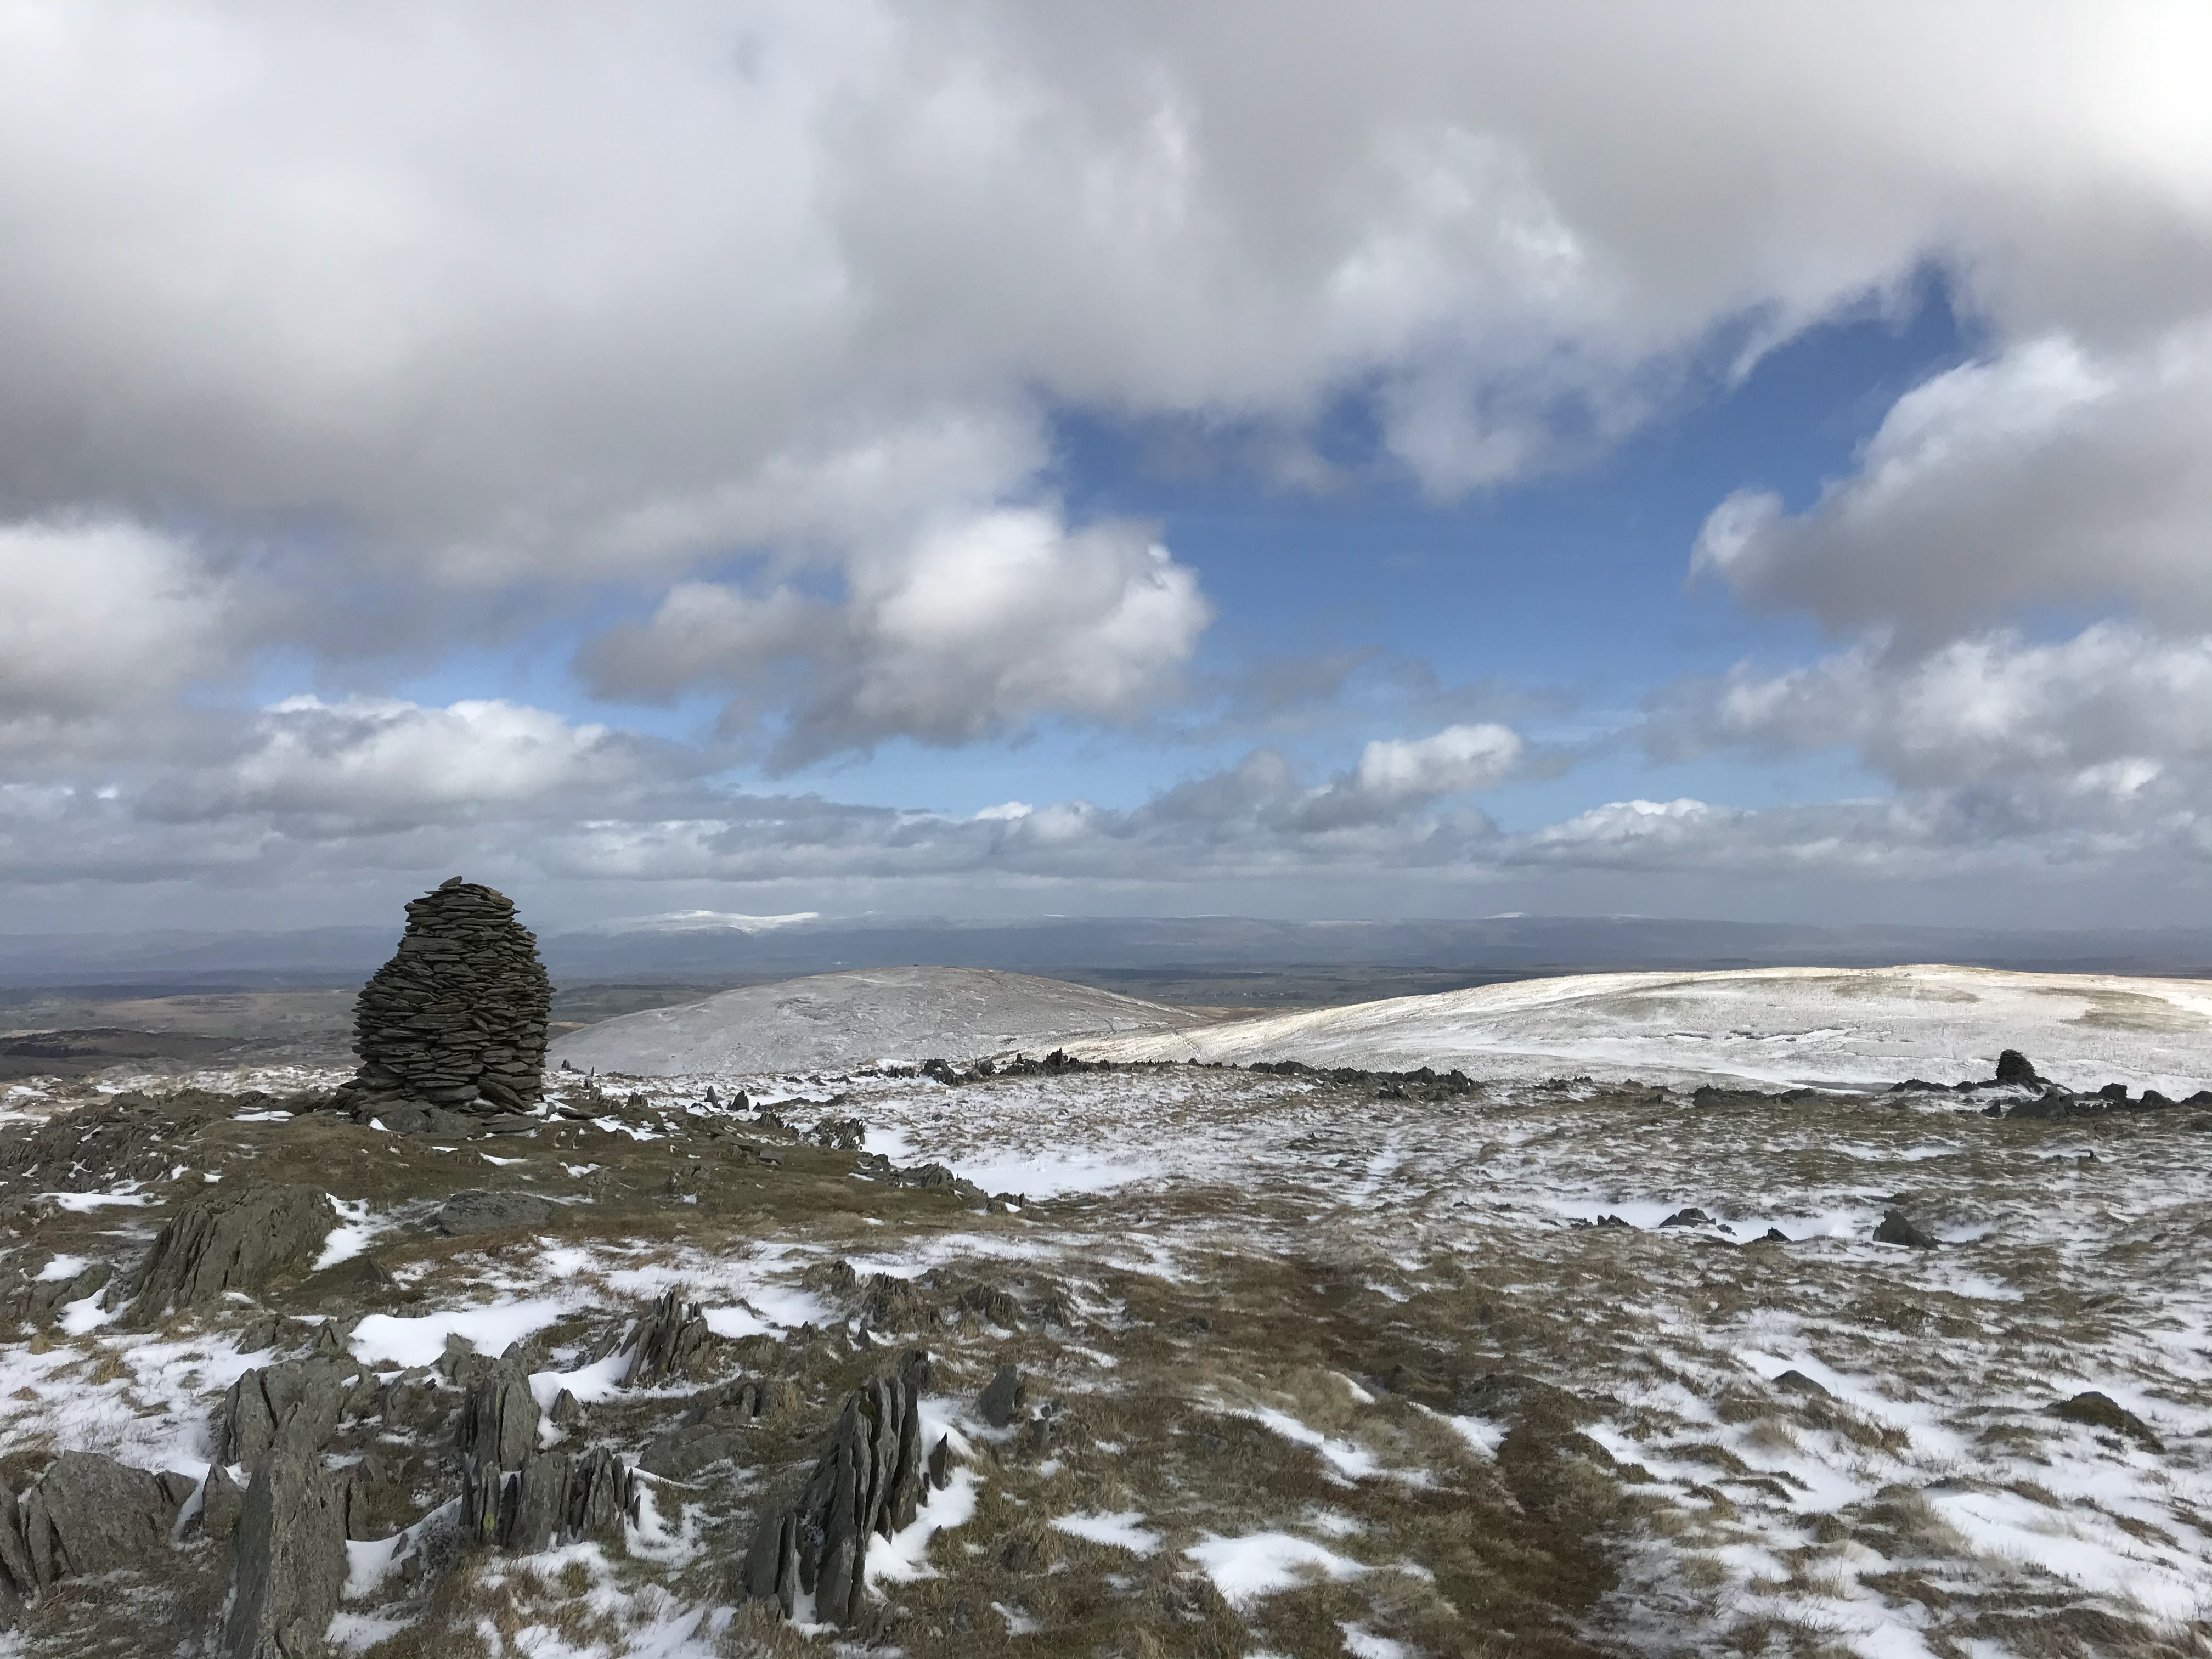
Managed to get out for a walk this weekend, and despite the winter weather the Lake District was beautiful
Looking North towards High Street
Later in the walk looking East