
The period sketch of the battlefield in the afternoon but we will focus on the initial assault on the church

Battlefield at the start, looking south. Not easy to see from this angle but there is a moderate ridge feature which forms the Confederate defensive line. Brooks Division has three brigades in action and is supported by artillery who are off the table to the left, you can’t see them in this shot but the rebels have a small battery at the crossroads and the 9th Alabama are occupying Salem Church itself.

The 9th Alabama, historically only a company but I increased this to a small unit

Semmes Brigade in the foreground and in the distance Wilcox across the Plank Road
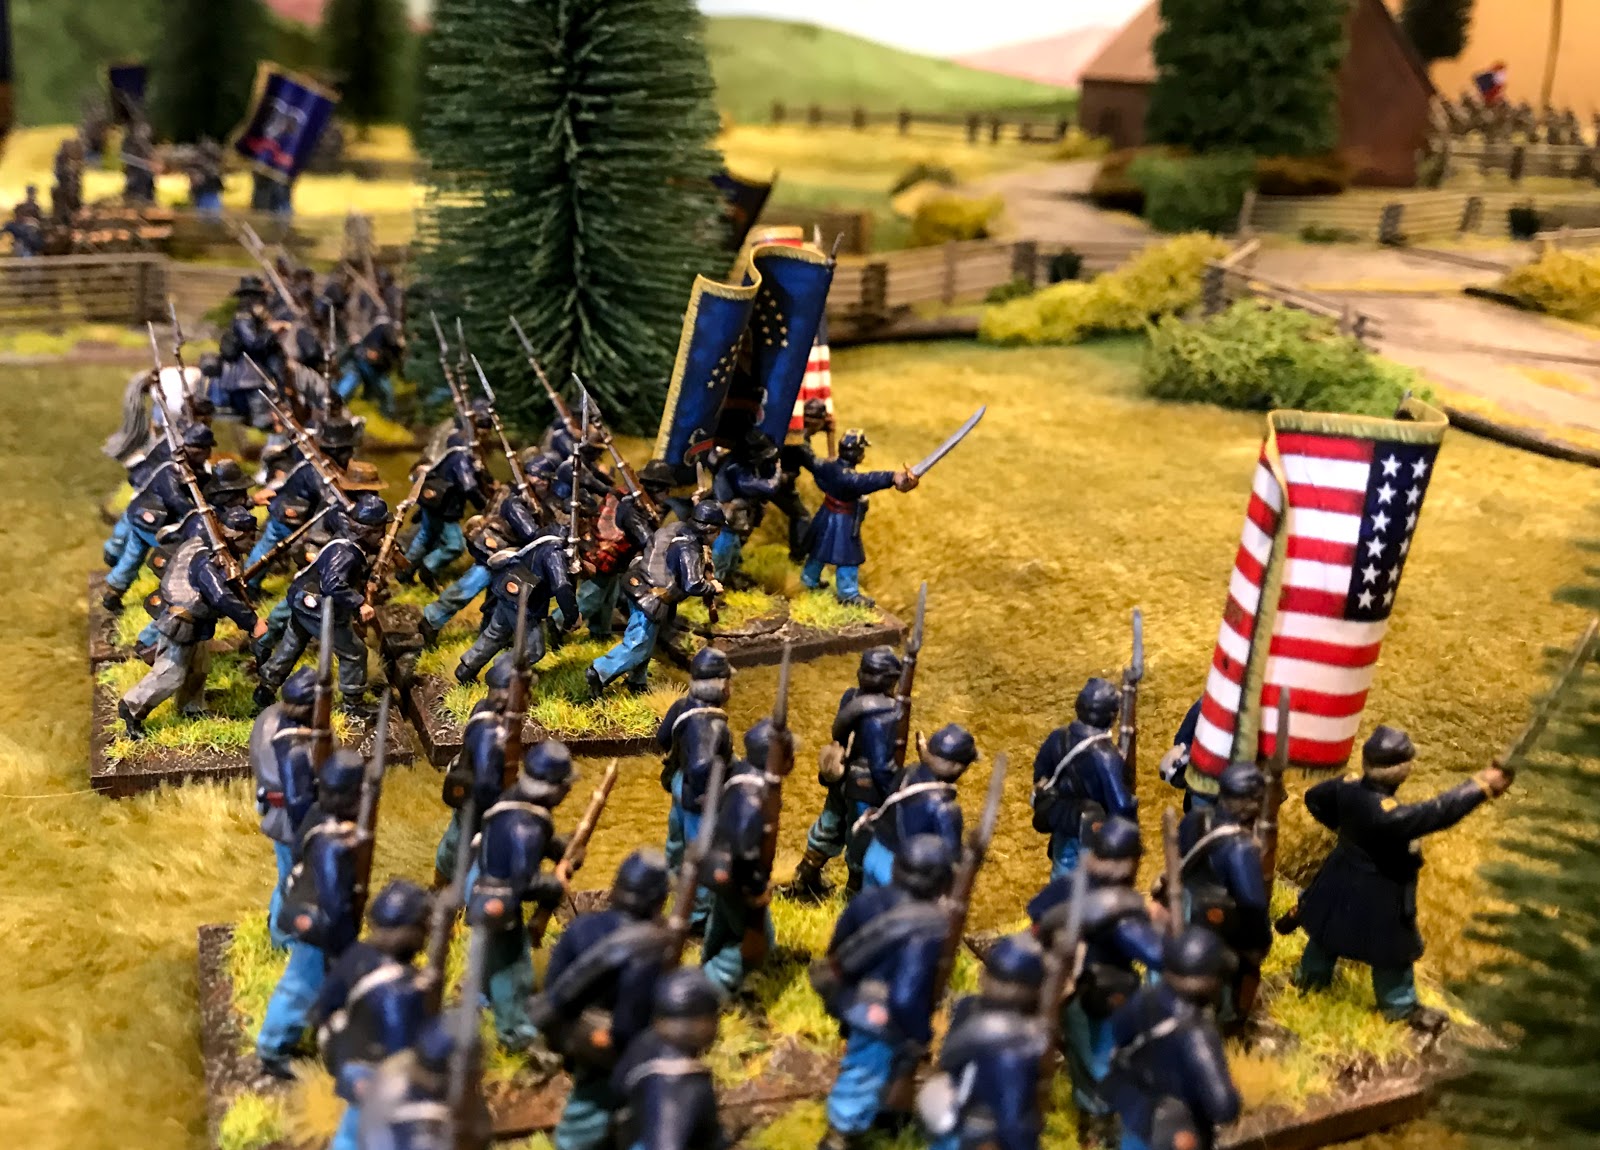
Russell’s Brigade still in marching order advancing towards the church

A better shot showing the rise upto the Rebel lines and you can just see the Rebel battery at the cross roads (I made sure the Union commander was aware how devastating canister could be and this had just the right impact on his confidence)

To the south Bartlett’s Brigade advances through the woods

Wilcox brigade around the Plank road with the 15th Virginia Cavalry awaiting orders

We had set the victory conditions as a line of control through the church and the school house so there was no point sitting back and the rebels advance

Union Forces now deployed in line

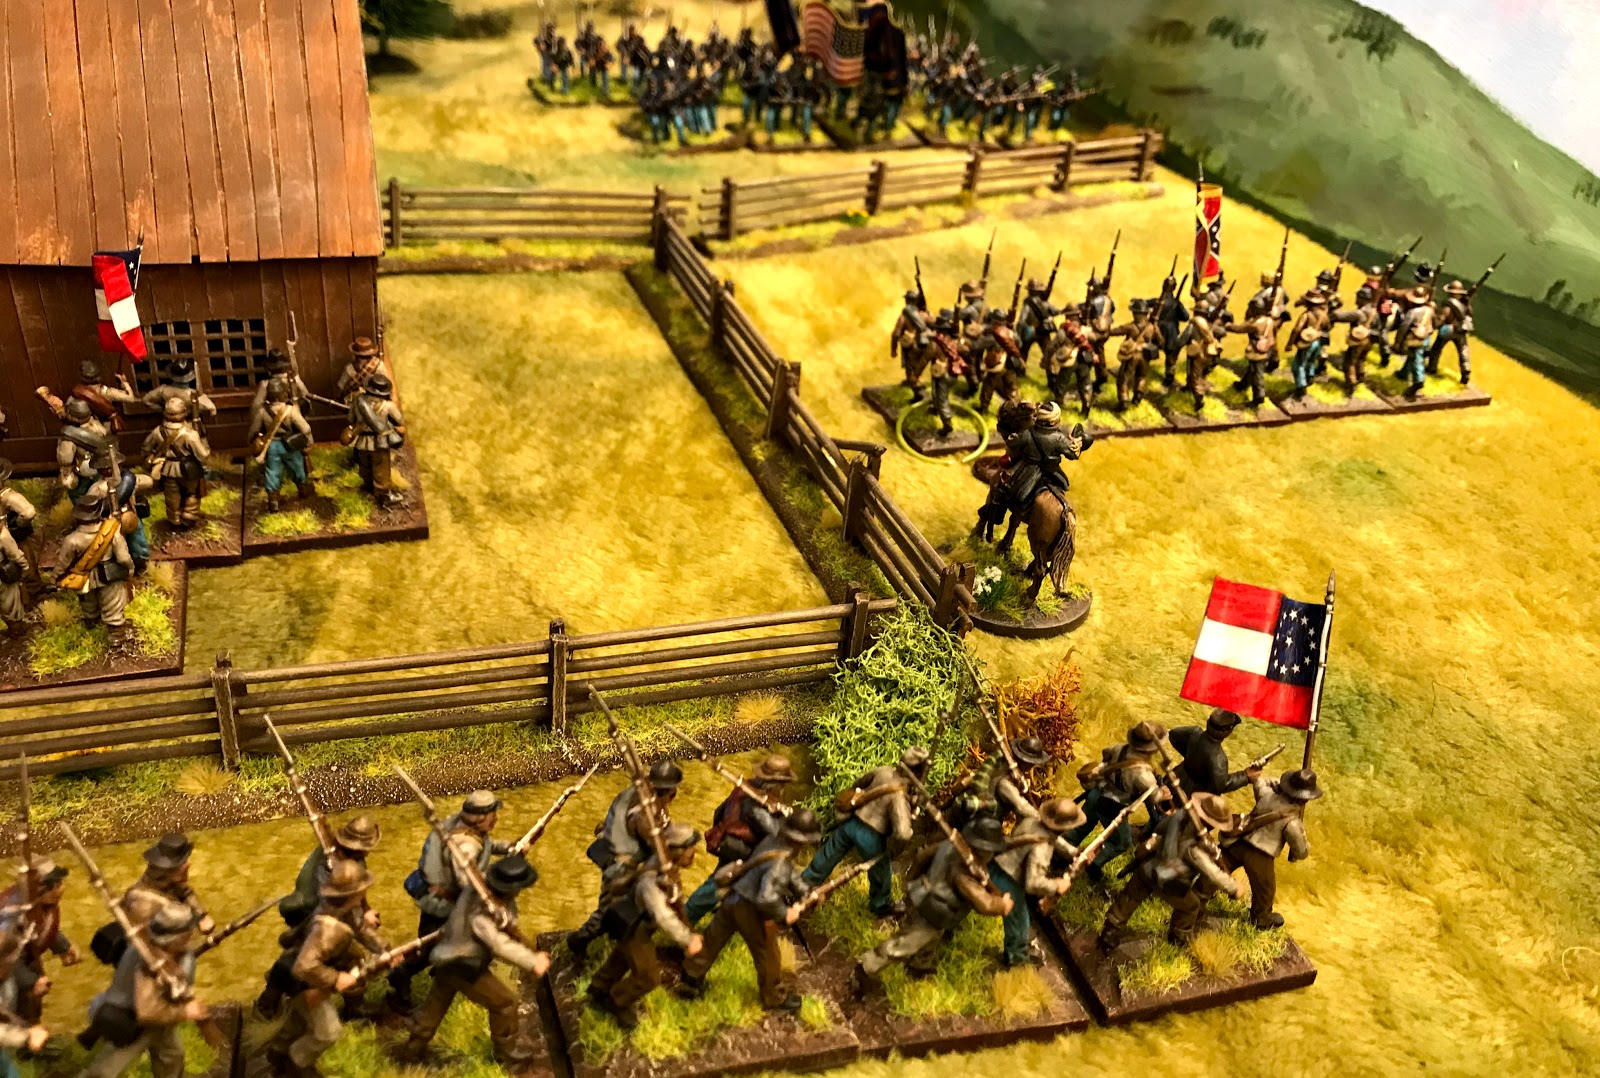
Wilcox’s line moves forward to take the ground the school house

The battery at the school house has delayed the advance but is coming under heavy counter battery fire and won’t last long

The rebels have artillery on the ridge but can’t seem to hit anything

Russell’s Brigade advances towards the cross roads

Colonel H Brown angles his Brigade towards the Church itself

Dwindling numbers of the 9th Alabama hold the church yard
BG Wilcox seem preoccupied with holding the advance in the south and rebel troops can be seen deploying

They can’t hold on long in the church......

And some of their support has been driven back

Now I should say at this stage as the first Rebel unit turns and runs, that the Rebel CO rolled some pretty terrible dice during this battle, it is hard to remember actually passing a morale check whilst the Union CO repeatedly passed almost every test 😢

Finally the 9th Alabama have been wiped out or captured (historically) and the church is unprotected

Union Forces are also advancing up the Plank Road where the battery has been overrun

On their right flank the Rebels are still quite strong and in a desperate attempt to halt the advance a unit is sent out to flank the advancing Federals, you can just see them east of the Schoolhouse

A lot of open ground in the centre though and too few confederates to plug the gaps

Salem Church is taken

Semmes’ Brigade has been driven back

The cross roads is also now in Union hands

There are still Rebel Forces holding the schoolhouse at this stage, but they are out numbered and General Brooks is able to claim victory.
A fun battle, the Rebels severely hampered by my dice rolling far too many units failing morale checks.🤪
another excellent ACW battle
ReplyDeleteThanks Martin 😀
DeleteA beautiful looking battle, love this amazing table! Conrats to you, and to the Yankees!
ReplyDeleteThanks Phil, not sure if it was the yankees or my dice rolling that won /lost the day 🙂
DeleteFab, a very do-able scenario and so nice to look at and follow the action. I have a mini boardgame on Salem Church by Decision games, so this makes me want to go and look at that and then come back to this post.
ReplyDeleteMakes me want to try this scenario with your own Two Flags-One Nation on a hex grid.
DeleteI must check the hex scale on my boardgame and see how much of the battlefield they felt necessary to represent.
DeleteThanks Norm we have obviously cut down the scenario / battle a lot to get it down to a manageable 28 mm game for an evening, it would make a great bigger scenario with reinforcements being fed in as they arrive.
DeleteLovely looking table, grand game, perfect really.
ReplyDeleteThanks David 😀
DeleteNice ACW action! A change in history no less! Hooker will be the savior of the union? 😀
ReplyDeleteThanks helped by my terrible dice rolling for morale tests, the Rebels just kept running away🤔
DeleteAlways a treat to view your battles and this is no exception. Great layout, beautiful figures, and superb photos. Action was good too!
ReplyDeleteThanks Jonathan 😀
DeleteGreat looking game, lovely scenery and splendid figures as always, smashing photos!
ReplyDeleteBest Iain
Thanks Iain....I do wish I could get google photos to stop editing the contrast in the photos but I can’t currently fix it....the originals are actually much better🤔
DeleteDandy Sir, quite dandy.
ReplyDelete“The Rebels have artillery on the ridge, but can’t seem to hit anything” why does that have a familiar ring to it🙂
Sadly I think in hindsight I was too generous with the union artillery giving them the advantage of being able to see pretty much everything on the battlefield, I did also roll badly
DeleteA splendid looking game sir...
ReplyDeleteAll the best. Aly
Thanks Aly for your kind feedback, another battle has been played and lost so will blog that soon🙂
DeleteFabulous looking game with top-notch terrain and figures!
ReplyDeleteThis comment has been removed by a blog administrator.
ReplyDelete