Thursday, 18 July 2019

Gettysburg Day One : Battle for Oak Ridge


We have played a number of the smaller Gettysburg Day One scenarios from Wargames, Soldiers and Strategy Issue 66, the scenarios run into each other and were all written by Mike Evans and Don Effinger. All of them so far have proved worthwhile, so with a ‘big’ game planned and the combined resources of Martin and the Dungeon I picked up one of the largest scenarios. The Battle for Oak Ridge.
The scenario maps are particularly good in my opinion and easy to interpret and adapt. Whilst we can easy muster enough troops, this scenario has roughly 24 infantry units a side, I needed to do a bit of squeezing to fit as much of the table into the dungeon as possible. One day I might have an 8x6 table but not at the moment !
The set up at the start of the battle, looking from the Confederate side, three rebel Brigades are advancing towards Oak Ridge which runs across the corner of the L shape table. In the far distance McPherson’s farm. We tweeted the scenario slightly such that the two Rebel reserve Brigades of Doles and Ramseur and the Union reserve of Paul’s Brigade will enter from their respective baselines from turn two on a reducing D6 roll. We also adjusted the normal rules to speed the game up by giving each Brigade a dice in the bag rather than each unit. The only complexity here is when the units get jumbled up remembering who is who. I also reduced for both sides the number of total artillery pieces, mainly because in the magazine they have the names wrong and it is quite confusing.

So onto the game, it was large and if I say so myself quite photogenic so I apologise for the number of photos, some of you will enjoy them and study each one the rest feel free to skip 🙂
Brig. Gen Schimmelpfennings Bde in the distance the other side of the mummasburg Pike, then BG Baxter’s Bde holding the 
Pike and the middle part of Oak Ridge then in the foreground, parts of Lysander Cutler’s New York Brigade also holding the Ridge.
Form the North the Brigades of Iverson, O’Neal and Daniel advance past the McLean Farm
A shot of Stone’s Union Brigade currently holding the McPherson Farm
The Rebel advance, the aim was to adavancing as quick as possible to prevent the Union Forces from concentrating, but the terrain is quite difficult 
Stone’s Bde is ordered forward across the Chambersburg Pike
Parts of Baxter’s Brigade 11PA and 97NY move off the ridge to take up the fence line 
After a couple of turns Iverson’s Bde is in line level with the Forney property
O’Neal’s Bde is pivoting left down the Mummasburg Pike now supported on the left of the photo by Ramseur’s Brigade
Not much of a defensive line along the railway
“Hold boys hold!”
The view from Oak Ridge.....a thin blue line !
The union unit to the right have entered the barn on the McLean property only (random event dice) to find a stash of local whiskey, they promptly drink the lot and are so drunk they are unable to do much else
Ramseur’s Bde marches forward
A cannon accompanying Daniel’s Bde has set up on the low Ridge but has little real impact against the Union Forces on the ridge
The advance up the Mummasburg Pike is being stoutly defended
Formed up into line Iverson’s North Carolina Bde pivots left to assault the Ridge across the wheat fields
Marching to the sound of the guns Paul’s Union Bde arrives close to the McPherson Farm
Daniel’s Bde adavancing in support of the assault
North Carolina men advancing towards the Bender Farm
Supported by artillery O’Neal continues to push up the Mummasburg but is pinned back
Again the artillery attempts to support the advance but is mainly ineffective
Confederate confusion as the two brigades intermingle
Masses units now in place in the centre of the battlefield and the Union Forces are not yet in place
Parts of Daniel’s Bde have moved to the right to direct their attack at the thin line of defenders in front of the McPherson farm
A particularly funny moment when the drunken defenders from the barn receive another random event forcing them to rush out and assault the nearest unit, clearly Dutch courage it nearly works but they are turned back ! ( this was very appropriate as Martin had been suffering from a hank over all morning 😀)
The confederates definitely have numerical advantage in the centre but can’t currently make it count
A tantalising gap can be seen on the Ridge behind the Forney property but can it be exploited ?
Doles’s Brigade finally reaches the battlefield and advances on mass supported by some mobile artillery which unlimbers just over the Ford
The confused mass of rebel troops close to the Mummasburg Pike some advancing other retreating ? And the guns blocked !
Daniel’s Brigade of North Carolinians has captured the Bender Farm just as the Union reinforcements form up in the distance
The rebels swarm in amongst the buildings 
Some of the confusion has been resolved in the rebel Brigades
A view of the advancing union reserves
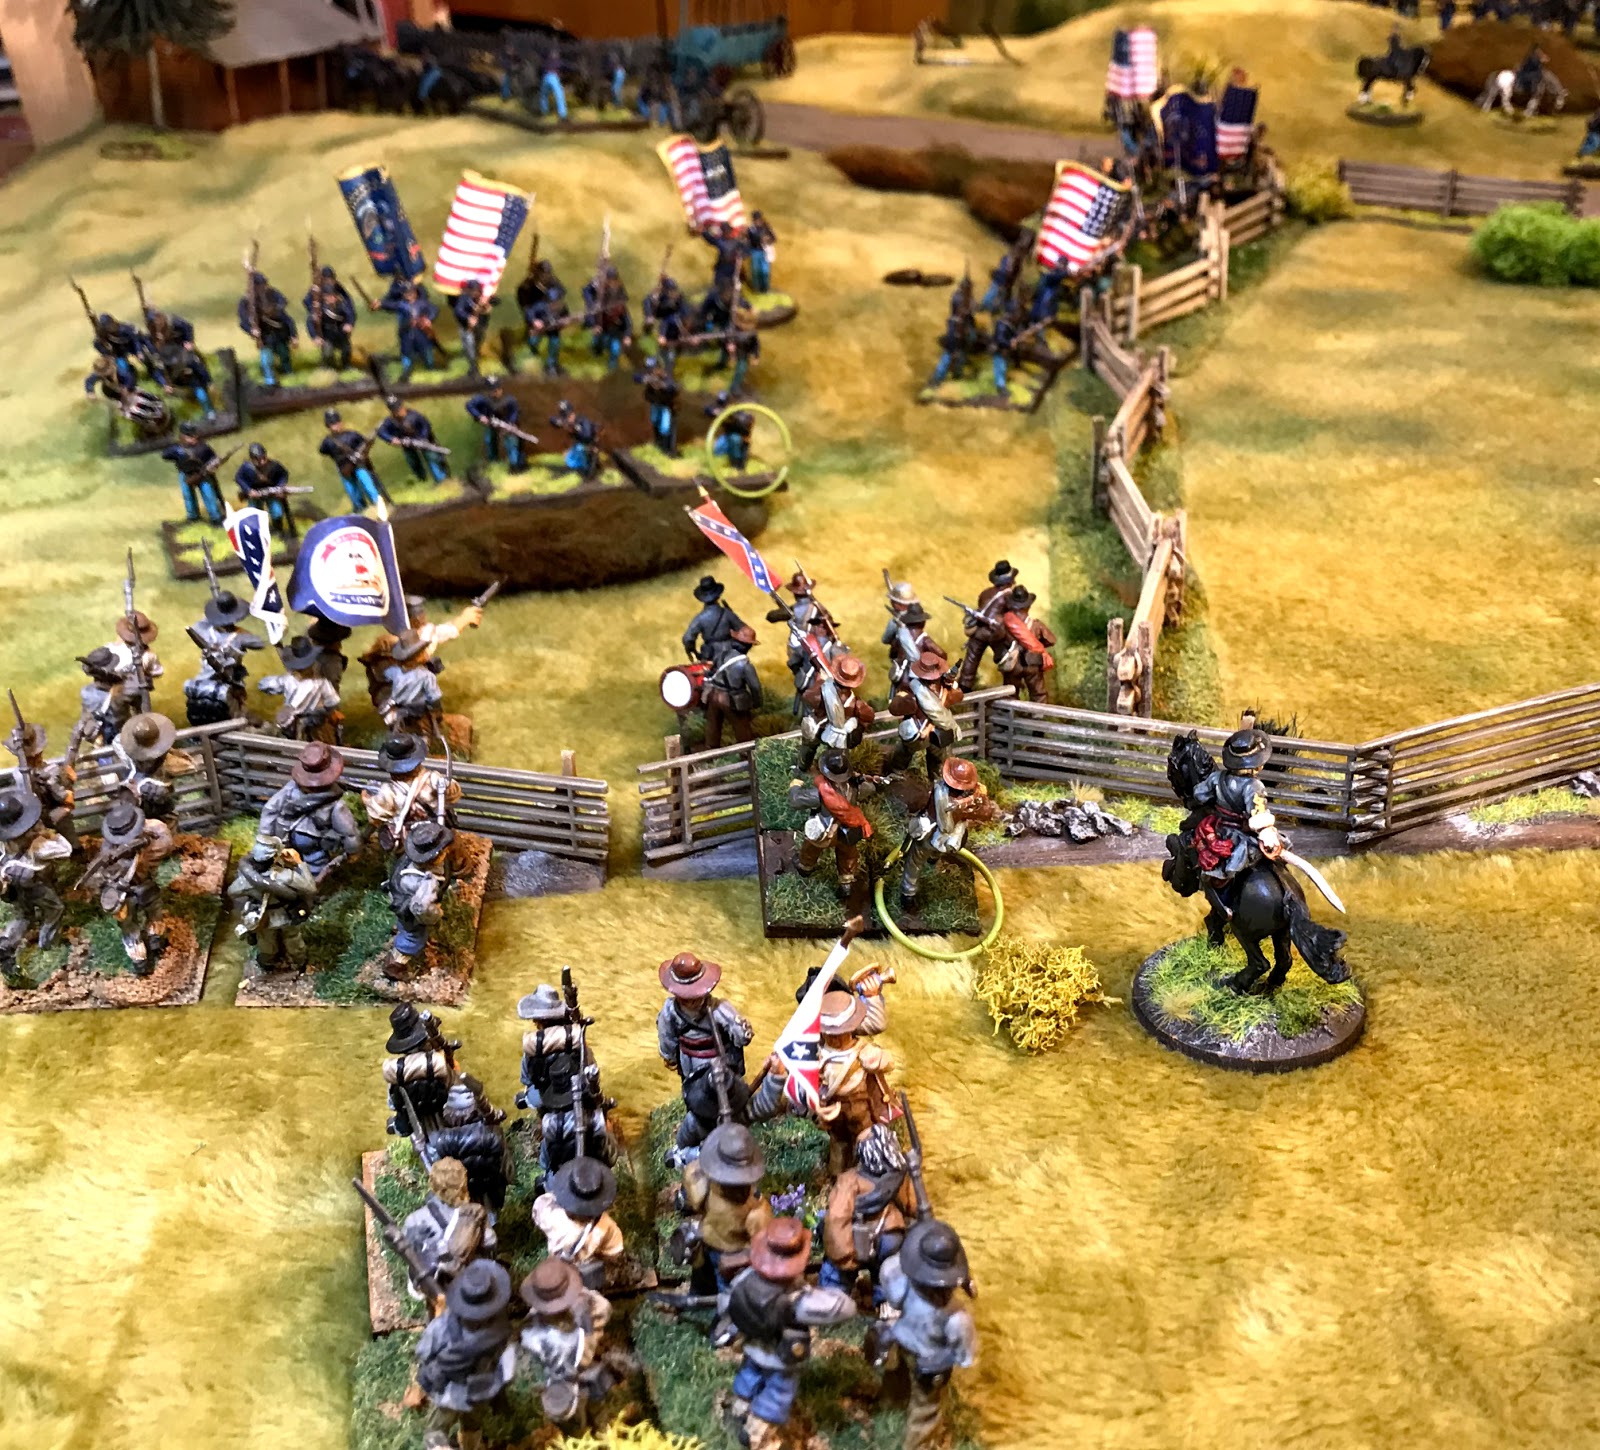
Doles’s Brigade is pushing forward and the Union line is looking vulnerable to being rolled up along the ridge
Lots of exchanging fire in the centre but little sense of a break through 
As individual rebel units are thrown into the attack others pull back
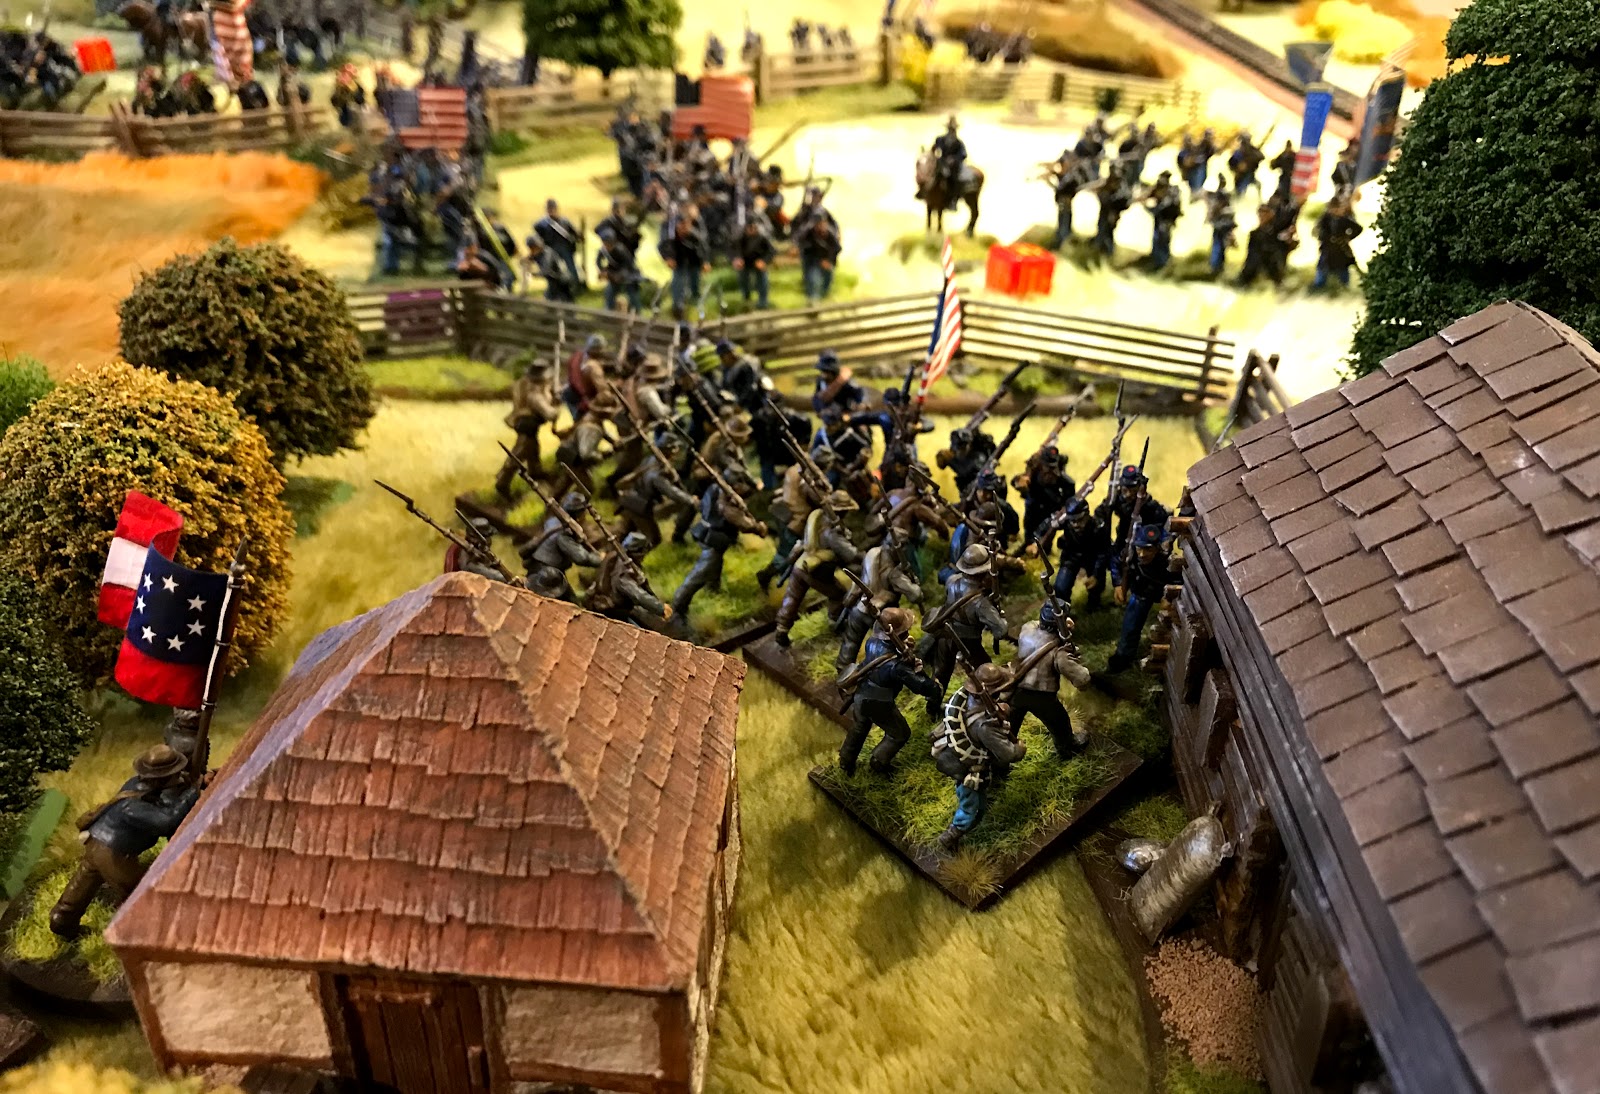
Things then get really serious as hand to hand fighting breaks out at the Bender Farm
Despite the limited depth of defence the Union right flank is holding...but only just
Still plenty of Rebels units pushing forward 
Eye candy 
The rebels are starting to break through on their left flank where they have the numbers to count
Ramseur’s Brigade has now forced its way up the Mummasburg Pike where the remnants of Baxter’s Brigade has now broken
In the centre the confederates still have numbers but are being held in the Wheatfield 
The Union Forces have taken back the Bender Farm
The final position in the centre where the Union Forces have taken the advantage

At this point the battle came to an end (tea time having played for about 5-6 hours) we decided on a minor Confederate victory as Baxter’s Brigade had broken and a second was close to breaking, given time the rebels would possibly have rolled up the ridge. Having said that there are a lot of Union troops still holding and there is no chance of breaking through further along the line towards the McPherson Farm. Yet again a great game, the rules give a real sense of the period and it is hard to gain a decisive break through, but this is how it was at the time and accounts for the high casualty figures. In this case both forces would have plenty to fight another day. We will be back to the ACW soon 🙂

Sunday, 7 July 2019

Reg No 18 Prince Von Prussia

An interlude this week and I picked up the next 10 mm SYW unit to paint. They had already been prepared and only took a couple of evenings to complete.
These are No 18 Prince von Prussia you can just make out the pink. They were painted slightly darker blue which kind of works but is slightly less vibrant than the other figures I will probably flex between the two for some variation. Added a mounted officer which I think works quite well, and I definitely prefer the paper flags as they are more vibrant than the metal versions.

Whilst small they are quite fun to paint so I am going to try and crack on😬 although this is all five of the Regiments which came in the army pack.

Wednesday, 3 July 2019

Arab Cavalry 🙂

Finished off some more Arab cavalry this week for my Al Andalus project, they have been on the painting desk for a while so nice to get them finished. Mainly Gripping Beast but the two guys in the middle were random figures picked up at a show rummage box and put on some spare horses.
Shields hand painted 
I guess they will play as a small unit of medium or heavy cavalry

I do need to get on with painting ........😀

Monday, 1 July 2019

Operation Sealion : The Dover Command Tunnels

As S-day of Operation Sealion draws to a close the German advanced forces have closed in around key command locations in and around Dover. Taken by surprise the British Forces have been slow to evacuate senior staff and as Dover has been gradually overrun a panic has spread through the army command that Winston hasn’t been seen. As the remaining escape route north is held open a daring search and rescue mission has been implemented. At the same time German Forces are assaulting the command tunnels hoping to capture the Prime Minister and gather any other secret information that might be of use later in the invasion.
The scene is set at the start of the scenario

The scenario set up, a series of complex inter-linked tunnels, the red dots indicate the potential entrance and exit points for the British rescue force. This will be led by Gen Sir John Dill as the senior commanding officer, he is accompanied by Churchill’s bodyguard Walter Tommy Thompson, a sergeant Matthews and a selection of well armed private’s. The entrance point will be randomly selected and this will indicate the exit as the opposite side. The Germans led by a Hauptmann Schmidt, a selection of Sergeants and Private’s will be split and enter the tunnels randomly form the two other sides. There are three objectives for the British.

1. Locate and rescue Winston exiting the tunnels from the appropriate point (really nothing else will do) he is hiding in one of the rooms unknown to either force !
2. In every ‘square’ in the tunnel complex there is a piece of intelligence collected by the first figure to reach it, these are represented by small gold die which will be seen in later pictures.
3. Kill as many Germans as they can or escape as many British either would be the deciding factor in any victory.

The British rescue forces charges into the tunnels, Thompson on the right with Gen John Dill behind him
Private’s are sent in all direction to hunt for Winston, he will only be revealed once a figure enters the relevant room. In each room there is a figure and a marker indicating the potentially hidden Winston. This private searches the bathroom but to no avail.
The Germans have now entered the tunnel and begin to block off the obvious exit routes.
More Germans rush into the officers mess, but again Winston isn’t found
The Germans spread out and soon begin to collect the intelligence tokens
Including documents left in the Mess !
Using one of the doors the British continue the search
But the Germans have also made it into the Map room.
Becoming quite desperate Dill and Thompson rush through the map room but Sir John is knocked down, luckily he is only winded and is able to jump back into the fight
More intelligence gathered in the command room....but no Winston
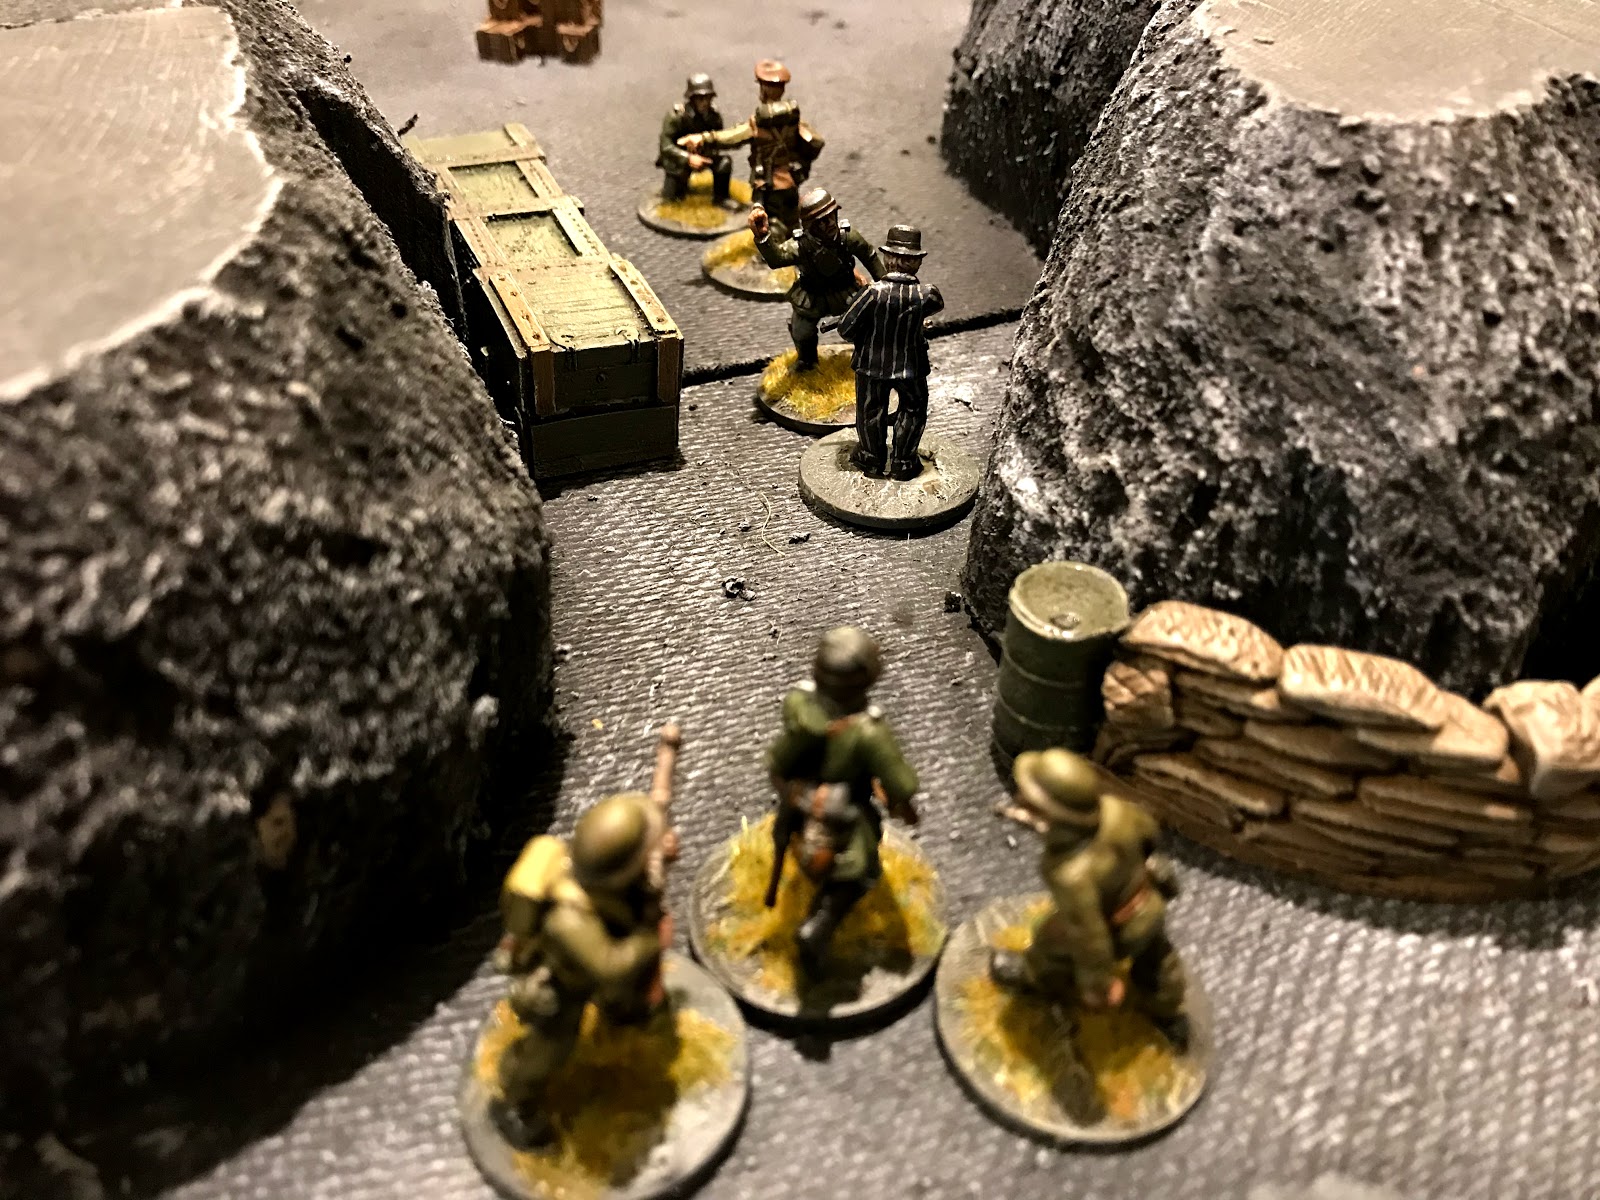
Finally a German bangs through the storeroom door and as he approaches some of the store boxes an angry looking gentleman in a bowler hat smoking a cigar opens up with a Tommy gun !
Meanwhile the General is being overpowered, he is putting up a fight but can’t hold for long
One of the Germans is cornered.....
Whilst Schmidt hides in the next room
Another of the Germans is taken out
But the two on one combat is too much for Sir John his bravery may just have bought the others enough time 
Small combats have broken out everywhere with desperate hand to hand struggles in the tunnels, the British are trying to open an escape path the Germans looking to capture the PM
But Winston is also in trouble !
Another German is on the way into the store 
But Winston is no slouch, he will fight them on the beaches and in the tunnels........
He makes a run for it, while two of the Private’s hold back the Germans....it is getting desperate ......
Having knocked out another attacker Winston makes a dash for the exit, he is one move away when the German officer charges him to block the way, from nowhere Tommy Thompson comes to Winston aid.....surely he can rescue his boss ?
Nooooooooooooo.......... the Hauptmann has got off a single lucky shot and the Prime Minister goes down literally the last roll of the die !!!!!
This left me in something of a conundrum, surely Winston couldn’t be dead ? Perhaps wounded, perhaps captured to be rescued later, then we realised that this was in fact an actor impersonating Churchill, Winston had been changing clothes in the store room as a last and final attempt to slip out phew............

A splendid game, which really did go upto the wire, we had characters chasing about all over the place and then vicious hand to hand fighting to capture the PM. Sadly based on the criteria we had set the Germans definately won, not only was Winston (apparently) killed but they had collected significantly more intelligence as the British had been more focussed on the rescue.

This was one of the those games I had had in my head for a long time so it was nice to finally get it played 😀

The day after the Phoenix Wargame Show

So nearly everything is unpacked from the Phoenix show yesterday. This is just a quick post to show my game in place, and record a few thoughts on how it went. With things having been busy at home I wanted a game which didn’t require too much extra, the majority of the set is straight from the dungeon, as some of you will have seen I did paint up a few extra bits to add that little bit of extra for those people who just want to look rather than play, so the game whilst very much participation can count as a demo game as well.

I played through the game five (and a bit) times during the day, it is a slightly longer game than some of my previous participation games lasting I guess around 40 minutes. The rebels won every time which is how it is designed but in four of the games it went down to the last turn and even the last roll of the dice so it felt pretty spot on. Three of the games were with youngsters which is the best bit and all seemed to enjoy themselves.
The game in place just before the punters arrived
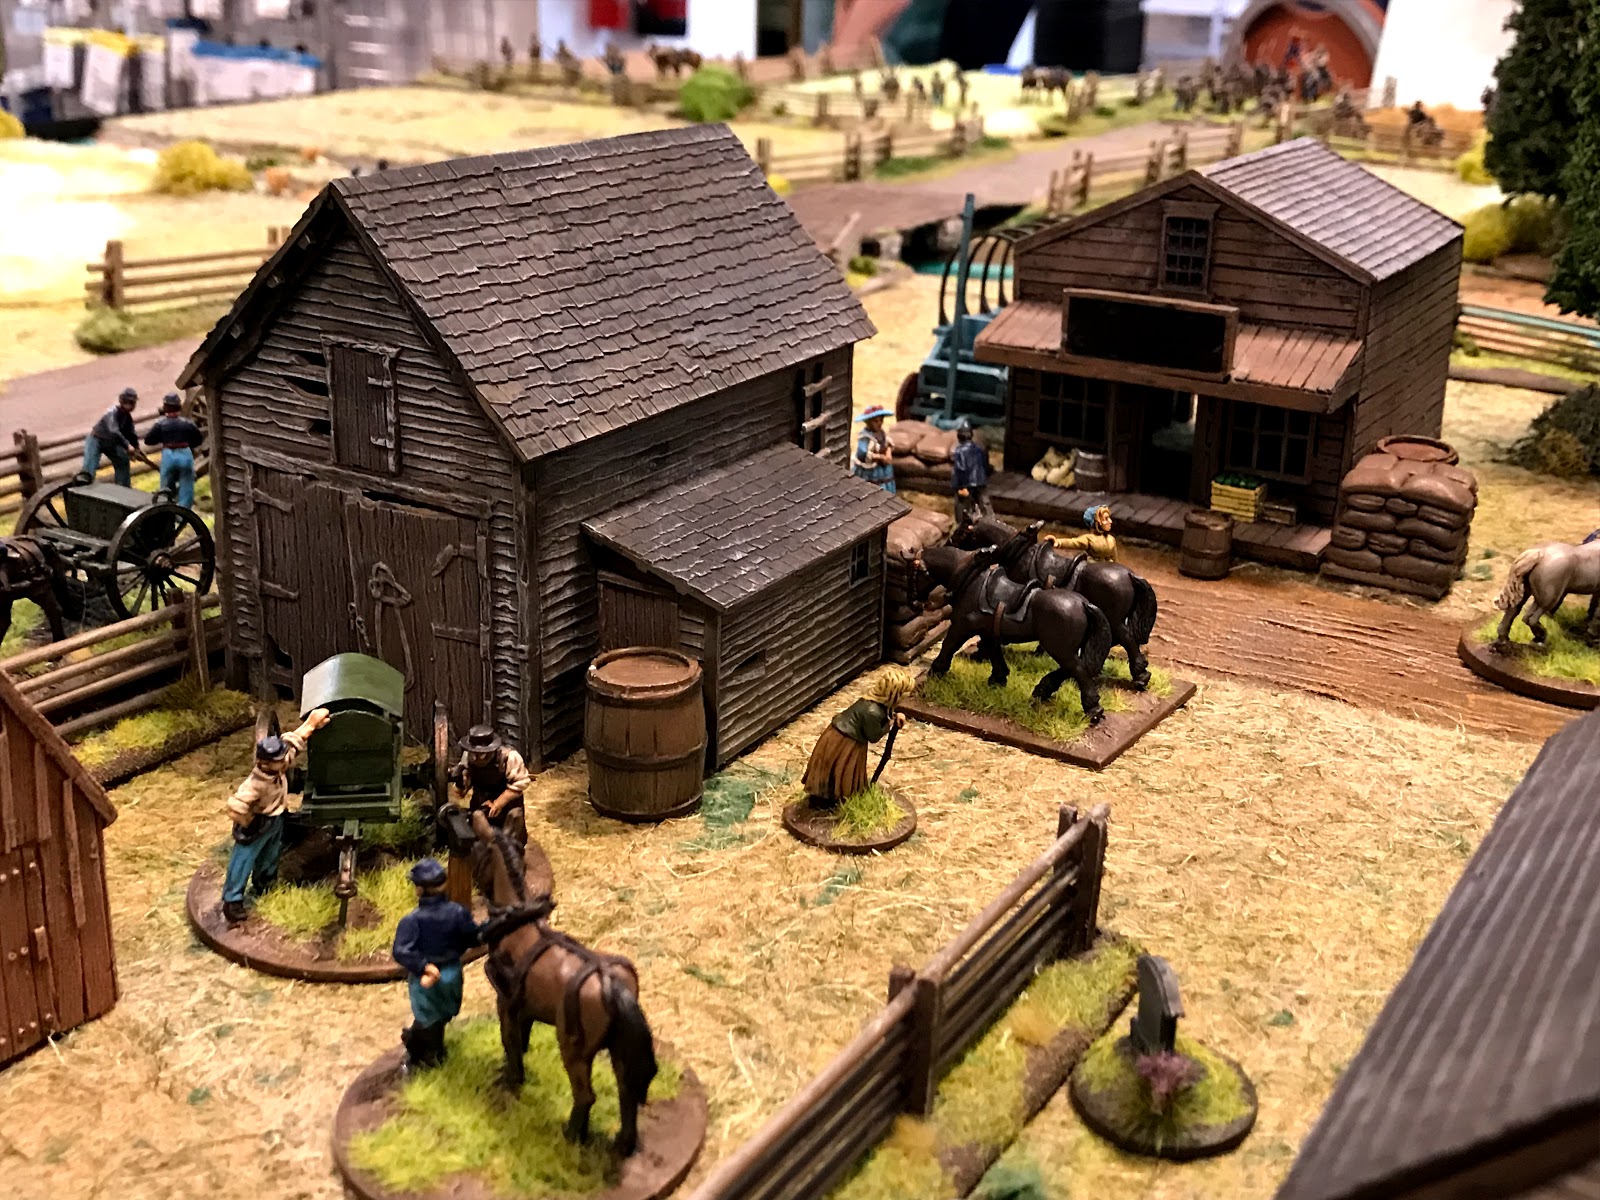
The forge at work
Cavalry charging through town, they don’t play but look nice
The unsuspecting Union camp
I bought a few bits, mainly to encourage the traders too our local show rather than anything I needed, the photo above includes some Russian Civil War Copplestone figures which I had agreed to buy from Phil....
Along with these rather nicely painted mix of Russian characters.

As to the show Norm has put up a detailed review and to be honest I didn’t see that much of it. It felt slightly quieter with a few likely causes, the new Glasgow show on the Saturday before, this is unfortunate as they are clearly picking up a lot of the same market, the fact that it was a hot Sunday probably didn’t help. This is the fourth show and I have enjoyed them all....hopefully it will manage to continue. I did get the chance to catch up with a number of friends and this was a very pleasant break to my game.

All being well I will be back next year 😀