Tuesday 29 December 2020

Battle of Rolica (Afternoon) : Commands and Colors

With my son still at home and after the stout defence by the French in the previous battle Wellesley (apparently recovered from his death) was persuaded to attack the strong second French position. Again I so.not run through the detail of the battle which is adequately covered on Wiki. In essence Delaborde had successfully pulled back to what was an even stronger position. Wellesley again attempted to out flank the position with Portuguese troops under Col Trant and the 3rd Brigade under Gen Ferguson. He led the main assault. The terrain was very difficult with the front of the French position cut by deep rocky gullies. The British assaulted up these after being initially repulsed they made it onto the plateau but before the position was outflanked the French managed to withdraw in order.

The initial set up for the battle, with the Portuguese and 2nd Brigade looking to outflank the position. With the terrain constraints this is a tough scenario for the British. But the french need to avoid coming off the ridge and being defeated in pieces
Action down both flanks where there is a bit more room to move
French reinforcements 😀😀😀
Portuguese again prove more aggressive down the flank but the French squares clings on
After some fierce fighting (the British suffered from some dreadful dice rolling) the french took the initiative driving the attack back at the sharp point of their bayonets
At this point the French picked up their winning flag taking the battle 5-3. You can see the French cavalry hiding behind the ridge having been mauled dreadfully by the Portuguese.

Another fun game, we resolved a few of the rules we had got wrong first game which made the light infantry more powerful. It would have been much closer if Wellesley could roll the dice properly, at least he didn’t get killed again ! Next up Vimiero depending on Young Wellesley’s enthusiasm 🤪


Monday 28 December 2020

Battle of Rolica : Command and Colours

 Well Christmas Day has been and gone, the country is in and out of lockdown and the weather has been pretty poor but luckily we were able to be together as a family for the first time since last Christmas which has been really nice. With some pre ordering I made sure I received a handful of hobby related gifts.

Dark age archers for my planned battle of Hastings in 2021, hot off the press a new Rubicon Panzer III, a couple of really nice books the Spanish Civil war being a surprise gift from my son encouraging me to start another period !!  Plus Command and Colours Napoleonics. I ordered this ages ago having seen a number of games being played on other people’s blogs and scratching a historical itch.
Anyway my son makes an idea opponent so I spent a couple of hours christmas afternoon and Boxing Day sticking the unit cards on the blocks and reading the rules. We do have a copy of Memoir 44 which we played when kids were younger so we are broadly familiar with the style of the game. Boxing Day evening we were able to set up and play the first scenario the battle of Rolica. If you are not familiar with C&C the core mechanics are fairly simple but it gives considerable subtlety in the game which takes around 2 hours.
Rolica sees the British, supported by some Portuguese  under Wellesley attempt to knock the smaller French force off a ridge line next to the town. After some initial long range shooting the British (my son) grabbed the horns and sent Nosey directly at the ridge with as many troops as he could muster.
The French were soon struggling to hold the ridge and the British pressing on their left flank as well.
Gripping tightly to the ridge the french attempt some easy victory points by attacking the weaker Portuguese troops but they quickly form square and turn the French light cavalry back
Despair now on the ridge, french have been hit really hard, the British infantry using cold steel to force the assault.
French command under Delaborde is pushed back, but Nosey has neglected to deal with the last French Light infantry unit who pour a devastating volley along the ridge, the broths at this point only needed a single point to win !
The ridge is again clear but there are few french left to hold the line
The British try an aggressive cavalry charge on their right ordering the Portuguese cavalry forward but their charge is turned back. Both sides now only needed a single point so it is next point wins
Having feinted on the right the french light cavalry spot a solitary figure in the distance and in the classic first episode from Sharpe (we really didn’t plan this) they charge Wellesley who had been left out in the open.
Captured....perhaps to be recused later by a member of the 95th with a rather rough Yorkshire accent ? Obviously he can’t be dead as that would really mess up history !
But a Narrow French victory 5 to 4, they clearly couldn’t hold the ridge any longer but Henri Delaborde has delayed the British advance which was his objective.

A splendid introduction to the game which we both really enjoyed. We may have made a couple of minor rule errors but with a few more games we should have it. I’m sure as many others have I am pondering expansions and the potential use of the system and the blocks for other games, these thoughts may never come to fruition but they are fun to ponder.

We are planning another game this evening 😀

Monday 21 December 2020

AWI Campaign Old Molly : Part 3

The conclusion to our mini series didn’t make it into the Christmas Review (those who may have missed my last post check it out for some light Christmas entertainment) and even this may not be the last post of the year. But last night we played the third and concluding part of our Old Molly trio of battles. If you wish to see the background just scroll down a couple of weeks.

The Rebels having captured the gun at Oak Tree Forge and survived by the skin of their teeth the ambush, they must now cross Oak Tree River to get the gun to safety. For those who have the rules this is pretty much the Bridge to victory scenario. The British have crossed the river further upstream and have sent a force to prevent the bridge being built. The Rebels have two small units of engineers who must build the bridge, once they are in the river by passing activation tests, needing a total of 60 points. For the rebels dusk can fall anytime after 8 turns up to a maximum of 14.

On to the action 😀

Major Jessop Callahan has managed to sweep up some more local Militia to bolster his force, they approach the river from the South, the bridge can be built in any location.
Unfortunately for the rebels some of the Engineers haven’t been paid and are reluctant to get moving ! The rest of his force can hear the Redcoats in the distance and start to deploy on their side of the river
and here they are Colonel Archibald advances, he has managed to keep some local Natives in his force, this should be a fairly easy task to stop the bridge being built ?
Already at the River Bank the Americans get in the first volley and this immediately shakes the British line.....
The British on their left flank start to return fire but have little effect initially
Jessop has now sent his skirmishers into the river to secure the far bank, whilst the natives are sent forward to attack the bridge, then a huge volley thunders out from the rebel side
Devastating the natives are thrown back but worse still the British light infantry are badly mauled and Colonel Archibald has fallen from his horse, he is out of the battle and taken to the rear.
Meanwhile the engineers are now busy in the river starting construction of the bridge.
Rebel skirmishers are now on the British bank but the British are rallying
The second unit of engineers join in the construction, things are not looking good for the British 
Leaderless the Redcoats battle on with little hope of success, then finally forming into line a volley from the British Guards wipes out a unit of skirmishers.
As the fleeing unit runs back through the Rebel lines it causes near panic and suddenly Jessop can see parts of his force, including some of the engineers pulling back from the river.....disaster !
Only the American line regiments are left in the river.
But dusk hasn’t quite fallen (in fact by some luck we ended up playing 13 turns!) and the bridge is starting to take shape now over half way
The other British veterans are continuing to push at the Rebel right flank but can’t quite force them back as darkness starts to fall
In turn 13 the bridge is finally completed with over 60 construction point achieved, and with only one effective unit of engineers.
The campaign is over the bridge to safety has been built and the Americans  have made it. Major Jessop will receive a small commendation from his superiors for the capture of the gun and bringing it home safely. This was another fine scenario which really did chop and change we both felt it would be easy for the British , then it looked like it was all over , then it turned again back and forth. Most entertaining ! The final tally in Glory points across the three battle was a resounding 16 to Jessop and a meagre 4 to Archibald. And what of the erstwhile British colonel I hear you say. Well I did an official roll on the Officer casualty chart and.......
Enough said officially his name can no longer be mentioned for the disgrace he has brought on the Army and the King !

Needless to say we had fun and will be planning some more virtual games in the future as lockdown seems set to stay for a while.

Matt


Sunday 20 December 2020

Christmas Review 2020

 Something different this year I decided to do a short Christmas 2020 review video. Hope you enjoy it


Have a great Christmas 

Matt


Thursday 17 December 2020

Inspirational Books and SYW Commanders

Following Iain’s post of his inspirational book I thought I would do the same. Then I realised I had done it back to celebrate my 500th post here https://wargamesinthedungeon.blogspot.com/2018/08/celebrating-500-why-did-i-start.html 

However, as a reminder this was the first military book I had , it is an unashamed piece of historical literature written before the madness of the First World War when many genuinely thought battles could be ‘glorious’. The pictures are wonderful 😀

My other book was Featherstone
I did take a picture of one of my modest bookcases, I’ll leave you to zoom in a look at the eclectic mix of topics. I have other bookcases but no near as many as Iain.
Thought I would also share this title, as perhaps one of the least useful books I have picked up when in a second hand bookshop and felt I needed to buy something as you do. It has quite a lot about war elephants which of course is why I bought it 🤔
I have managed some painting this week finally getting round to some SYW command stands which brings this project closer to some battles in the New Year. Here are the Austrians
and here are the Prussians....I haven’t stuck to any specific uniforms as I am sure Brigade commanders had their own individual attire.


Tuesday 15 December 2020

AWI Campaign ‘Old Molly’ Part 2

The scene was set for the second instalment of our Old Molly AWI campaign. The Rebels have capture the famous siege weapon and now need to transport it to safety. The British Commander Colonel Archibald Watts is reluctant to allow the valuable artillery piece to fall so easily into the enemies hands. Despite a bloody nose from the first encounter he has hatched a plan to recapture the gun knowing the likely route of escape he has led a small force of light troops to set an ambush. On route, to bolster his force, he has hired some local natives, promising them payment from the King’s purse for each Rebel scalp taken.....

The scenario in brief. Ambush scenarios can be difficult when the enemy is expecting the attack. To create some sense of unexpected challenge I set two random factors. Firstly the Rebels who were strung out on the road would randomly select the order of March. With variable troops qualities and the cannon itself to contend with this would increase that sense of  disorder as the ambush kicks off. Secondly the British who had a smaller, but more mobile force would also have random entry points, rolled for as each unit entered play. The scene was set. The Americans need to get the cannon off the table ! But will also get points for units which escape.

The initial setup, green tokens show the random set up order prior to placing of the American forces. The black markers show the kick off points for the British and Native force. The wooded areas are all light woods so give cover but don’t restrict movement, no cover on the road, the stream is difficult terrain slowing movement but not for skirmishers etc. We had upgraded a couple of the Rebel units and downgraded the Delaware unit which had carried out the friendly fire unit in the previous battle, it seemed fair they would be reluctant to make the same mistake again.
When Jessop randomly deploys his column of march he is quite lucky, the trusty 1st Virginian Sharpshooters are at the front followed by the now Veteran 1st Delaware Regiment
The slow moving cannon (it will move 6” each turn on an activation roll only stopping on a double1) the rear of the Rebel column has his less dependable Regiments
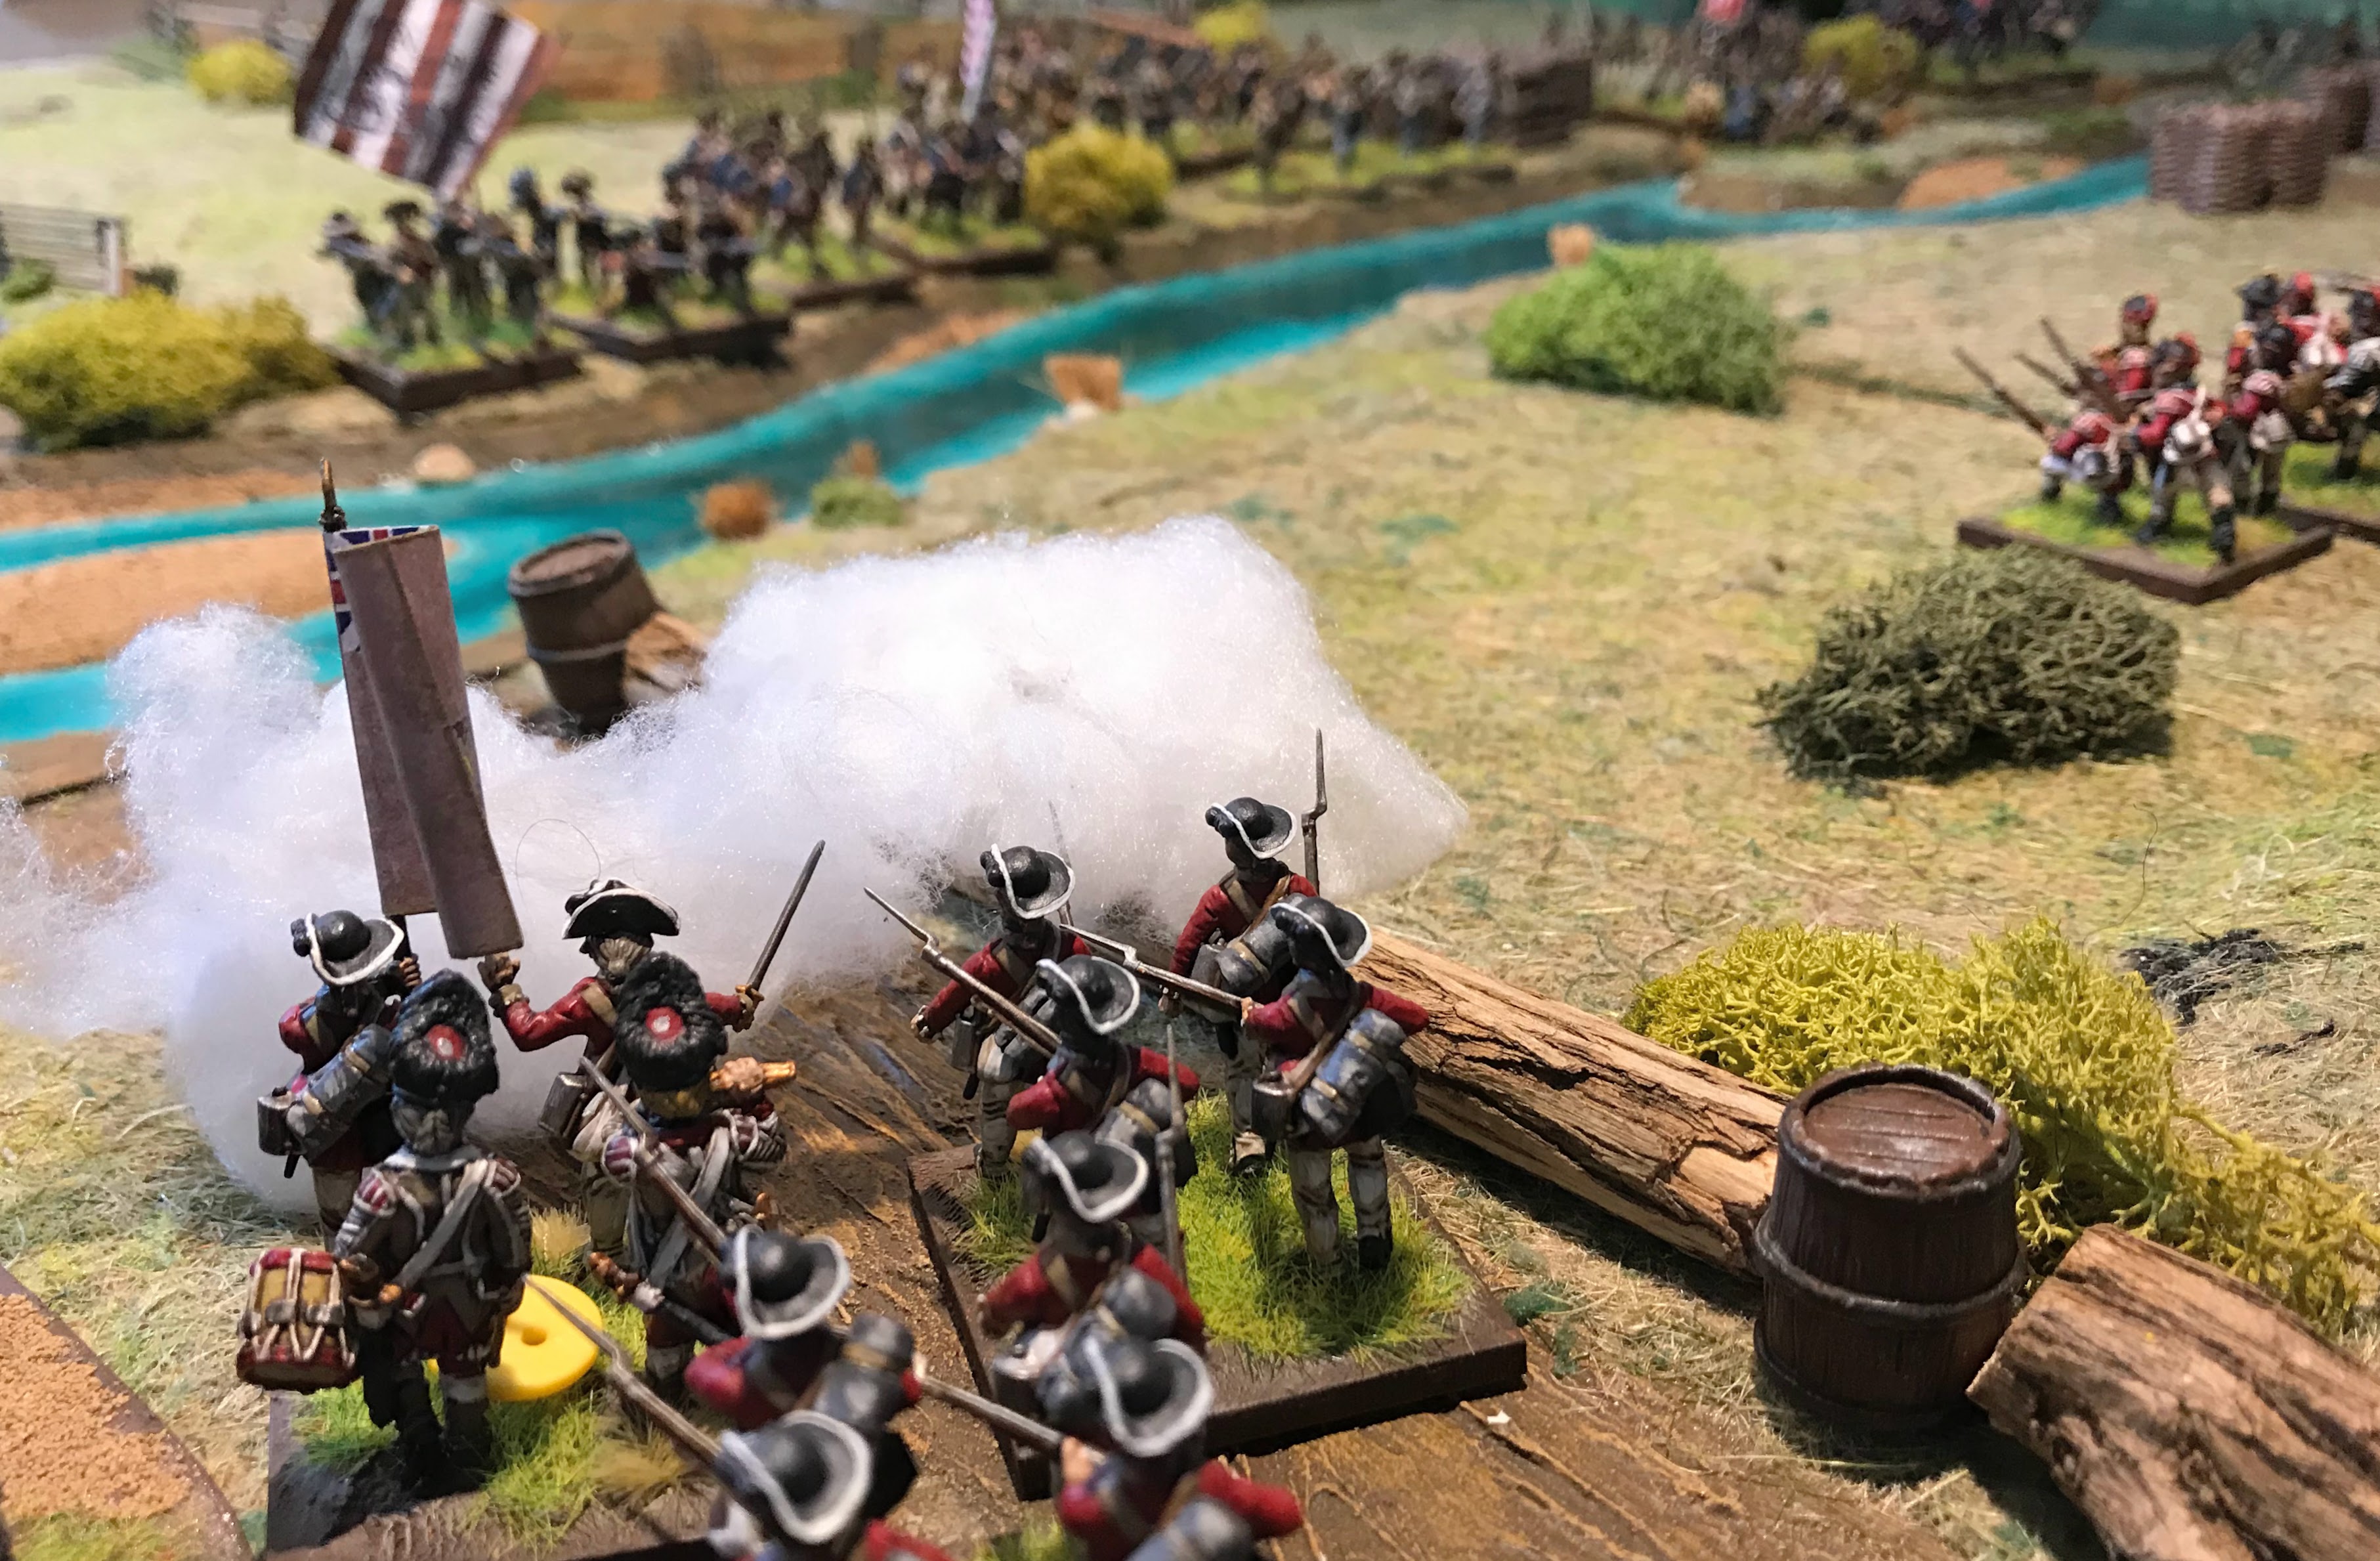
The trap is sprung British light troops are blocking the way , Colonel Archibald waves his hat “Up and at em boys”
The British allied Native s arrived as planned but then seem reluctant to get into combat possibly they are not sure yet where their loyalties lie ?
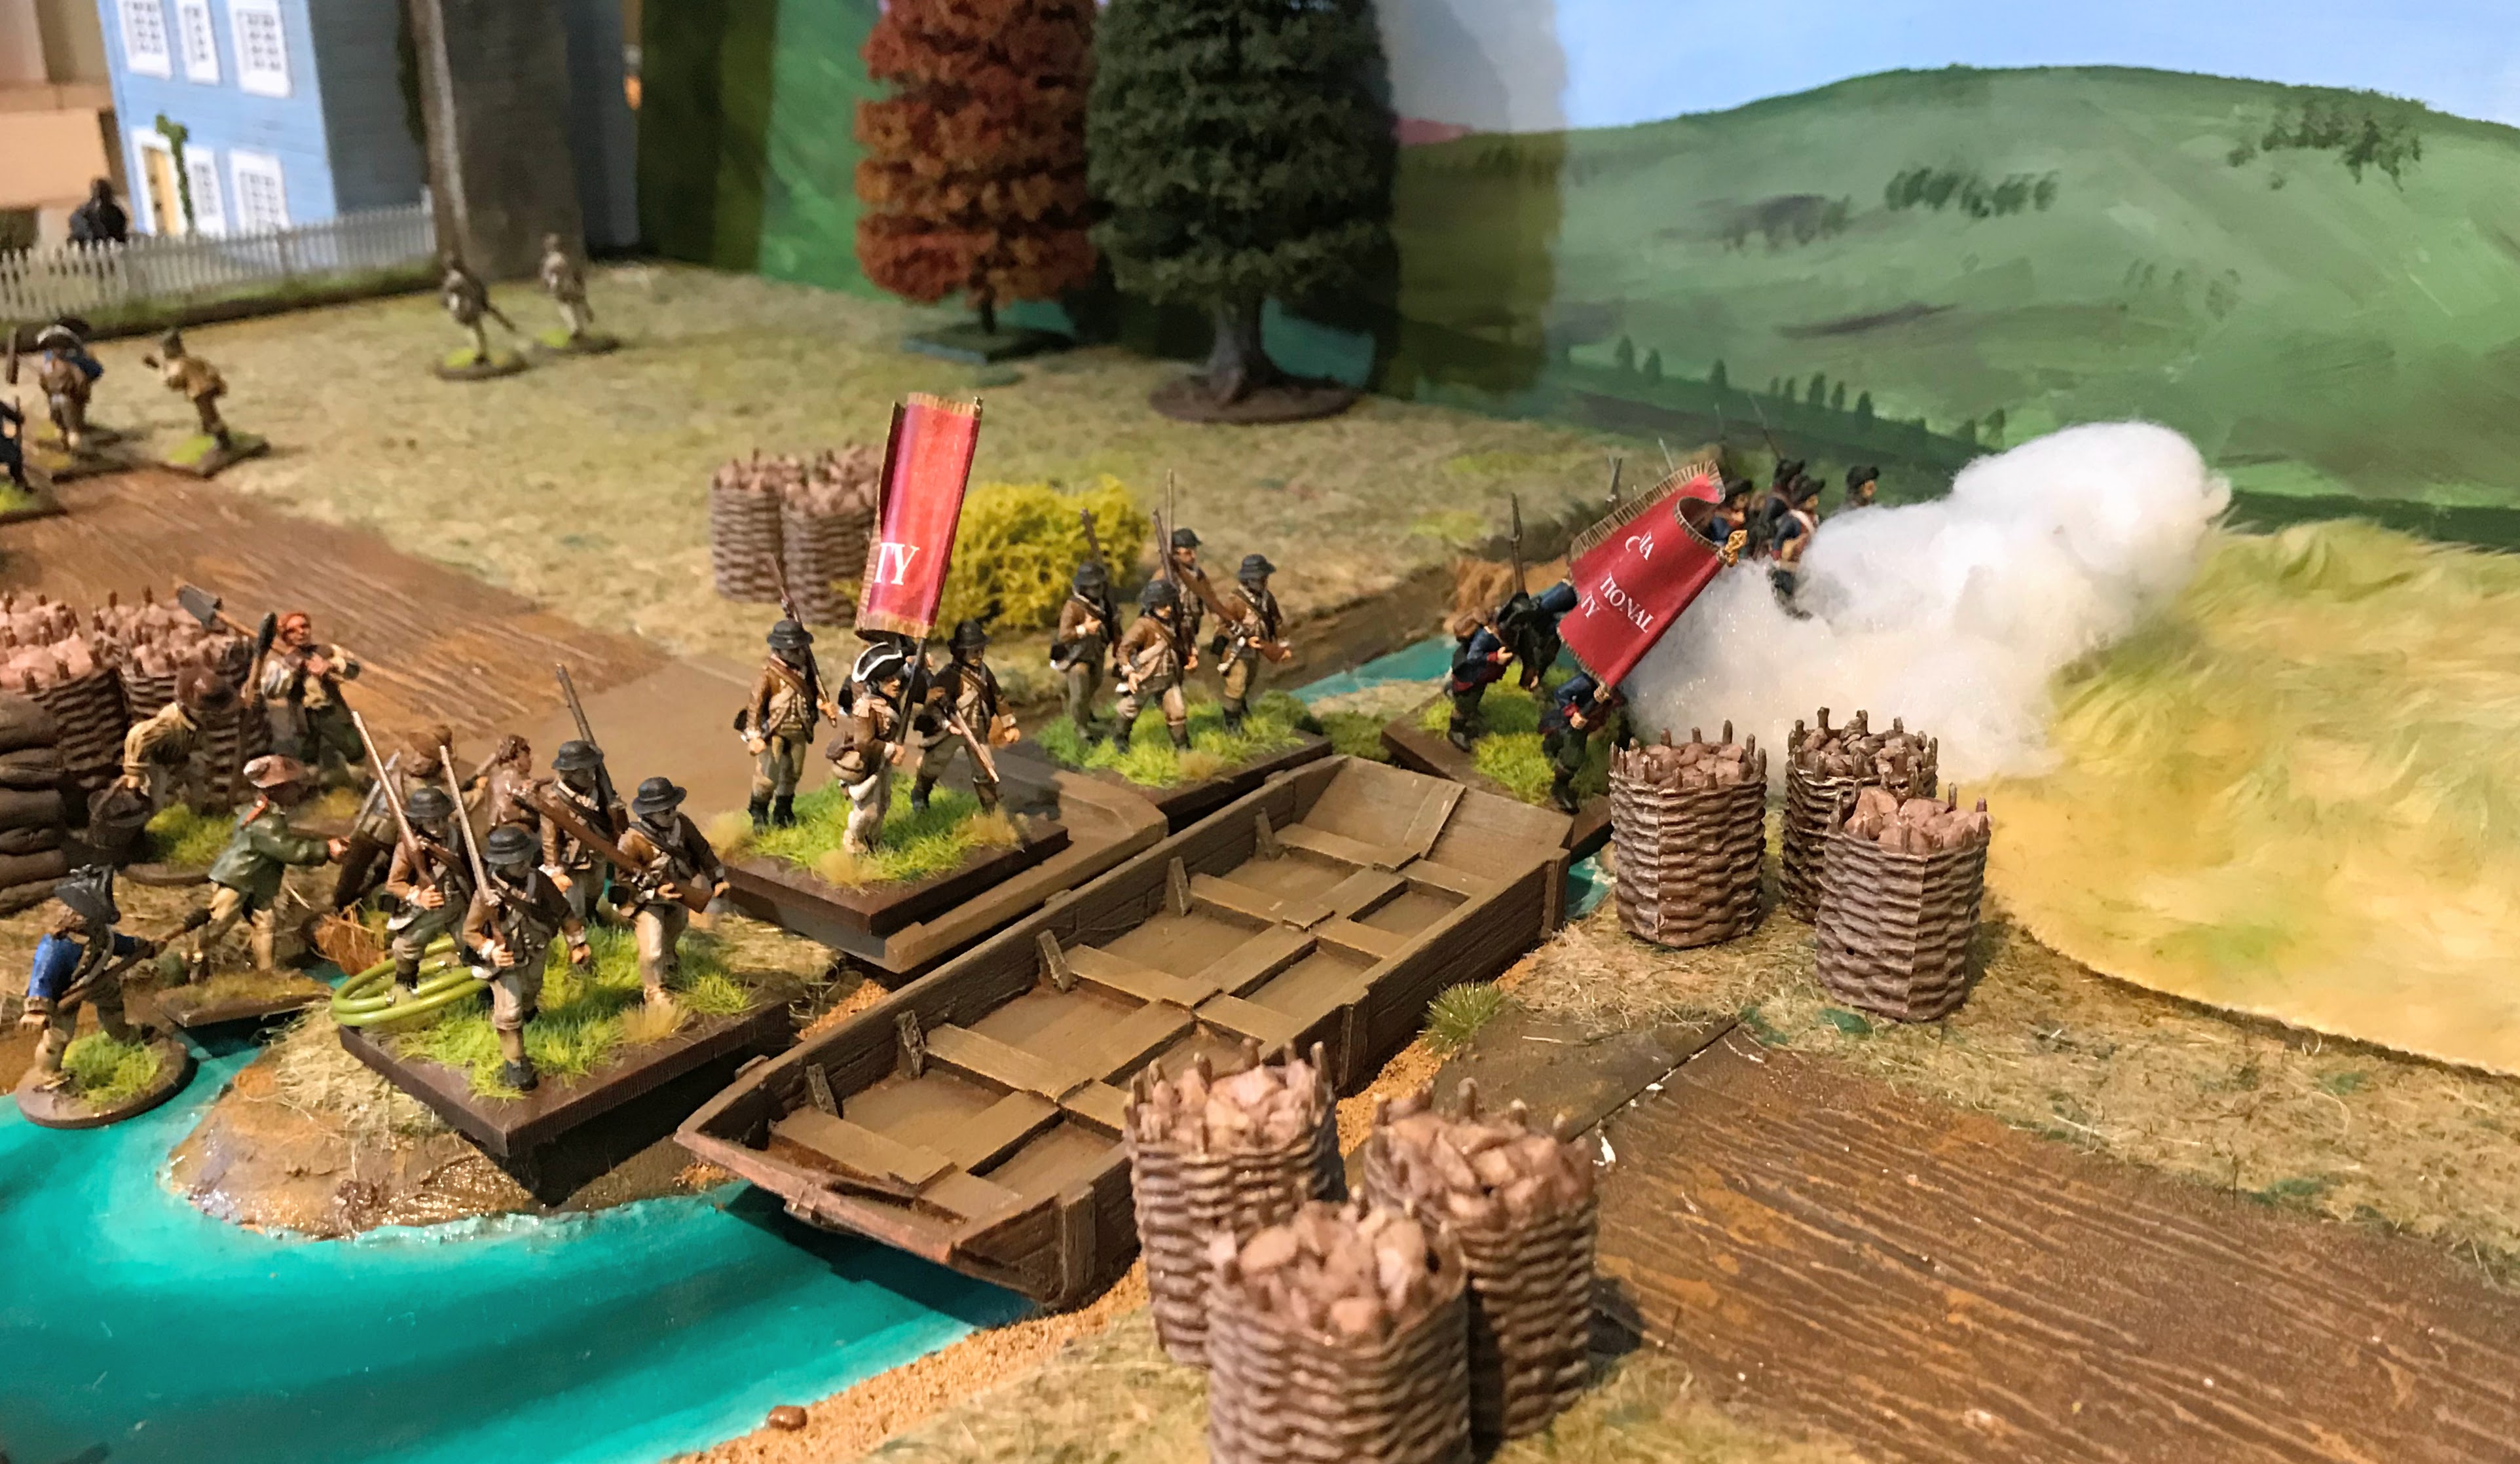
Whilst in the distance more British troops emerge from the woods the Rebel column pushes on over the bridge to clear a path
A fierce firefight ensues with the British Lights pouring a heavy fire towards the exposed bridge
Finally hearing the shots ring out the Natives begin to move forward 
More British light infantry in the woods but they are not suited to this sort of warfare...most ungentlemenly
The 2nd Delaware head off into the woods to clear the rebel left flank, others units continue down the road....
Can’t they see what is coming through the woods !
Perhaps Major Jessop is just too intent on his prize he pushes forward over the bridge
In a scene reminiscent of the last of the Mohicans the first native group urges onto the road, wetting their tomahawks in the blood of the bluecoats, the remainder of the 3rd Delaware scamper back down the road, too bloody to show here th natives then charge again into the skirmishers dealing them a similar fate 
Over the bridge the Rebels are getting pinned down by concentrated British fire, they have no choice but to push through as quickly as they can
The scenario is on a knife edge, when the second unit of natives cross the stream and attack from the right
Jessop has no choice but to meet the new attack head on he forces his unit through the fence and grapples hand to hand with the screaming natives
His regiment of Delaware boys take several casualties but manage to hold their nerve as they withdraw from the battlefield n good order with the gun. Dash it .......
Shortly after the battle Colonel Archibald dispatched the following note to his commanding officer.


Another excellent game, which worked well it was touch and go from the start for both sides the British suffered some poor activation rolls early on and at key moments which would have done for the rebels. The native were brutal in combat but failed to get into combat early enough. The British should have used the bridge more as the pinch point but this was hard with their random set up.

Looking forward to the next encounter.