
The initial deployment Union forces under The command of Gen. Scammon and Rebel Forces under Gen. Garland. Union reinforcements will arrive from the blue dot locations on turns two and three. Turn four will see the arrival of Tew’s Brigade along the same line of advance as the 20th and 13th North Carolina Regiments. As far as terrain is concerned all areas with trees are considered dense or thick terrain, the 23rd Ohio can be seen in the distance attempting to outflank the Rebel line.

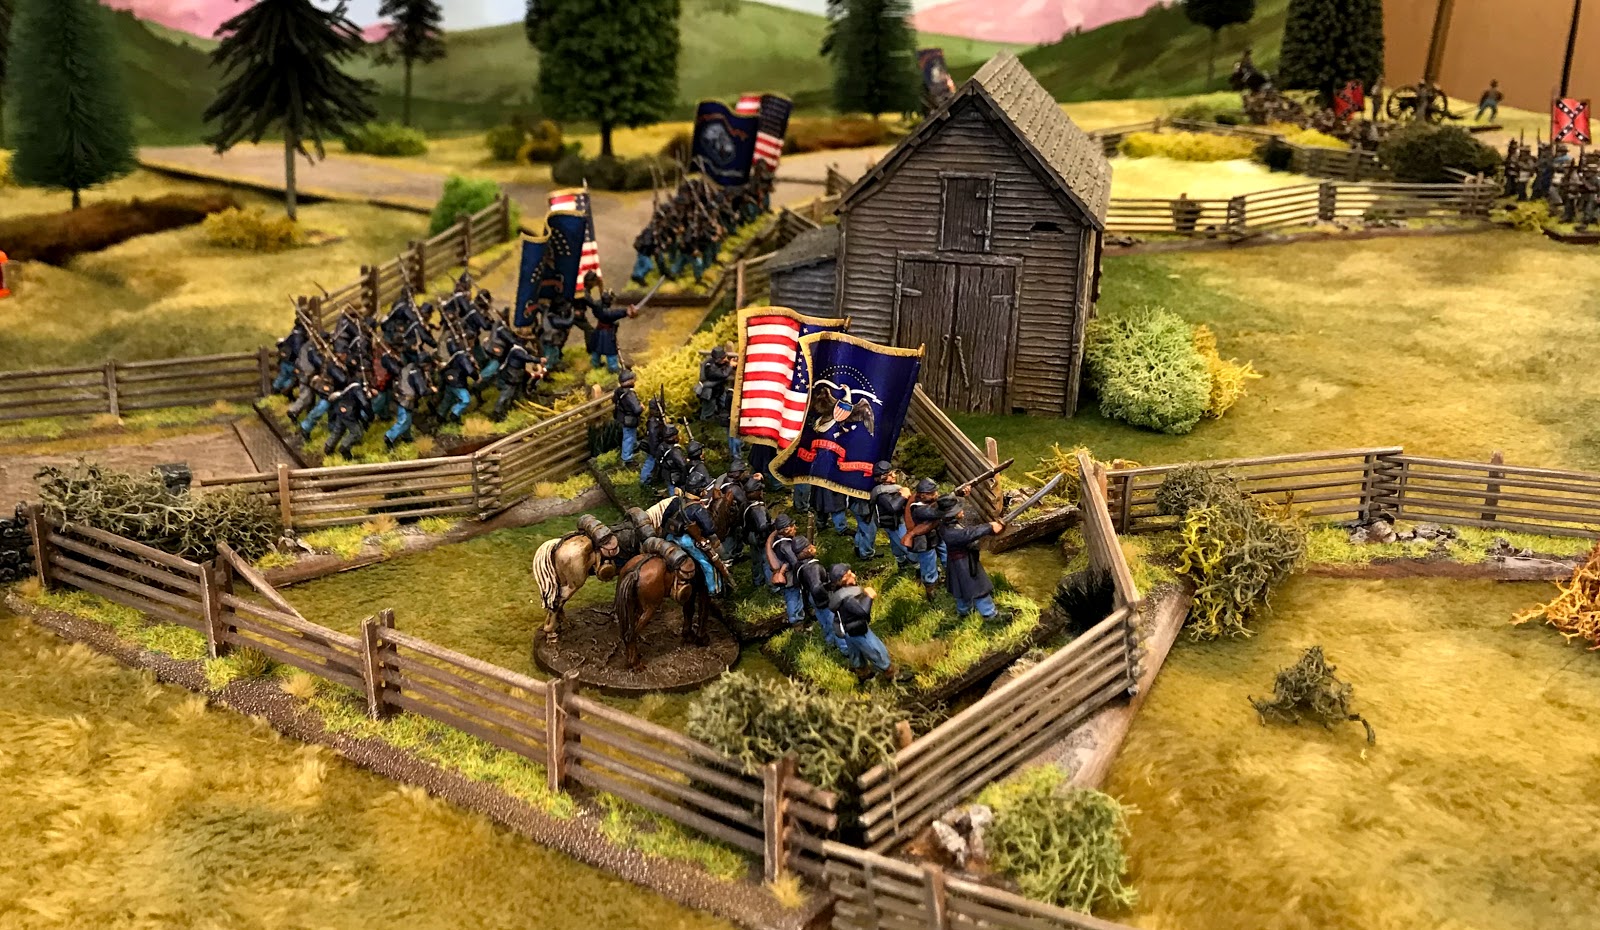
West Virginia cavalry have dismounted near the Barn, beyond them the 12th Ohio are awaiting attack orders

From the North the 20th and 13th NC approach the cross roads behind Gen Garland

Beyond them the other NC Regiments have taken up a defensive position behind the fence,

the Jeff Davies Battery is position to cover the open fields by the Barn

The 30th Ohio advance by the Coffman Farm

The Rebel line has formed into the strong position but will they hold ?

Turn two sees Gen Crook enter along the Old Sharpsburg Road, with a battery of Light cannon and the first Battalion of the 36th Ohio

The NC Regiments by the cross roads turn to face them on the Old Sharpsburg Road

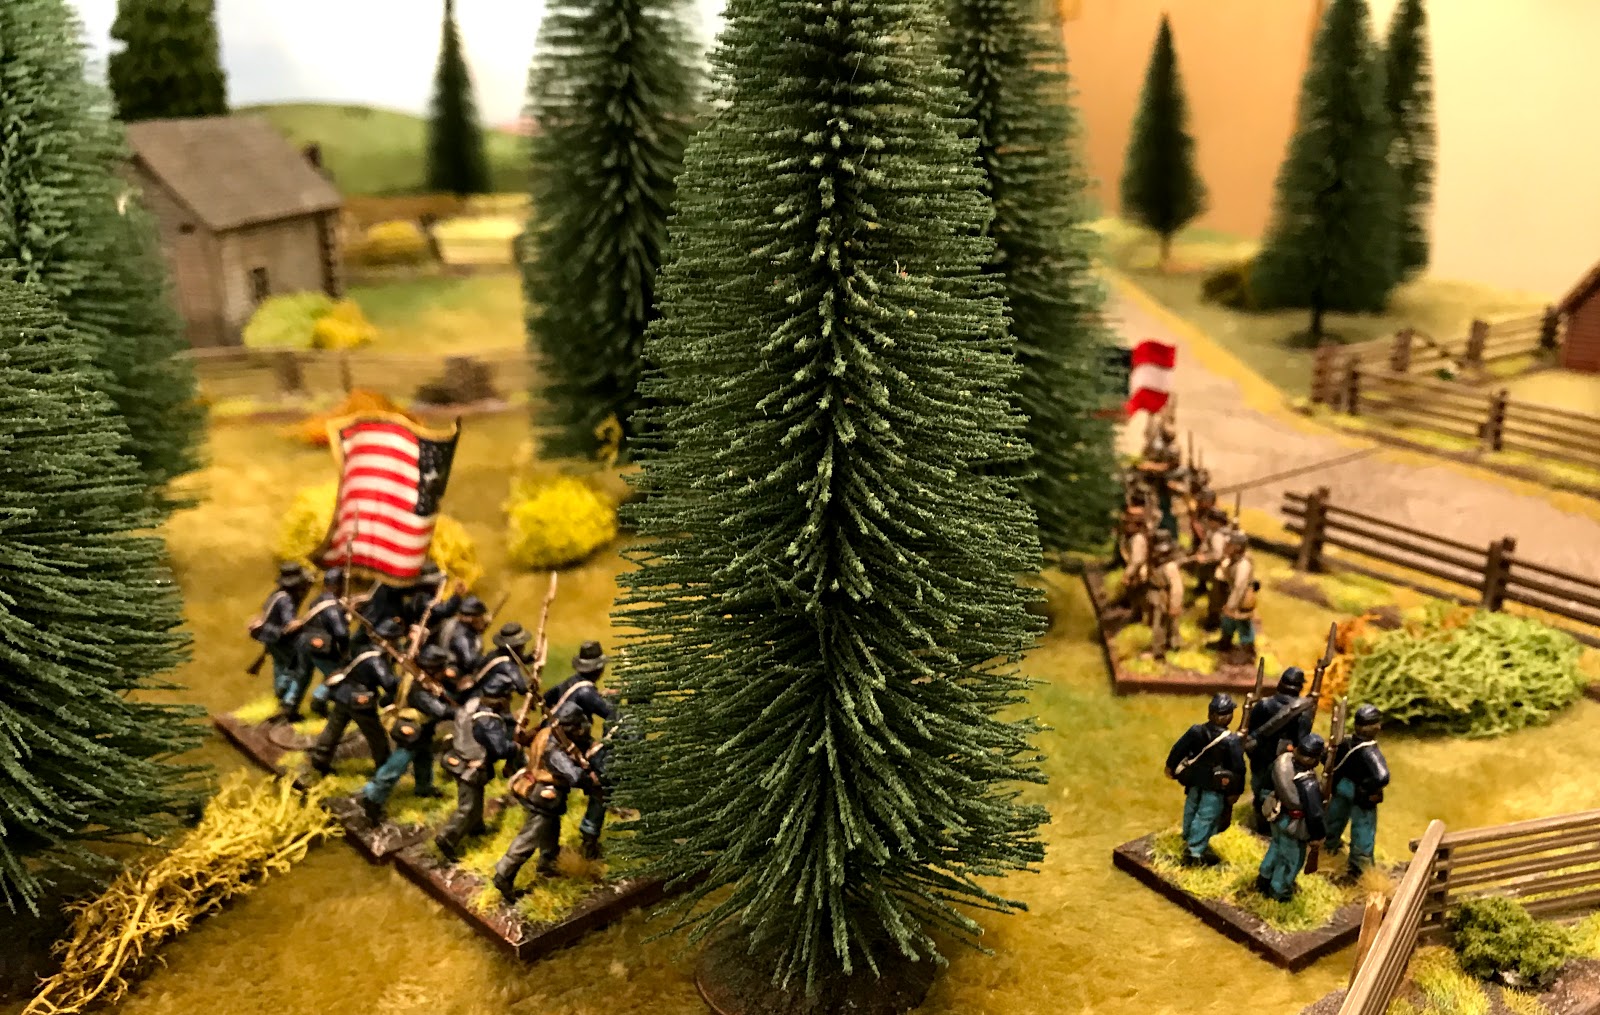
In the distant woods the 5th Virginia Cavalry have dismounted and are snipping at the 23rd Ohio who are reluctant to advance

Unfortunately some of the Rebel troops are not as brave and the 20th NC are pushed back towards the Wise Farm

This is why I need some proper ACW limbers !

The 11th Ohio and the rest of the 36th Ohio infantry arrive from the south

The WV cavalry have dismounted, made it into the woods and are proving difficult to chase off

The Rebel right flank is holding under the watchful eye of Garland

So far things are pretty even....and the rebels are holding...mostly

Although poor quality troops Tew’s Brigade now arrives from the north....good news

Pelham’s Artillery fires canister into the 23rd Ohio and they skidadle back through the woods
Pressure is mounting in the centre

In The central wood and along the main road

More of the rebels are pushed back from the cross roads !☹️

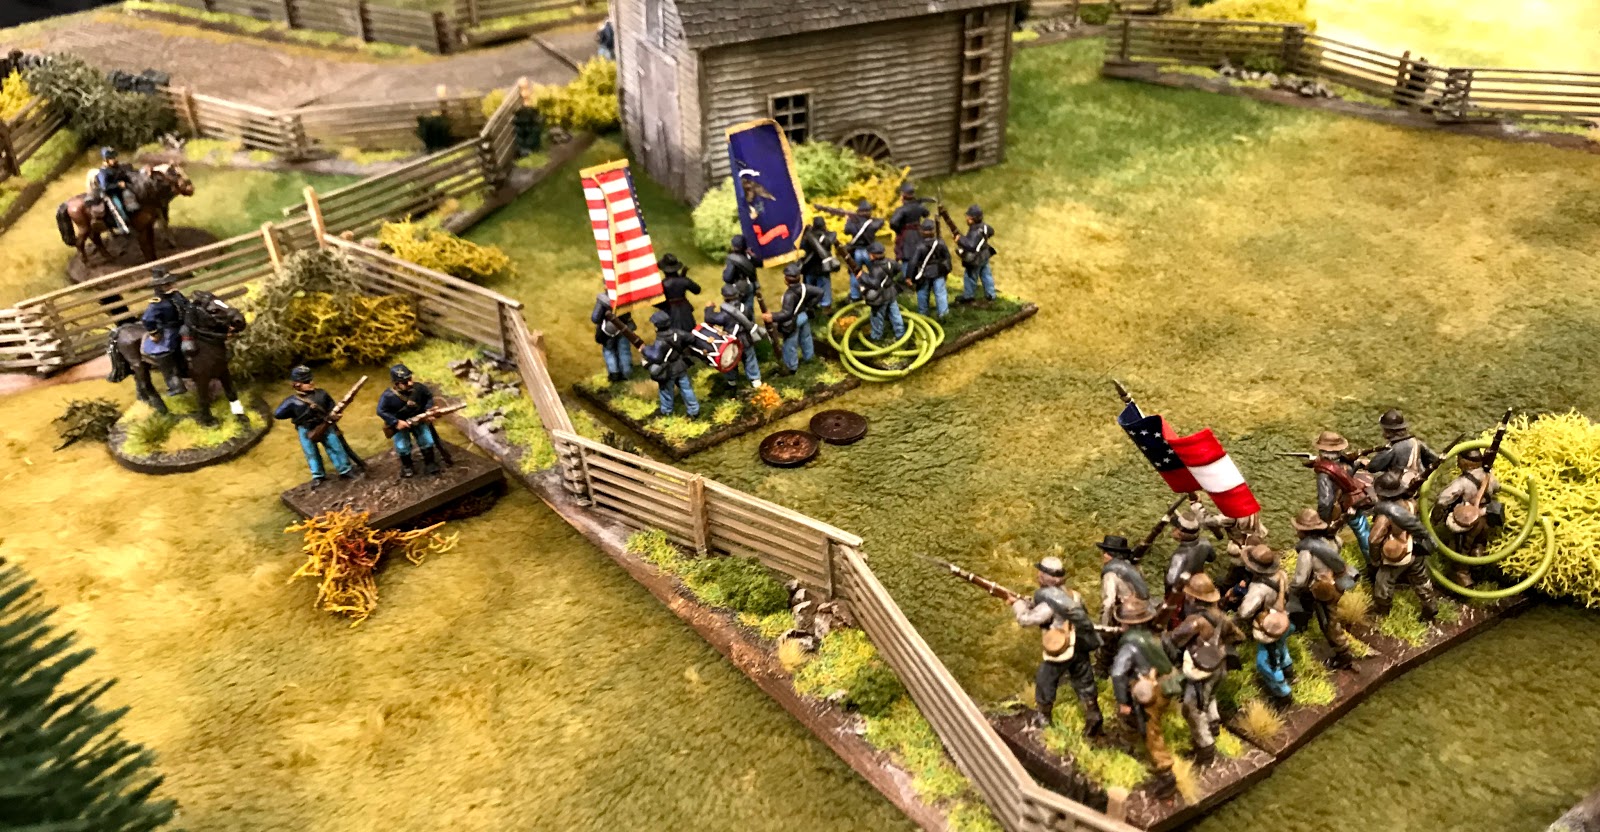
Time for the Rebel right flank to push forward, hoping this will cause the union forces to be distracted and to draw them away from the cross roads

Initially this works and the Union Forces in the centre are reluctant to push into the open ground beyond the Barn

Eventually though under orders to “give them the bayonet” the 36th Ohio rush forward, grim hand to hand combat ensues on open ground

Worryingly the cross roads is very open and the Rebel left flank is looking very thin

.....too many rebels heading off north along the Sharpsburg Road

Confederate Right flank remains strong

An overview at this point of the battle
Union troops are now pushing into the central woods
The 23rd NC have won, bloodied the Federals in hand to hand combat and sent them back towards the barn

More bloody work in the woods

Tew’s Brigade has faltered as they realise the cross roads is being held by Union troops

Due to their low quality a couple of volleys and they are sent running back along the road

Gen Crook watching the advance behind him the rebels in the woods have also been forced back

The 36th Ohio have somehow rallied and are continuing the fight in the centre.......

But it is clear that the defence of Fox’s gap has failed, to confirm this Gen Scammon can be seen chasing Garland from the field
Another entertaining battle, after the allotted time the rebels were still in control of the their right flank and supported by their artillery were advancing. But Union troops had broken through at the cross roads and were starting to dominate the centre, holding the woods whilst hand to hand fighting continued around the Barn. The scenario was a perfect size for an evening game and got both the units of dismounted cavalry into the battle 😀
A beautiful looking and enjoyable report Matt...
ReplyDeleteJust the right amount of pictures in my opinion... thank you.
All the best. Aly
Thanks Ali for the kind comment, I am always worried that I take too many 🤔
DeleteMatt, enjoyed very much, Jonathan (he will be along in a minute :-) ) kindly put together a hex based scenario of the battle, covering the opening manoeuvres of the battle, which I played a couple of times and enjoyed - so it is nice to see another interpretation on the open table.
ReplyDeleteIt is useful as a small scenario, as both sides get infantry, artillery and cavalry, so some nice inter-play with a small order-of-battle.
I am too predictable...
DeleteAgreed the size of the scenario is perfect for an evening game, I will be looking out for some more...🤪
DeleteSplendid Sir, splendid. Mighty fine pictures and concise narrative, just right.
ReplyDeleteThanks Phil the battle fair rattled along...
DeleteSuperb layout, photos, and battle report, Matt! Your game tables are one of the best and you consistently uphold a very high standard. Always so much to see in your photos.
ReplyDeleteGreat job!
Fox' Gap is perfect for an evening game. A scenario I have played several times and well suited to regimental action.
How to you create your opening, overall battle map? Quite effective.
DeleteThanks Jonathan. For the battle map I was an app called notepad +pro it is a very simple sketching tool nothing fancy, but it allows you to import a picture and then colour in around the edges, it sounds difficult but isn’t, unless you have lots of trees. I have tried some of the auto functions in other more complex drawing or photo apps but they are far harder to control than your own finger. The notepad app then allows you to enter text again very simple in some basic colours. I then save the picture into my iCloud and just level thinks up by cutting down the edges to get is square. Depending on the txt I would say 30 minutes although I often get distracted.
DeleteAwesome and atmospheric pictures for a beautiful looking game, looks great!
ReplyDeleteMerci Phil 😀
DeleteA wonderful AAR and super photos too! And not a gnome in sight!
ReplyDeleteThey are hiding in the trees I think 🙂
Deleteyip, that will do nicely.Cracking AAR
ReplyDeleteTHanks Martin, a good game once I get my new Artillery sort time for another game....😛
DeleteGreat set up and awesome looking battle. I noticed some buttons behind units, are those being used as markers? Kinda fits the theme I’d say. 😀
ReplyDeleteThanks Stew the buttons are pin markers, we use our own adapted bolt action rules, so they represent the morale of the unit 1 not so bad 3 or 4 is bad 😩
DeleteWhat a great report with excellent minis and terrain!
ReplyDeleteLovely figures and terrain, certainly not too many of your excellent photos for me! Great AAR too!
ReplyDeleteBest Iain