Due to summer holidays and my recent illness it has been far too long since we moved our AWI campaign clock forward, so time to change that. 7th July 1777 and we have the Battle of Hubbardton. Given its moderate size and fairly equal forces it seems a more popular battle for wargamers and I found several examples of the battle on the web. Anyway regular followers will know all the battles are played remotely using Rebels and Patriots.

One of quite a few maps available on the web of the battle.

I have not been to the battlefield but I understand it is fairly well preserved

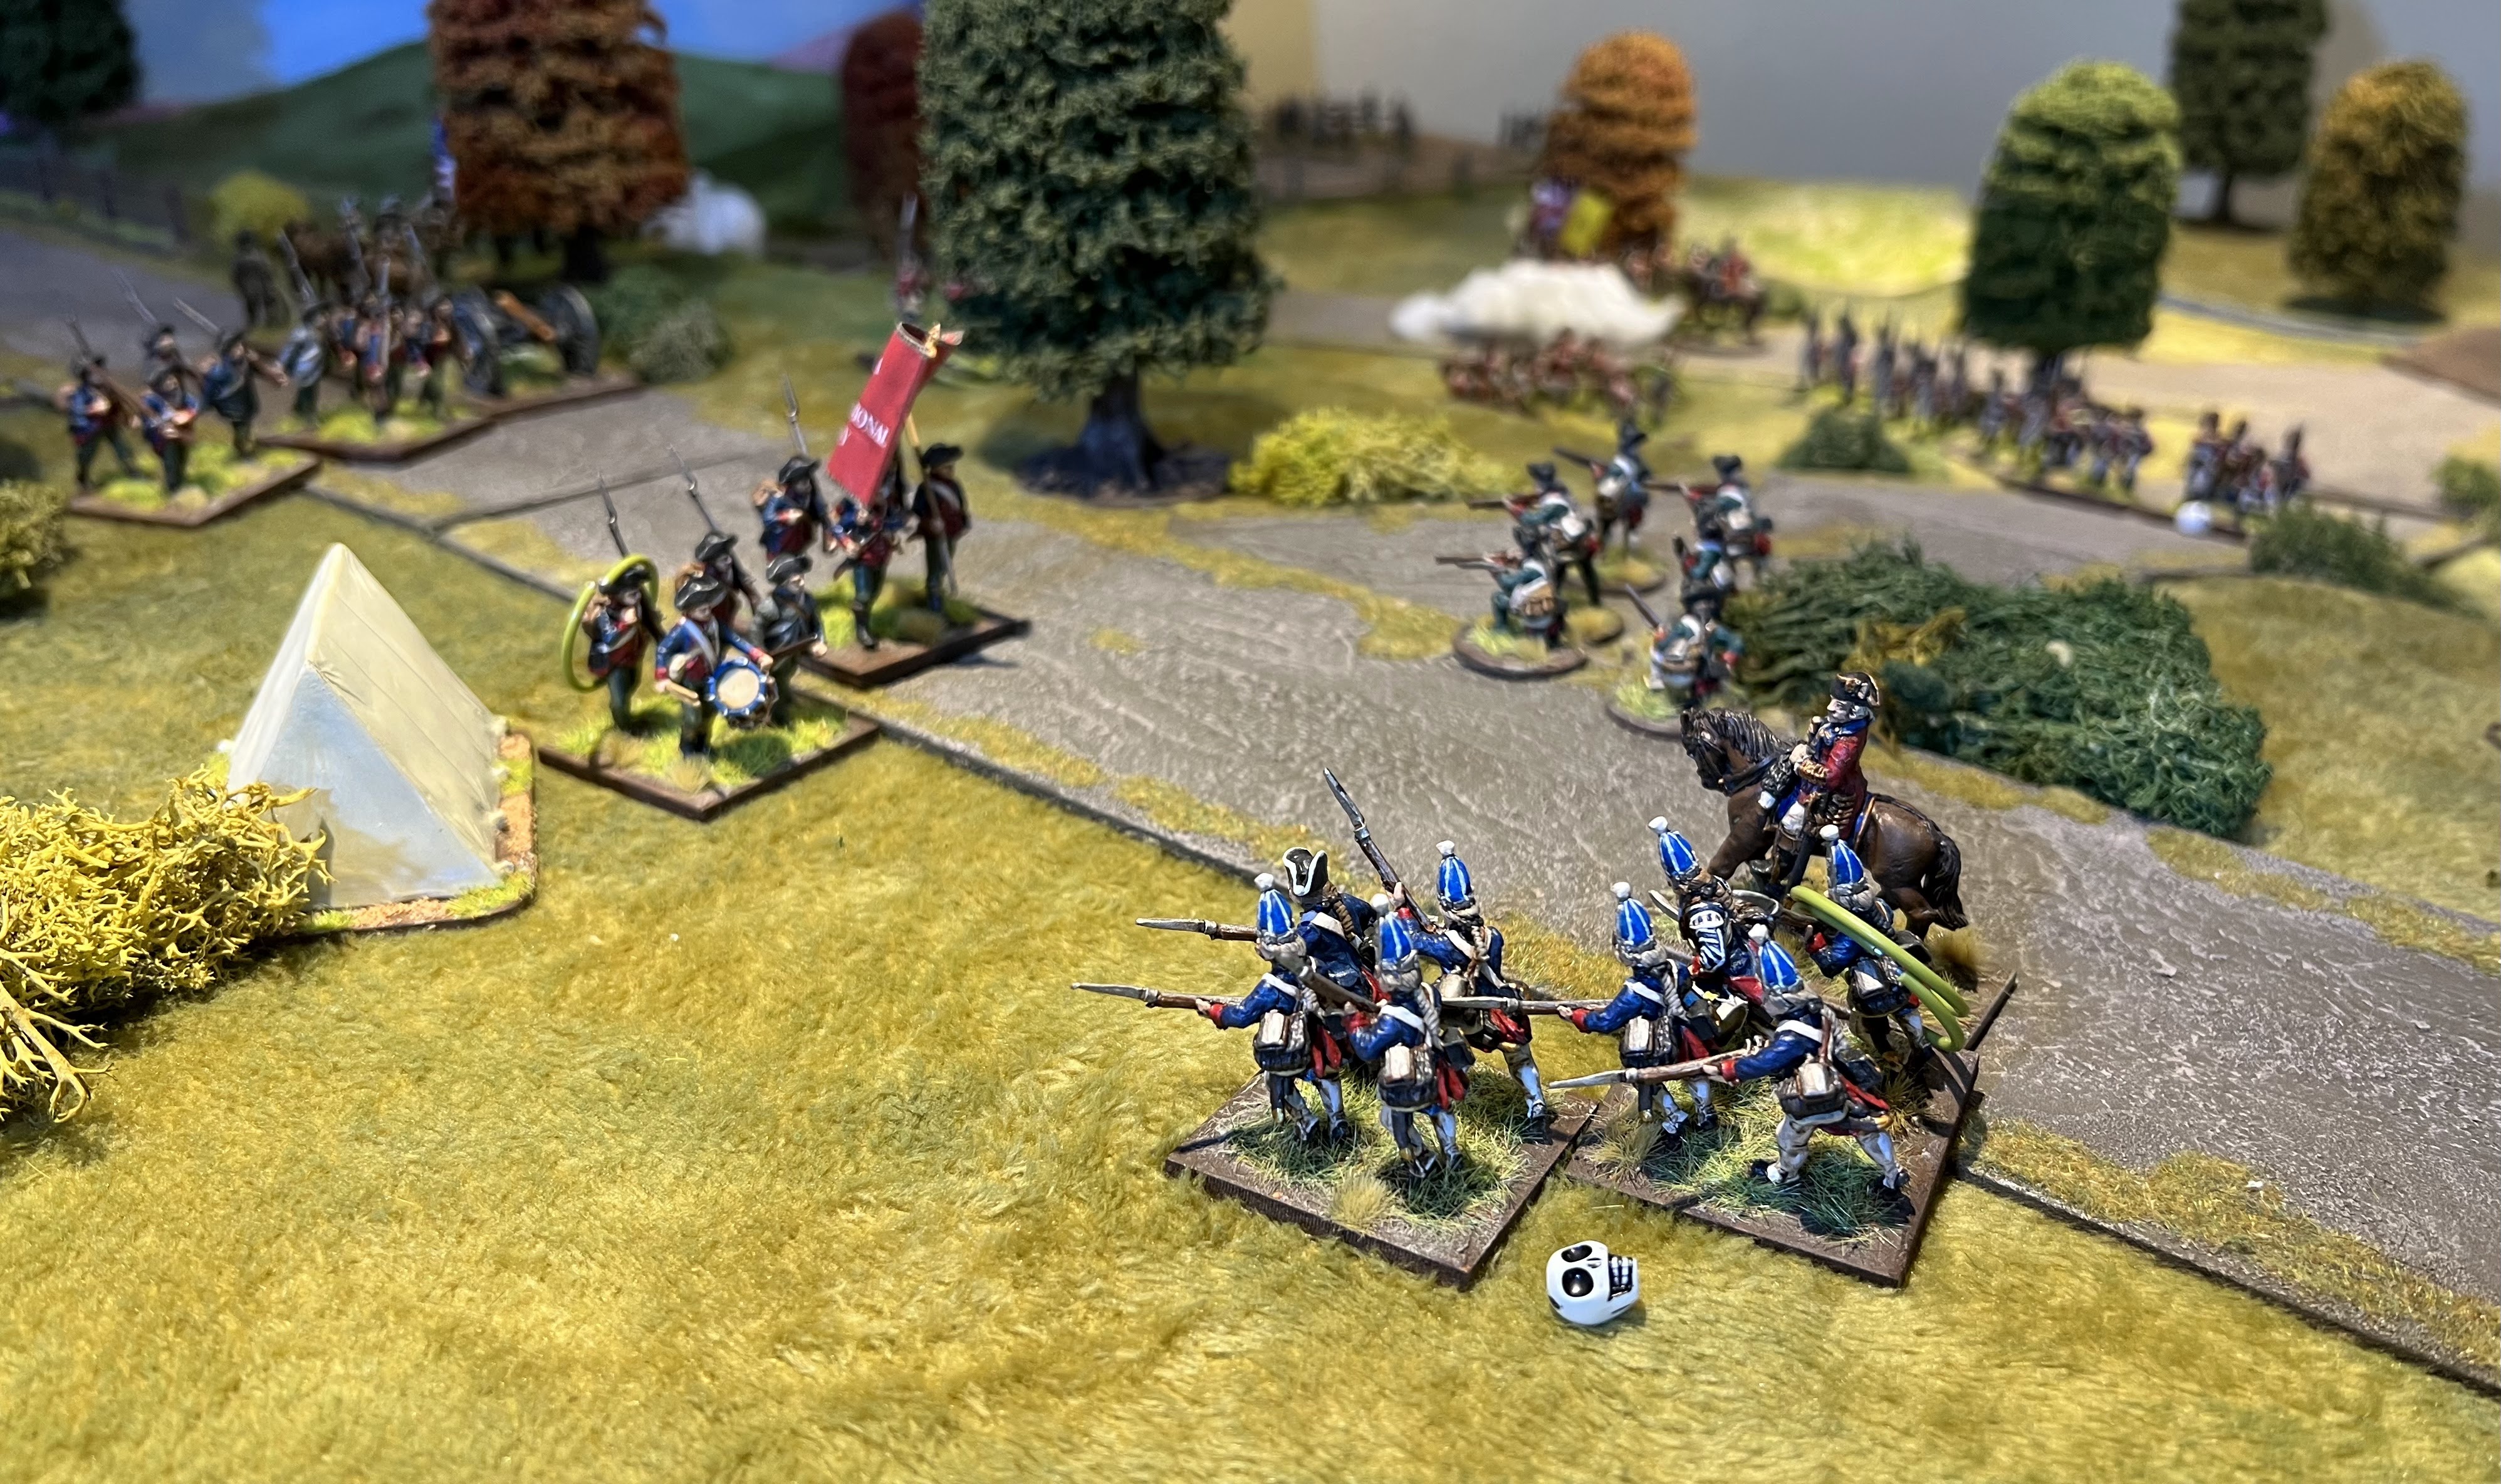
Here is the battlefield setup with all the essential features. Regular followers will know as we have played through this campaign any force attempting to attack a defended position will struggle using R&P but I am hopefully getting better at creating balanced scenarios. For this battle the Americans must attempt to get the three wagons to safety off the road to the left. They will each need to be activated on a straight 6+ but the road is two wagons wide incase the first one fails causing a traffic jam. The Americans must hold until either all three are off the table or captured. Either army will fail its morale and flee as soon as it goes below 25% which for this battle I set at roughly two remaining units and the battle will be over. The British capture a waggon simply by reaching it. The Americans in camp must make their first activation at minus 1 as they are caught in camp unprepared. The stragglers are ‘green’ representing their poor status with wounded etc. all the British regulars are veterans….not that that has done them much good in the past. The whole area is wooded so unless on the road all figures would be classed as being in cover. Finally the Hessian flank attack will be triggered by the three wagons getting over the half way mark. So onto the action……

The British under General Fraser cross the small river catching the American stragglers and rearguard. The British scouts are already across the river.

The stragglers are pushed back towards the main American line.

The majority of the Americans activate immediately from their camp

And start to move into a defensive line, would you believe it a double six and the Americans get a full reserve unit to add to the defence

The wagons all pass their activation and start to move down the road

As the British light infantry cross the bridge and deploy the American stragglers come under fire and they flee or are captured

This allows the rest of the British column to deploy

But the Americans are now in a strong defensive position along the crest of the high ground. Both sides open up

The additional American reserves arrive and immediately open fire on the Native scouts fighting for the British and force them to pull back

After a couple of turns the wagons are making worrying good progress, and the British are a long way from forcing the ridge

But the American skirmishers have now been pushed out the way and the leading British grenadiers are approaching the high ground.

Supported by fire form the nearby light infantry they charge up the hill and attack with their bayonets, but are then initially pushed back

Next turn the final wagon cross the half way mark and the Hessian column under General Reidesel arrives, apparently they were singing hymns to make the Americans think

The first Hessian grenadiers immediately drive the Americans back

The British grenadiers attack again and in a fluke hit General Fraser is killed (note to self I need some AWI casualty figures)

The Americans are still fighting hard, have saved one wagon and are close to getting the second one off the battlefield. However, ‘Lady Luck’ is with the British and the third wagon fails several activations is a row

The British redouble their efforts to break the remaining Americans even though the second Grenadier regiment take fright and flee for one turn

Just as things are looking up the second Hessian grenadiers roll a double one failing to activated but instead shooting into the rear of their friendly unit, luckily although they kill two the grenadiers in front of them hold their position !

With their blood up the leading grenadiers charge through into the next American unit, pushing them back

Still the battle rages and hot British fire starts to wear the Americans down
The Hessians continue to push forward

The Americans are now getting close to their 25% break point

The second wagon is then rescued from the battlefield

Many of the British infantry are still firing at long range and unable to impact the last few Americans

But the leading Grenadiers are still in the battle

They charge in yet again

Driving yet another American unit from the battlefield, this triggers the 25% break point and the British have managed a win at the last minute.
A super fun battle, although a lot of Americans were killed or fled the battlefield it was in fact a very close battle. If the third wagon hadn’t failed at least four or five activations they would have held out long enough. Without doubt the unit of the battle were the leading British Grenadiers who took out at least three American units putting them to the sword/bayonet. I’m sure it won’t be so long before we have the next battle.
As I was putting the figures away into some new storage boxes this morning I thought it might be nice to take a parade photo for both armies so here they are

The British and Hessian forces

The American ‘Rebels’
I find it helps me see what else I might need and ensure the forces are balanced. As you can see the British need some more artillery, I certainly have at least one cannon in the lead pile. Then perhaps another American unit or some dead American casualty models ?
Thanks as usual for checking by 😀
Matt
Matt, good to see you back on your feet and at the gaming table. It has, indeed, been a very long time since our last rendezvous with the AWI campaign. The battle was great fun but I believe you make the result seem closer than it actually was. Your Invaders thoroughly tore apart the Patriots. I did enjoy the friendly fire incident. Too bad it was not more devastating.
ReplyDeleteThank you for another, most enjoyable and well-designed contest. Nice army parade too!
Almost better anyway, cheered of course by a British victory is it too early to say the tide is turning in the Revolution I wonder ?
DeleteMatt, Great looking game, wagon train plots are always good for tense situations. Glad you're feeling better. Quite a nice collection for the AWI. Too bad the woods did not slow the Redcoat attack much.
ReplyDeleteThanks Joe, the activation rolls used in R&P mean the wagons always create some uncertainty. Initially I thought they would get off easily but then the third wagon got stuck giving the British time to assault. As you’ve mentioned it we played the woods as open providing cover but not reducing movement. In reality I believe the woods are a bit thicker in this area but it would make a very difficult battle to manage especially remotely. A happy compromise 👍
DeleteI am also pleased to read your health is on the mend, Matt. Great to see you and Jon back on the AWI trail - I think I may have played Hubbarton myself - the name is certainly familiar - and of course, pleased to see that rarest of things, a victory for the Crown forces!
ReplyDeleteI just noticed that I missed an SCW report a couple of days ago, so off to peruse and comment on that one now.
Thanks Keith I am down to one coughing fit a day now so it is bearable. Thought you would enjoy the British win 👍 long May they continue ?
DeleteGreat to see new game sir!
ReplyDeleteThanks Michal I was very happy to get the collection back out on the table 👍
DeleteExcellent looking game and a great result, in spite of it being touch and go with the wagons, I do like a wagon scenario must try and use it soon!
ReplyDeleteBest Iain
Thanks Iain , I was lucky to get the balance right on the activation of the wagons ?
DeleteA splendid looking game and close result too! Always good to see the Rebels put to flight!
ReplyDeleteThanks David glad you enjoy the Redcoat victory, will it last ?
DeleteGreat game and a fantastic collection
ReplyDeleteThanks Neil 👍
DeleteI always enjoy your AWI games Matt, and this is no exception. Great to see the collections laid out for photo.
ReplyDeleteThanks Lawrence, the armies are back in their boxes now till next time.
DeleteGreat looking game, Matt. It's a battle I had intended to try out, but before I could, I ended up swapping the figures I had for it to get back my old F&IW stuff. I may still do it in the future.
ReplyDeleteThanks Dean, I think it is quite popular due to the modest size of the two armies. You can always use the natives in both periods 👍
Deletelovely table and lovely parade shot. I was thinking about your campaign a couple of days ago, as I came across a post where they had played a 'bigger' battle using R&P. They felt the casualty level was too high due to ACW influences in the rules. They reset the game and played again with combat slightly dampened down. I will try and find that post again, I am pretty sure that I saw it. over on the Lead Adventure forum.
ReplyDeleteThanks Norm and interesting thoughts, for the largest battles I have played, eg Freemans Farm I increased the unit size to 16 figures this made them much more resilient, in fact quite tough. Having played quite a lot of games with the system I have few problems with them you just need to be careful about certain attribute boosts to units for example skirmishers made up to good shots are too powerful when they hit on 4’s.
DeleteAnother cracking battle report Matt…
ReplyDeleteThose grenadiers certainly had their dander up… I wish my toys could fight that well.
All the best. Aly
Thanks Aly, it was a rare event usually the grenadiers flee after a couple of turns, so it made a nice change 😀
DeleteLovely game Matt and despite it being a close run thing, good to see the British getting a win for once:)!
ReplyDeleteThanks Steve…..a British win was probably due but I’m afraid it won’t last ?
DeleteA splendid game there Matt, great table with two fine looking forces and a rare? win for the Crown forces to boot. Good to see a boost on the health front too.
ReplyDeleteThanks Phil as always a fun battle, as for my health I’m about 90% now so much better than I was…..the danger is my wife will start finding me jobs to do soon 🙁
DeleteGlad to hear you're back in the saddle Matt.
ReplyDeleteA great looking table. Always like seeing your games. Hubbardton is a tough scenario.
Thanks Chris, in a perfect world we would have a bit more space but working with R&P and remote gaming part of the fun /challenge is adapting scenarios to fit. This one seemed to work out pretty well.
Delete