Saturday, 7 November 2020

Break out at Horton Priory : Operation Sealion

It has been some time since an Operation Sealion game but the campaign has not been forgotten. We have now reached the darkness hours of S-day. The Germans are ashore and a sizeable bridgehead has been created. Whilst there are pockets of resistance, most notably at Folkestone Harbour a fairly clear ‘German control zone’ can now be identified. Although Folkestone harbour has not been captured and last minute demolition of key infrastructure has made Dover harbour unusable, the beach at Hythe is ‘open‘ and A constant stream of barges and landing vessels are bringing increasing number of troops ashore. The airfield at Lympne has been secured although sporadic exchanges of fire around Hawkinge airfield means it still can’t be used safely. 

Mountain troops and paratroopers who were part of the first wave have now been pushed inland and the perimeter of the bridgehead is being secured. An unknown number of British troops have been trapped in the German controlled area and with support from the local Home guard are either causing mischief or looking to make their way back into British held territory. While the Germans mop up resistance and build up forces for the inevitable push on S+1, the British and allies are reorganising and preparing to counterattack.

Tonight’s scenario is one of the many small but confused actions where trapped British forces attempt to escape the bridgehead before the perimeter is fully closed.

Major Harrison has collected together a mixed force of Regular infantry units, a unit of sailors who were caught out by the invasion away from their boat and elements of the Hythe Home guard. They have identified a possible gap in the German lines close to Monks Horton and keeping off the main B2068 Stanford road his force has cut NW on a line towards the ruins of Horton Priory.

His advanced units have been ordered to cross the small stream and let off a flare to signal British support troops to meet them at the priory and facilitate a rescue. The only problem is the Germans blocking their path and the unwanted attention the flare is likely to solicit.

Darkness has fallen and this should help the escape !
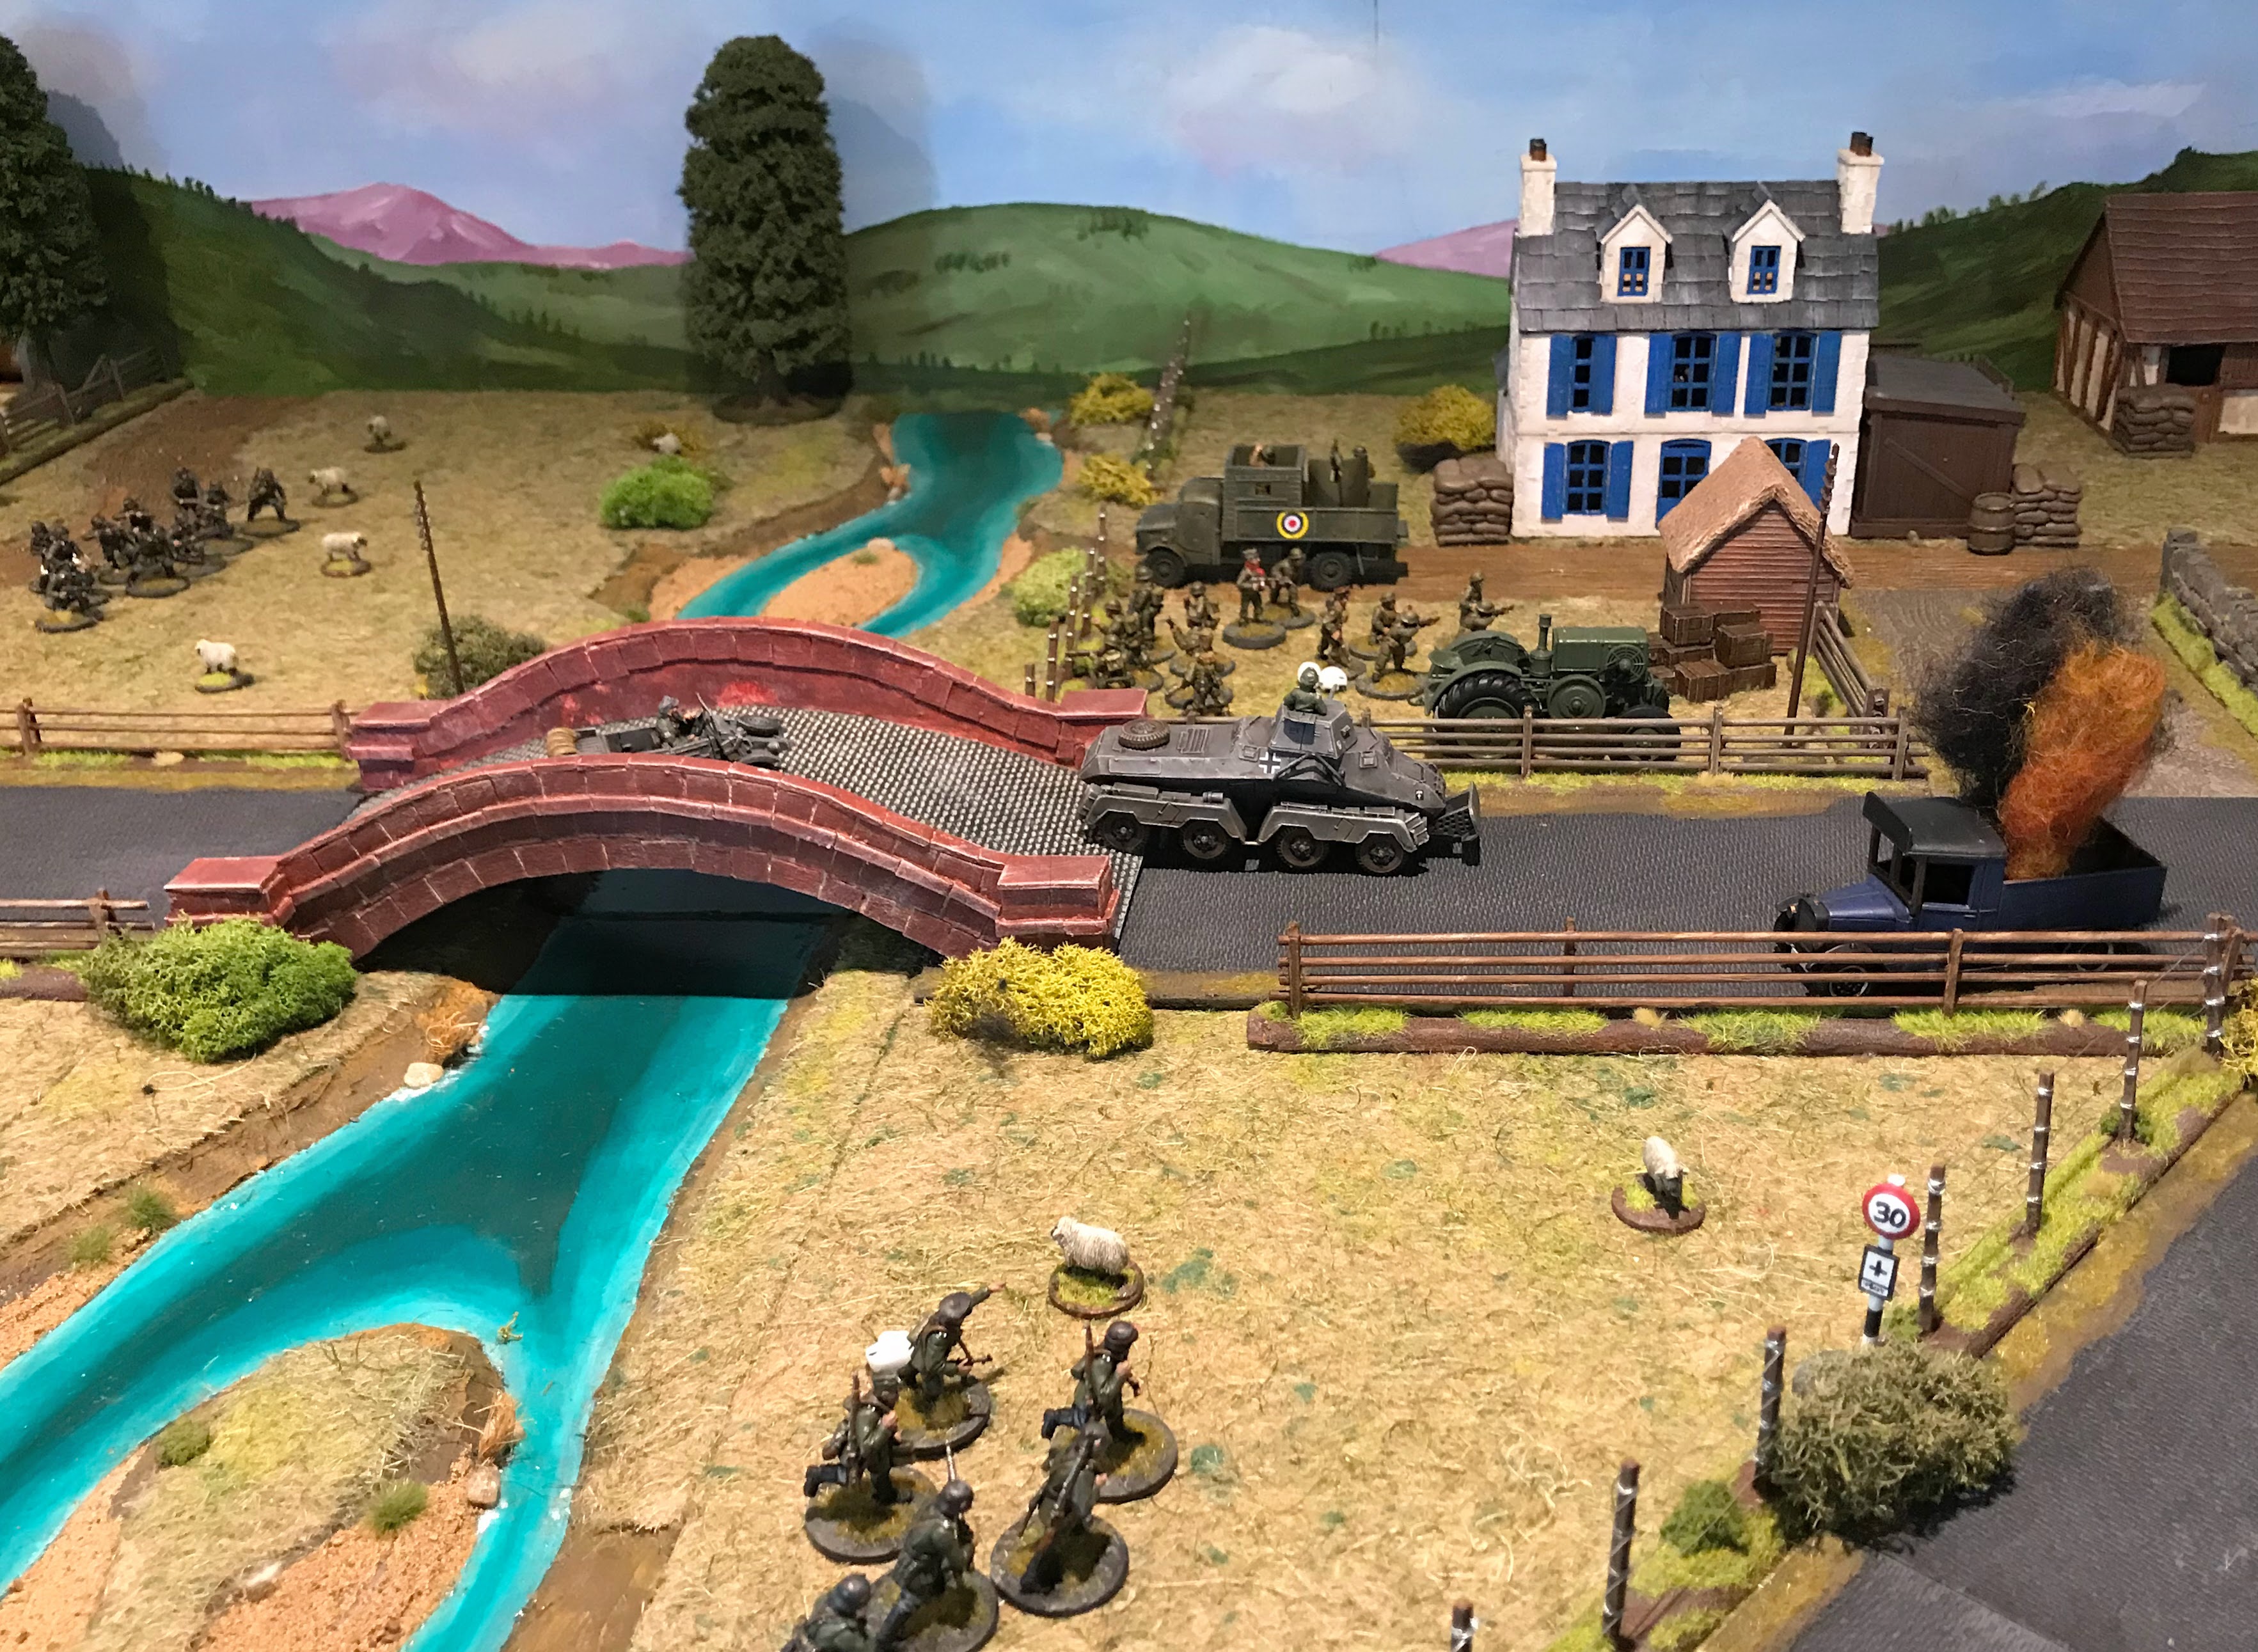
The scenario is quite complex and I know some people enjoy this stuff, if you don’t just skip to the action. The objective for the British is clear, escape and get as many troops as possible off the opposite table edge. The picture above shows the set up. The small river marks the boundary of the German controlled area, the 6 black tokens which I have marked in orange identify the German guards/defenders there are 4 units occupying these but neither commander knows which is where or which 2 tokens are blank. The British also hidden by darkness enter from the south (left) edge. They can spot the enemy but can only be spotted by the German Officer who is on the bridge. German units can’t react until they are revealed or are fired at. The British can send up a flare only when they reach the river, this will trigger British support form the north but also German re-enforcements from their rear so at that point they will need to get their skates on. The river which is small is crossable but only in the shallow areas at full speed.
German Officer has made it to the bridge to scout out the direction of advance at day break.....
Only to start spotting some of the British who are trying to escape
The first German infantry is revealed in the darkness but they can’t act until they have spotted the brits
In the near total darkness an adhoc unit of British sailors wades across the river catching the defenders by surprise  and wiping them out
As the first unit entering the river they have sent up a flare and an armadillo truck sweeps in from the north on the signal, opening up at point blank range on a unit of Gebirsjager hiding by the farm house
Another British unit breaks cover and dashes for the river, this time a unit of the Hythe Home guard.
The flare as expected has attracted Wehrmacht reinforcements as well Infantry run forward from the outskirts of Horston Manor
With their hiding place revealed it’s not surprising the elite mountain troops charge in to assault the sailors who are cut down in the river but the Germans are weakened
and are themselves then knocked out of the fight, Brutal hand to hand fighting in the dark !
The unlucky Home Guard are caught in the open when a German MG34 opens up
They are then mowed down by the German infantry by the bridge
Things are looking better for the British on the other side Major Harrison has made it to the river and orders the units remaining to run whilst some turn and provide covering fire
Part of the German reinforcement was. RAD8 armoured car, whilst well armoured it lacks any real firepower to make a difference
In desperation the Germans cross the river on this side of the bridge but they are cut down by a vickers machine gun close to the main road
Germans are not done for yet and have regrouped 
But the British infantry is hot stepping it past the farm buildings
The Germans are back at the bridge in force but it is too late
Although it has been costly roughly 50% of the British have made it to safety. 

As so often a fun game, at one stage it didn’t look like they would get across with any strength. The armadillo played out of its skin and only narrowly missed blowing up the RAD8 as well. I keep promising to do a position update at the end of Sday and will try and do this soon.

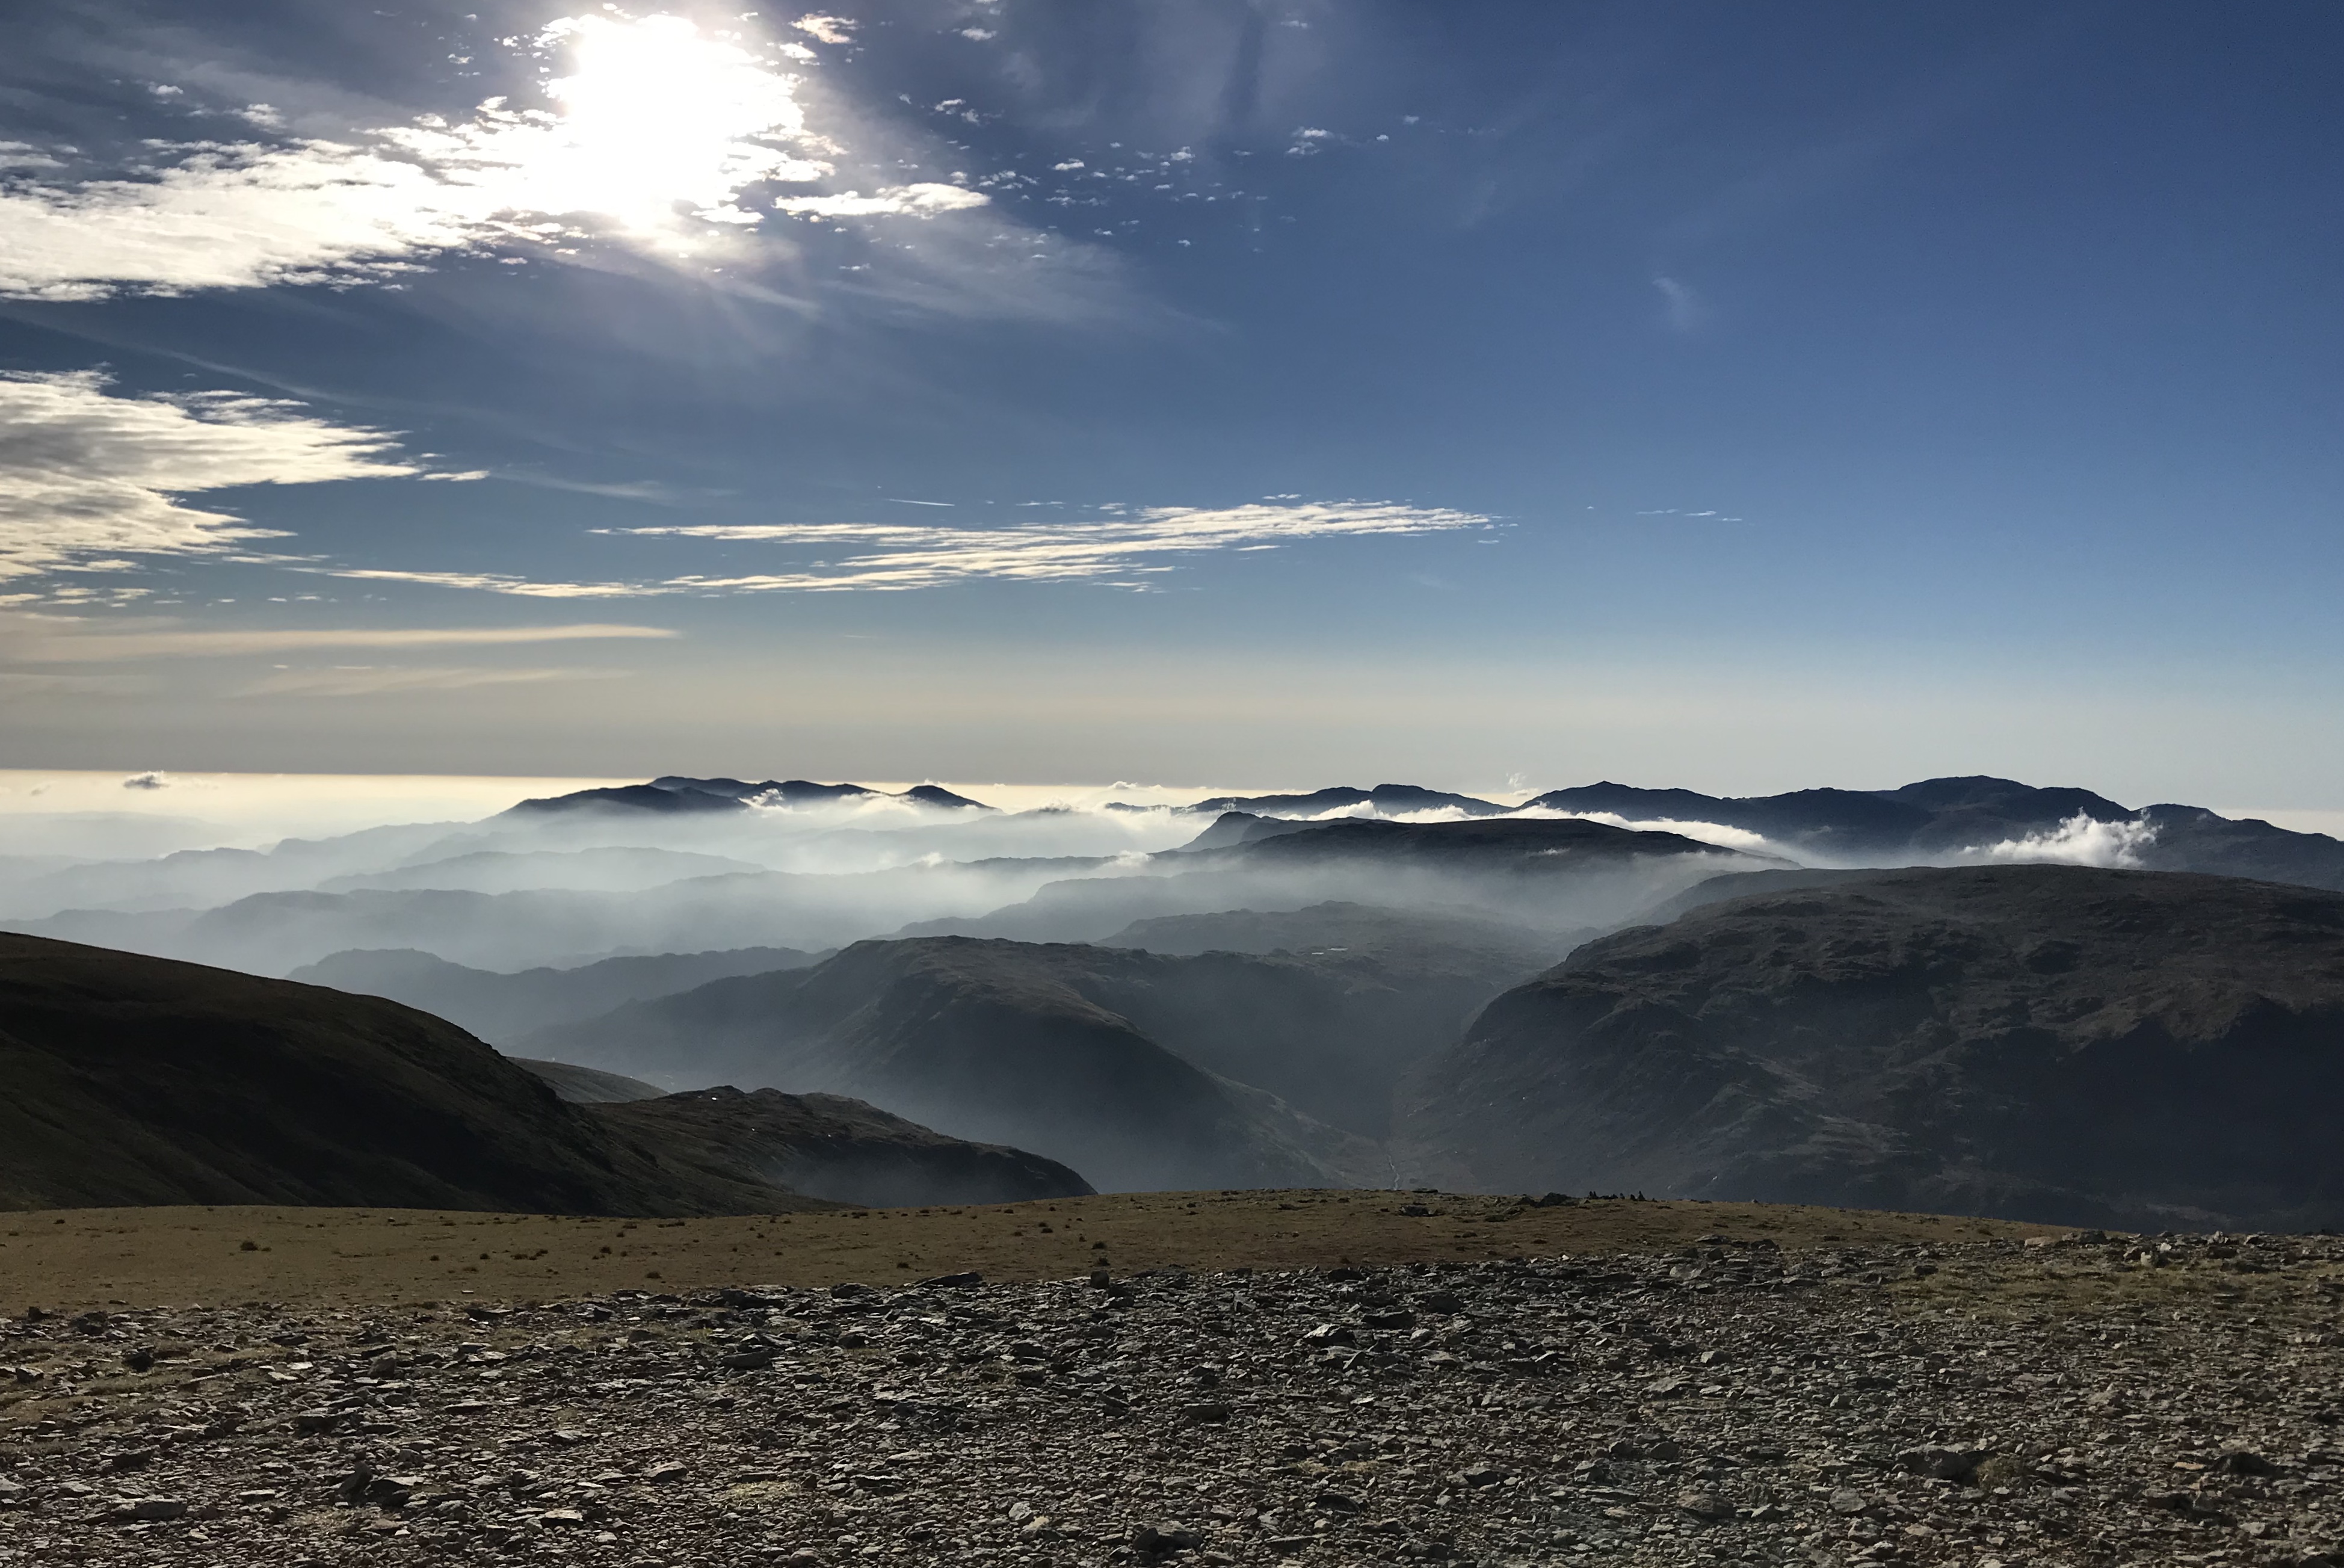
We have has some more nice weather and after a busy weekend working last week I was owed a day off so I made the most of it during our second lockdown 😀
Looking west from the Helvelyn range
Weather and cloud was producing some particularly beautiful light conditions 

Thanks for looking hopefully some more soon 👍


B2068 Stanford Horton manor, Horton priory

Monday, 2 November 2020

Seven Years War Prussian Fusiliers

The next unit in my seven years war project another unit of Prussian Fusiliers. These are the Von Kreytzen Fusiliers a wonderfully colourful unit in their pink uniforms.

These are a slightly different pose to the majority of the other units I have so far and make a refreshing change
I wouldn’t normally show close ups especially of 10 mm figures but in this case I thought others might be interested to see the quality of the sculpting and casting. It makes them fairly easy to paint. Although I suspect given a LOT more time and patience they would be superb. I am aiming for bulk and they will do for me.

Not really looking forward to the next period of lockdown but hopefully some virtual games and lots of painting to be done. Take care everybody 😀


Saturday, 31 October 2020

Do we need more Saxons ?

 Following one of our previous games we were plotting something for when lockdown finishes. With the ever increasing number of Norman’s available between myself and Martin including a reasonable number of Norman cavalry it seemed that we should have a go at Hastings as a game. We have quite few Saxons which can be bolstered with ‘skulking’ vikings in the back ranks. Bit is felt we were going to need more unarmoured Saxons after all the history is clear not all the Saxons were heavily armoured. I pondered getting some more gripping beast plastics (which I still might do) but then rummaged about in the piles of lead in the dungeon and found I had these guys presumably picked up at a show. Mainly unarmoured, they make a reasonable extra bulk unit of generic Saxons.

They are a mix of figures some GB and Crusader I think, shields done quick and simple 🙂 they aren’t all strictly Saxon figures but I could argue they have picked up armour from their recent victory at Stamford Bridge !

Monday, 26 October 2020

Battle for Blue House Pike : AWI

 Not a historical setting but a chance to get the AWI figures on the battlefield. Another virtual game using Zoom. So we kept it fairly small using Rebels and Patriots. The forces were of equal size 24 points each but were suitably different. The Patriots (or Rebels depending on your point of view) have three regular infantry units, a unit of Virginia sharpshooters and two units of green poorly disciplined Militia. The British as to be expected are a smaller force of light infantry and veterans, no doubt over confident, they also have a small Artillery piece and a unit of native Skirmishers. The objective in this simple scenario was for both sides to take and hold the main road known locally as Blue House Pike. The winner would be the force holding the pike when one side was forced to retreat. I didn’t take too many photos but hopefully enough to represent the battle as it unfolded.

American regular units advancing towards the road. Already formed up into close order to maximise their fire power. Their commanding officer is attached to the closest unit. The Pike runs away into the distance beyond the Blue House.
Closer to the Blue House more infantry supported here by Militia who were initially reluctant to advance
The Redcoats advance to the sound of regular drum beats, the corn fields class as difficult terrain so it is slow going and they are still in open order, in the distance the British light infantry are able to make quicker progress across the ploughed field
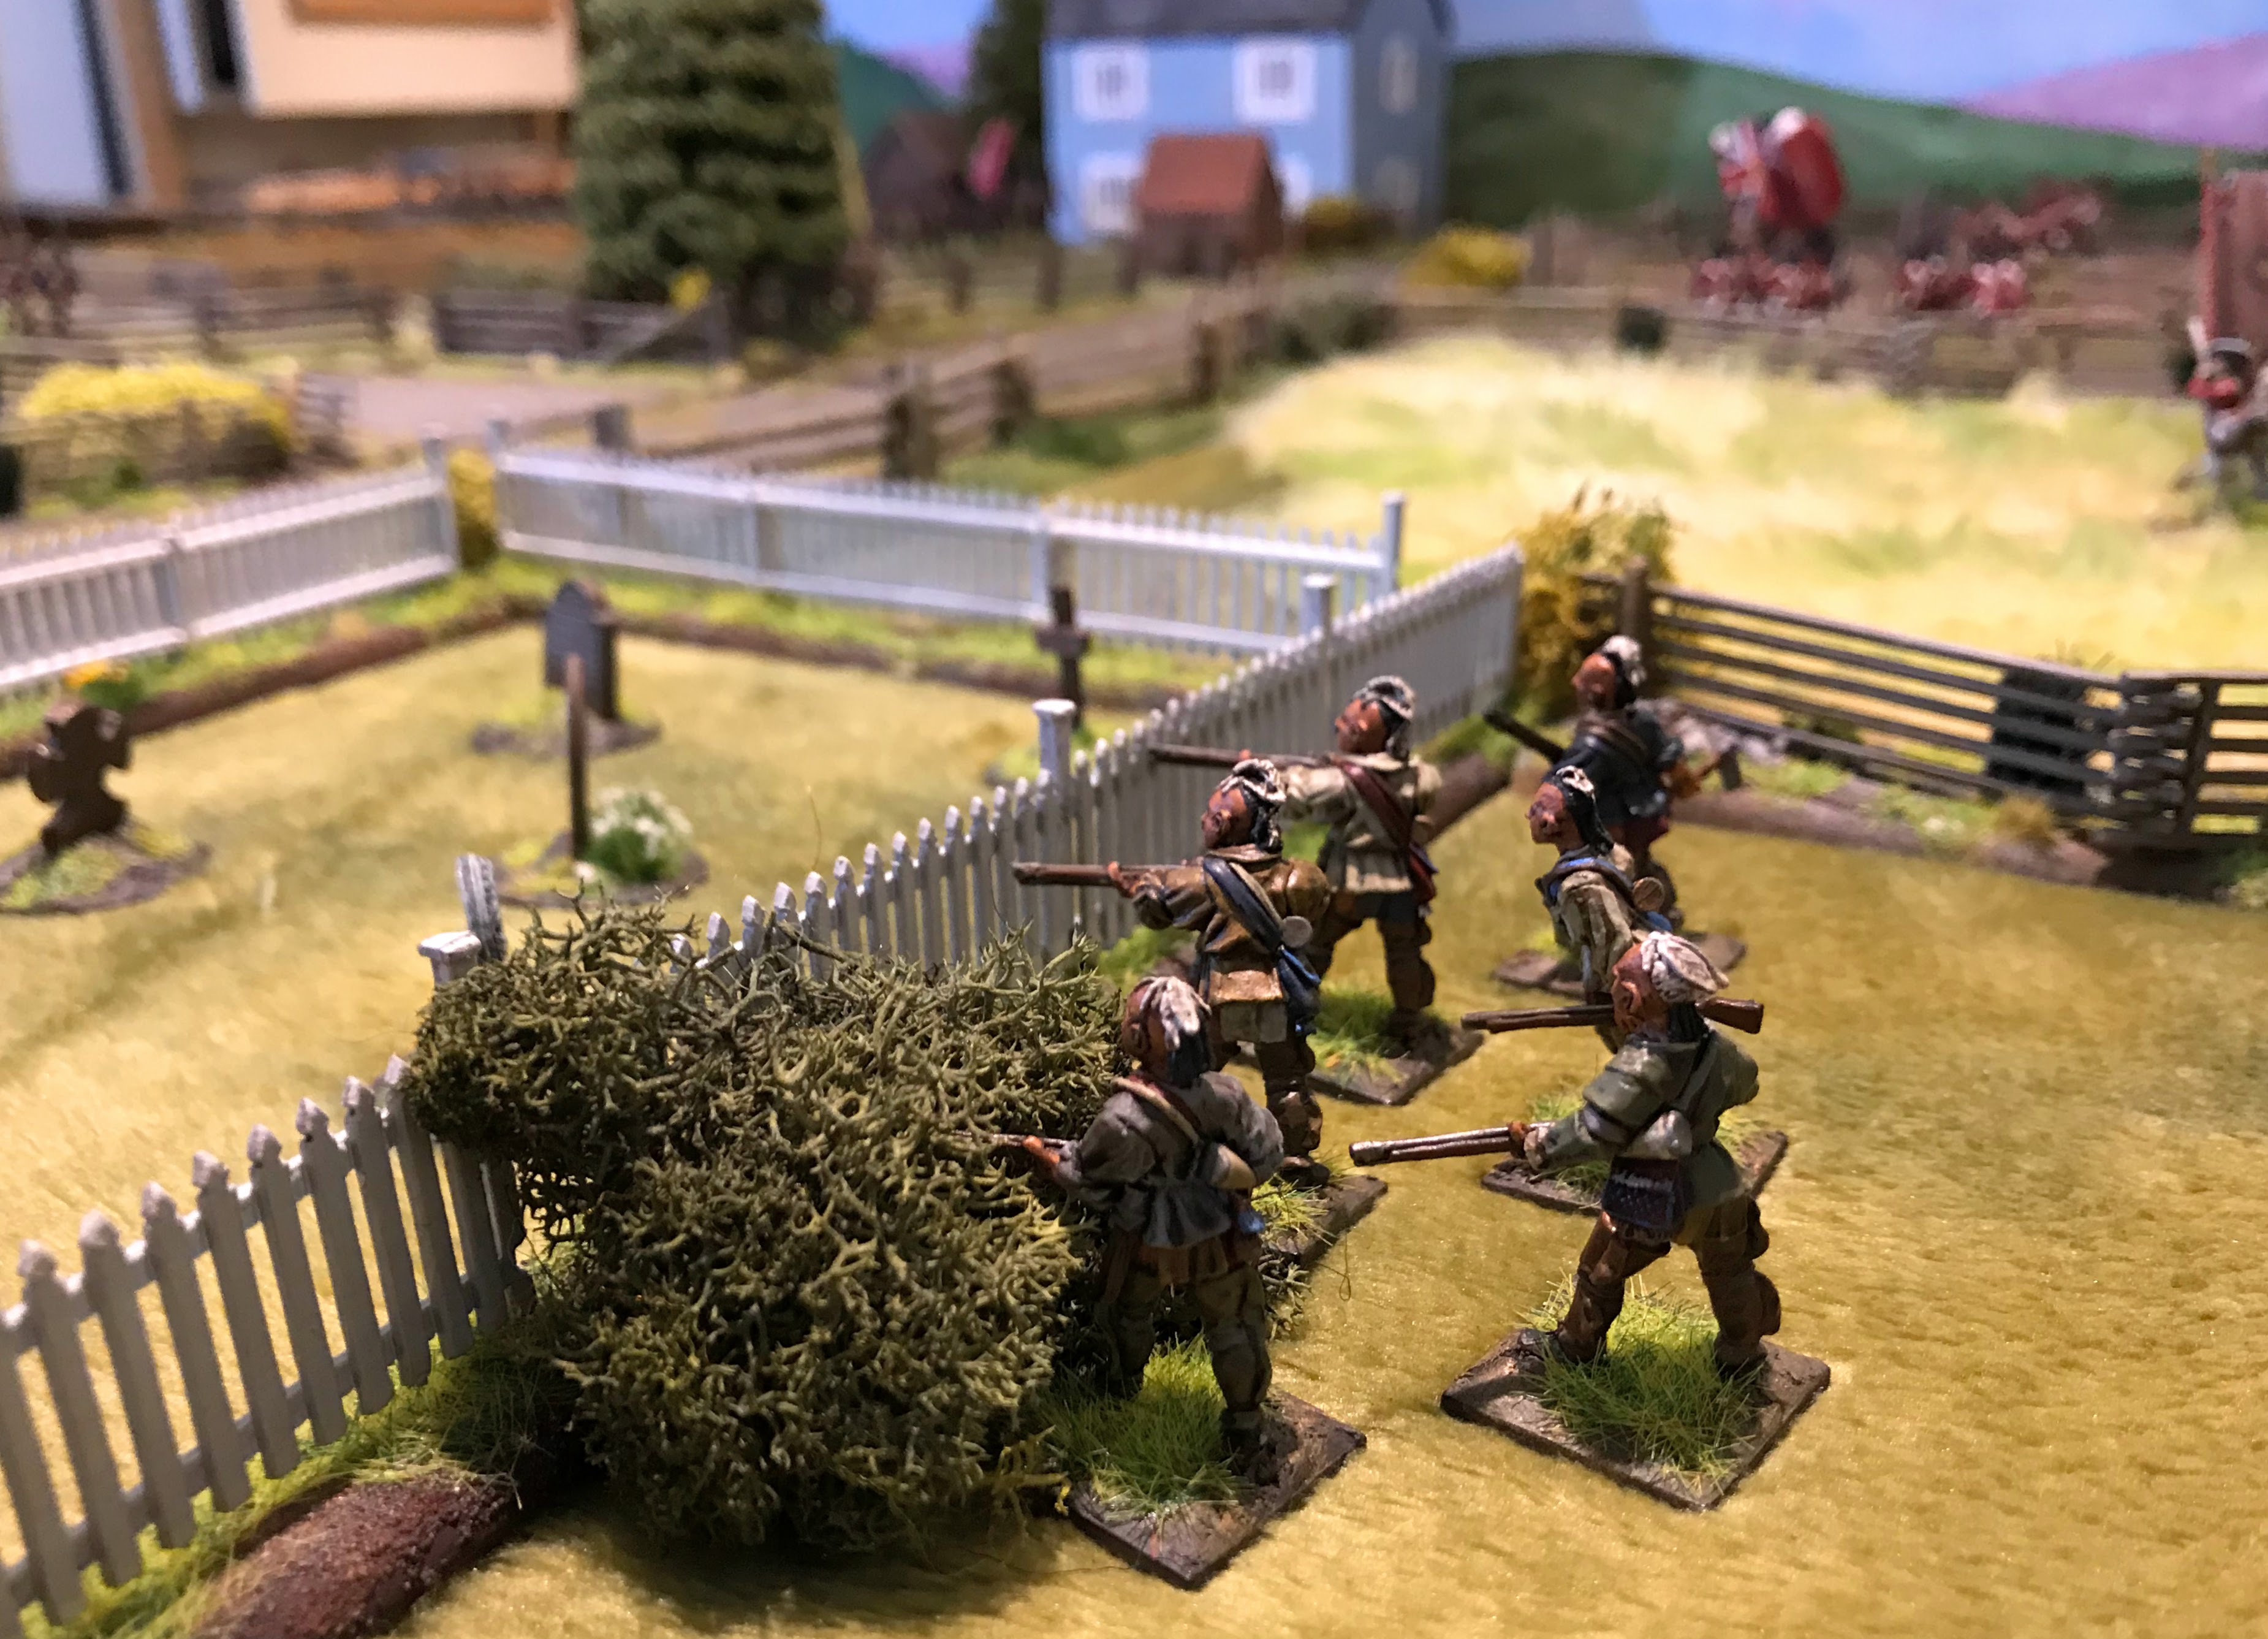
Native ‘skirmishers’ are sent towards the left to hold the church yard
It’s going to be tough to dislodge the redcoats now as they start to form up, the Colonel waves his hat and one of the units advances a little too far towards the Rebels !
Despite their lack of training and lower discipline the Rebels know how to shoot (the nearest unit had been upgraded to veteran status through the good fortune of a double 6 activation roll !) The Virginian sharpshooters having initially advanced to the road have now pulled back into line and join the rolling barrage of musket fire
The Natives who had clearly not been adequately paid, had been reluctant to move up from the start finally move through the church yard let off a single volley and then flee !!
The Rebel line is well formed and although the British fire back they are getting the worse of it
The light infantry are in a great position opposite the blue house but can’t seem to make an impact
Finally though a lucky shot and the American commanding officer is shot dead and falls from the
saddle.........
This immediately causes a ripple of anxiety along the Rebel line and the unit on the road turn tail, ha surely the redcoats have it now other nearby units will have to test their morale
But no the Rebel line is holding in the centre and they have forced the British light infantry back from the fence. They suddenly begin to realise the Rebels are tougher than they thought and much to their disgrace they retreat.
The British Regular infantry have taken everything  that has been thrown at them and sadly died to a man, we can only assume it is poor generalship keeping them to the front when they should pull back. The native mercenaries have returned but I suspect this is to watch their pay masters get defeated and to changed sides !
With only one very weakened infantry unit in play the colonel finally removes his hat again and orders the unit to retire in order. They will be back to teach these rebels a lesson
........ across the road a cheer goes up hoorah the American Revolution has started for real.

A splendid run out of the AWI figures, you’ll note I didn’t manage to get a picture of the British artillery which spent much of the battle at the rear and out of range. We seemed to roll an enormous number of double 1’ and double 6’s. This was Jonathan’s first try with a virtual game and with the rules so well done to him. The fun bit as we chatted after the game was to reflect that this might just be one of the few benefits of the pandemic situation. Who would have thought we would have been virtual gaming linked up live across roughly 4500 miles. The IT seemed to work fine and it was great to catch up with another enthusiast. We will definitely be arranging another battle soon. Perhaps even a modest campaign....which would encourage me to crack on with the painting , if nothing else I need another Rebel officer ! 😀


Sunday, 25 October 2020

Battle of Sagrajas Part 3 : Al Andalus

We managed to play the third and probably for now final scenario in the Sagrajas trilogy. With 2 two strong victories for the Christians under Alfonso things have not been going well for Yusuf ibn Tashfin. The background to the battle can be found here on the first post. https://wargamesinthedungeon.blogspot.com/2020/08/battle-of-sagrajas-al-andalus-part-1.html

For this third scenario the Christians have already captured and over run the Muslim camp. As the Almoravids regroup Alfonso is overwhelmed and forced to retreat when his is outflanked by Arab cavalry. To represent this using Lion Rampant (and this was a virtual game which makes things slightly more complex) the Christian forces are set up in the Arab camp they must make it across the board to safety. Yusuf’s forces will come on either behind them through the camp or from either flank for his cavalry units. The Christian knights will be hard to control as they are ‘drunk’ on their victory to date and likely to charge at anything (wild charge!)

The Muslim camp in flames, in the middle of the battlefield Alfonso’s knights are galloping away to the left, in the foreground the first Arab horsemen attack from the flank
Almoravid infantry also swarm in from behind the camp intent of revenge
One unit of Christian cavalry has been distracted and is being surrounded
Christian crossbowmen who have been devastating in previous battles are caught raiding the camp and pinned against the tents
Arab light hose in the distance attempt to delay the escape whilst Alfonso sensing the danger starts his retreat
The crossbowmen are trapped and pinned !
Things are going well for Yusuf although he has been weakened by the fighting
The Arab cavalry is spreading out and chasing the enemy across the battlefield
Another unit of knights are forced to turn and charge back into combat rather than escape
Alfonso leading his infantry
....but suddenly the Muslim cavalry is starting to lose its advantage as the remained of the Christian forces put up a stout defence and then start to attack 
Only caring for his own skin Alfonso gallops away !
The tables are turned and suddenly with the rest of the Arab cavalry having fled the Christian knights turn on the light Almoravid infantry and that doesn’t go well for the Muslims
The final nail is when Yusuf ibn Tashfin fails a morale check and as he flees the Muslim army collapses

So we have played all three of the scenarios from the original article and all have been fun, interesting and challenging, history has not been repeated as Alfonso escaped without being wounded. All the games were played virtually and worked at a fairly small skirmish scale using lion Rampant. I think perhaps next we might see the Vikings back in Al Andalus ? 

I have also managed some painting this week, in preparation for finally getting the AWI figures into a small skirmish I needed some commanders and to liven things up an artillery piece. 
These are Perry figures and were partly painting when I got them so just needed finishing and basing
Two Wargames Foundry officers, I have painted them in fairly generic uniforms and are on Brigade commander sized bases. They are lovely figures and having order two packs I have enough for other command bases as well.

That’s all for now hope you are all ok 😀