Monday, 12 December 2022

Unrest in the Welsh Borders : Gruffydd ap Llewelyn 1052

After some WWII battles a return to the Dark Ages in the Dungeon. Gruffyd ap Llewelyn is generally known as one of the first Welsh Kings to rule albeit briefly over the whole of what is now Wales. These of course were difficult times and between the early 1050’s and his death in 1063 he fought many battles with other competing Welsh rivals and Anglo-Saxons from across the ‘border’. The good news for Wargamers is the Anglo-Saxons were often supported by mercenary Normans. We have previously played the Battle of Hereford.

However, having painted up quite a few more Celtic figures I wanted to get a smaller battle on the table, this is very loosely based around several battles which took place around Leominster. Gruffydd has been causing trouble and a significant Anglo-Saxon Lord perhaps one of the young Godwinson brothers has been sent with a force to put him in his place. The Welsh of course have set a trap !

The battlefield somewhere in the welsh borders, the Saxons having tracked Gruffydd to one of his village strongholds, have camped overnight before an attack. ThebSaxons are employing several units of Norman Mercenaries. They awaken to find Gruffydd with an apparently small force of welsh occupying Cross Hill on the opposite side of the valley, luckily the river is low so can be crossed and Godwinson immediately deploys for battle. What he is not aware of is Gruffydd has troops hidden in Lower Wood and on Copse Hill. These are ready to attack once the Saxons have been drawn across the valley. Further welsh reserves have been sent on a long overnight ride and will arrive at the Saxon camp if Cross Hill is threatened. (The Saxon commander knew of the potential for welsh reserves but not the location or timing). We set the Saxons three potential objectives, to capture Cross Hill, to Kill Gruffydd and or take the village.
Gruffydd and his small force on Cross Hill, the welsh warriors are fast moving and have a mix of throwing weapons but are lightly armed. Apart form a single unit of Gruffydds bodyguard or Teulu.
Godwinson with his Anglo Saxon army stretching across Ridge Hill, supported by Norman crossbowmen and infantry.
After an exchange of taunts and verbal abuse to two armies move closer together, the Welsh light cavalry moving towards the stream to contest any crossing
The bulk of the welsh infantry stay on Cross Hill
The Anglo Saxons move quickly towards the valley bottom
….and quickly surge across the stream under a hail of javelins, the cavalry pulls back but the lightly armed welsh infantry are all ready in combat towards the base of the hill and out matched
Unbeknownst to Godwinson his troops crossing the stream have triggered the planned welsh ambush, as the Saxon cavalry approach Lower Wood more welsh infantry appear and pelt them with missiles and stones
Welsh warriors also appear on Copse Hill
Saxon infantry continue to surge across the stream but now have to contend with the potential of two flank attacks
Some of the Saxons have been slow pushing forward past the Farm
The battle to take Cross Hill is hotting up
and the welsh lines are thinning out, it is touch and go whether the newly arrived  flank forces can impact the battle before Cross Hill is overrun
Just a nice shot 🙂
The Saxon Hurscarls are now pushing up the hill but they have Gruffydd’s bodyguard to deal with ?
This triggers the last welsh reinforcement another unit of light cavalry having been sent on a long flank ride arrives close to the Saxon camp.
Can the defence of the hill hold ?
A second battle is now taking place in Lower wood !
Some more Saxon infantry is now being diverted towards the main battle
and even more are pushing up the lower slopes !
There are now only two units holding the hill with Gruffydd 
And the two commanders are now engaged in hand to hand melee.
Eventually the leading Saxon Hurscarls are killed but there is a second unit and the bodyguard are weakened, what the Saxons can’t see is the large unit of welsh warriors coming up behind them !
The final Hurscarls are scattered and wiped out, caught between two units, the two commanders have fought each other to a standstill but a separate Saxon horde have broken through to capture the Cross.
Whilst there was still some fighting going on in Lower Wood, both armies were really exhausted at this stage having gone well beyond their nominal breaking point. There are slightly more Welsh left alive but that is no real justification for a victory. Having taken the Cross it goes to the Anglo-Saxons. Gruffydd will pull back to, the village.
 And fight another day. Godwinson doesn’t have enough troops to make this anything but a Pyrrhic victory.

A splendid battle so much fun, thanks to Steve for trusting my scenario, the ambush worked really well and created a very close battle right to the end. I do have two more Celtic units in the painting queue and some more light cavalry ….but that Will be enough.

Thanks for taking the time to pop by 😀 Matt


Friday, 9 December 2022

Warlord French Napoleonic Peninsular starter army 😀

Still finding time to progress the painting and finally pulled my finger out to get some more Napoleonics painted.

My fourth Battalion of French Infantry, it just takes patience and time to get them done. But like so many of you a huge positive feeling as each one musters off the painting table.
In a moment of real enthusiasm I also got stuck into the Chasseurs a Cheval, who come in the starter army. Nice figures painted up here as the 13th, lots of detail on these (possibly a little too much for my painting style) only one quibble which is the swords are far to thin and flimsy two broke before I had started ! Bad sculpting/design in my view as this are wargame figures not display models. Anyway they are all intact at the moment.
Finally if anyone wondered what you get in the Warlord French Peninsular starter army box, here they all are completed.

I  do have some more French to paint but will swop to the British starter army for fun 👍 for the french I fancy painting some Legere Battalions next but the other warlord figures I have don’t really work for them. Most likely are some Perry with their longer trousers. I am open to ideas from those who know Naps better than me. On that note  and having been interested in Napoleonic wargaming for as long as I can remember it is amazing how little I actually know about Peninsular uniforms and organisation. All help advice and suggestions welcome 🤔

Thanks for your support 👍


Wednesday, 7 December 2022

Somewhere in Normandy 1944 : Part II

As hinted at by the title of my previous post we played a second Normandy Battle. Basically with the previous game finishing quite late and an early start on the Saturday I didn’t have much time to create a completely new battlefield.

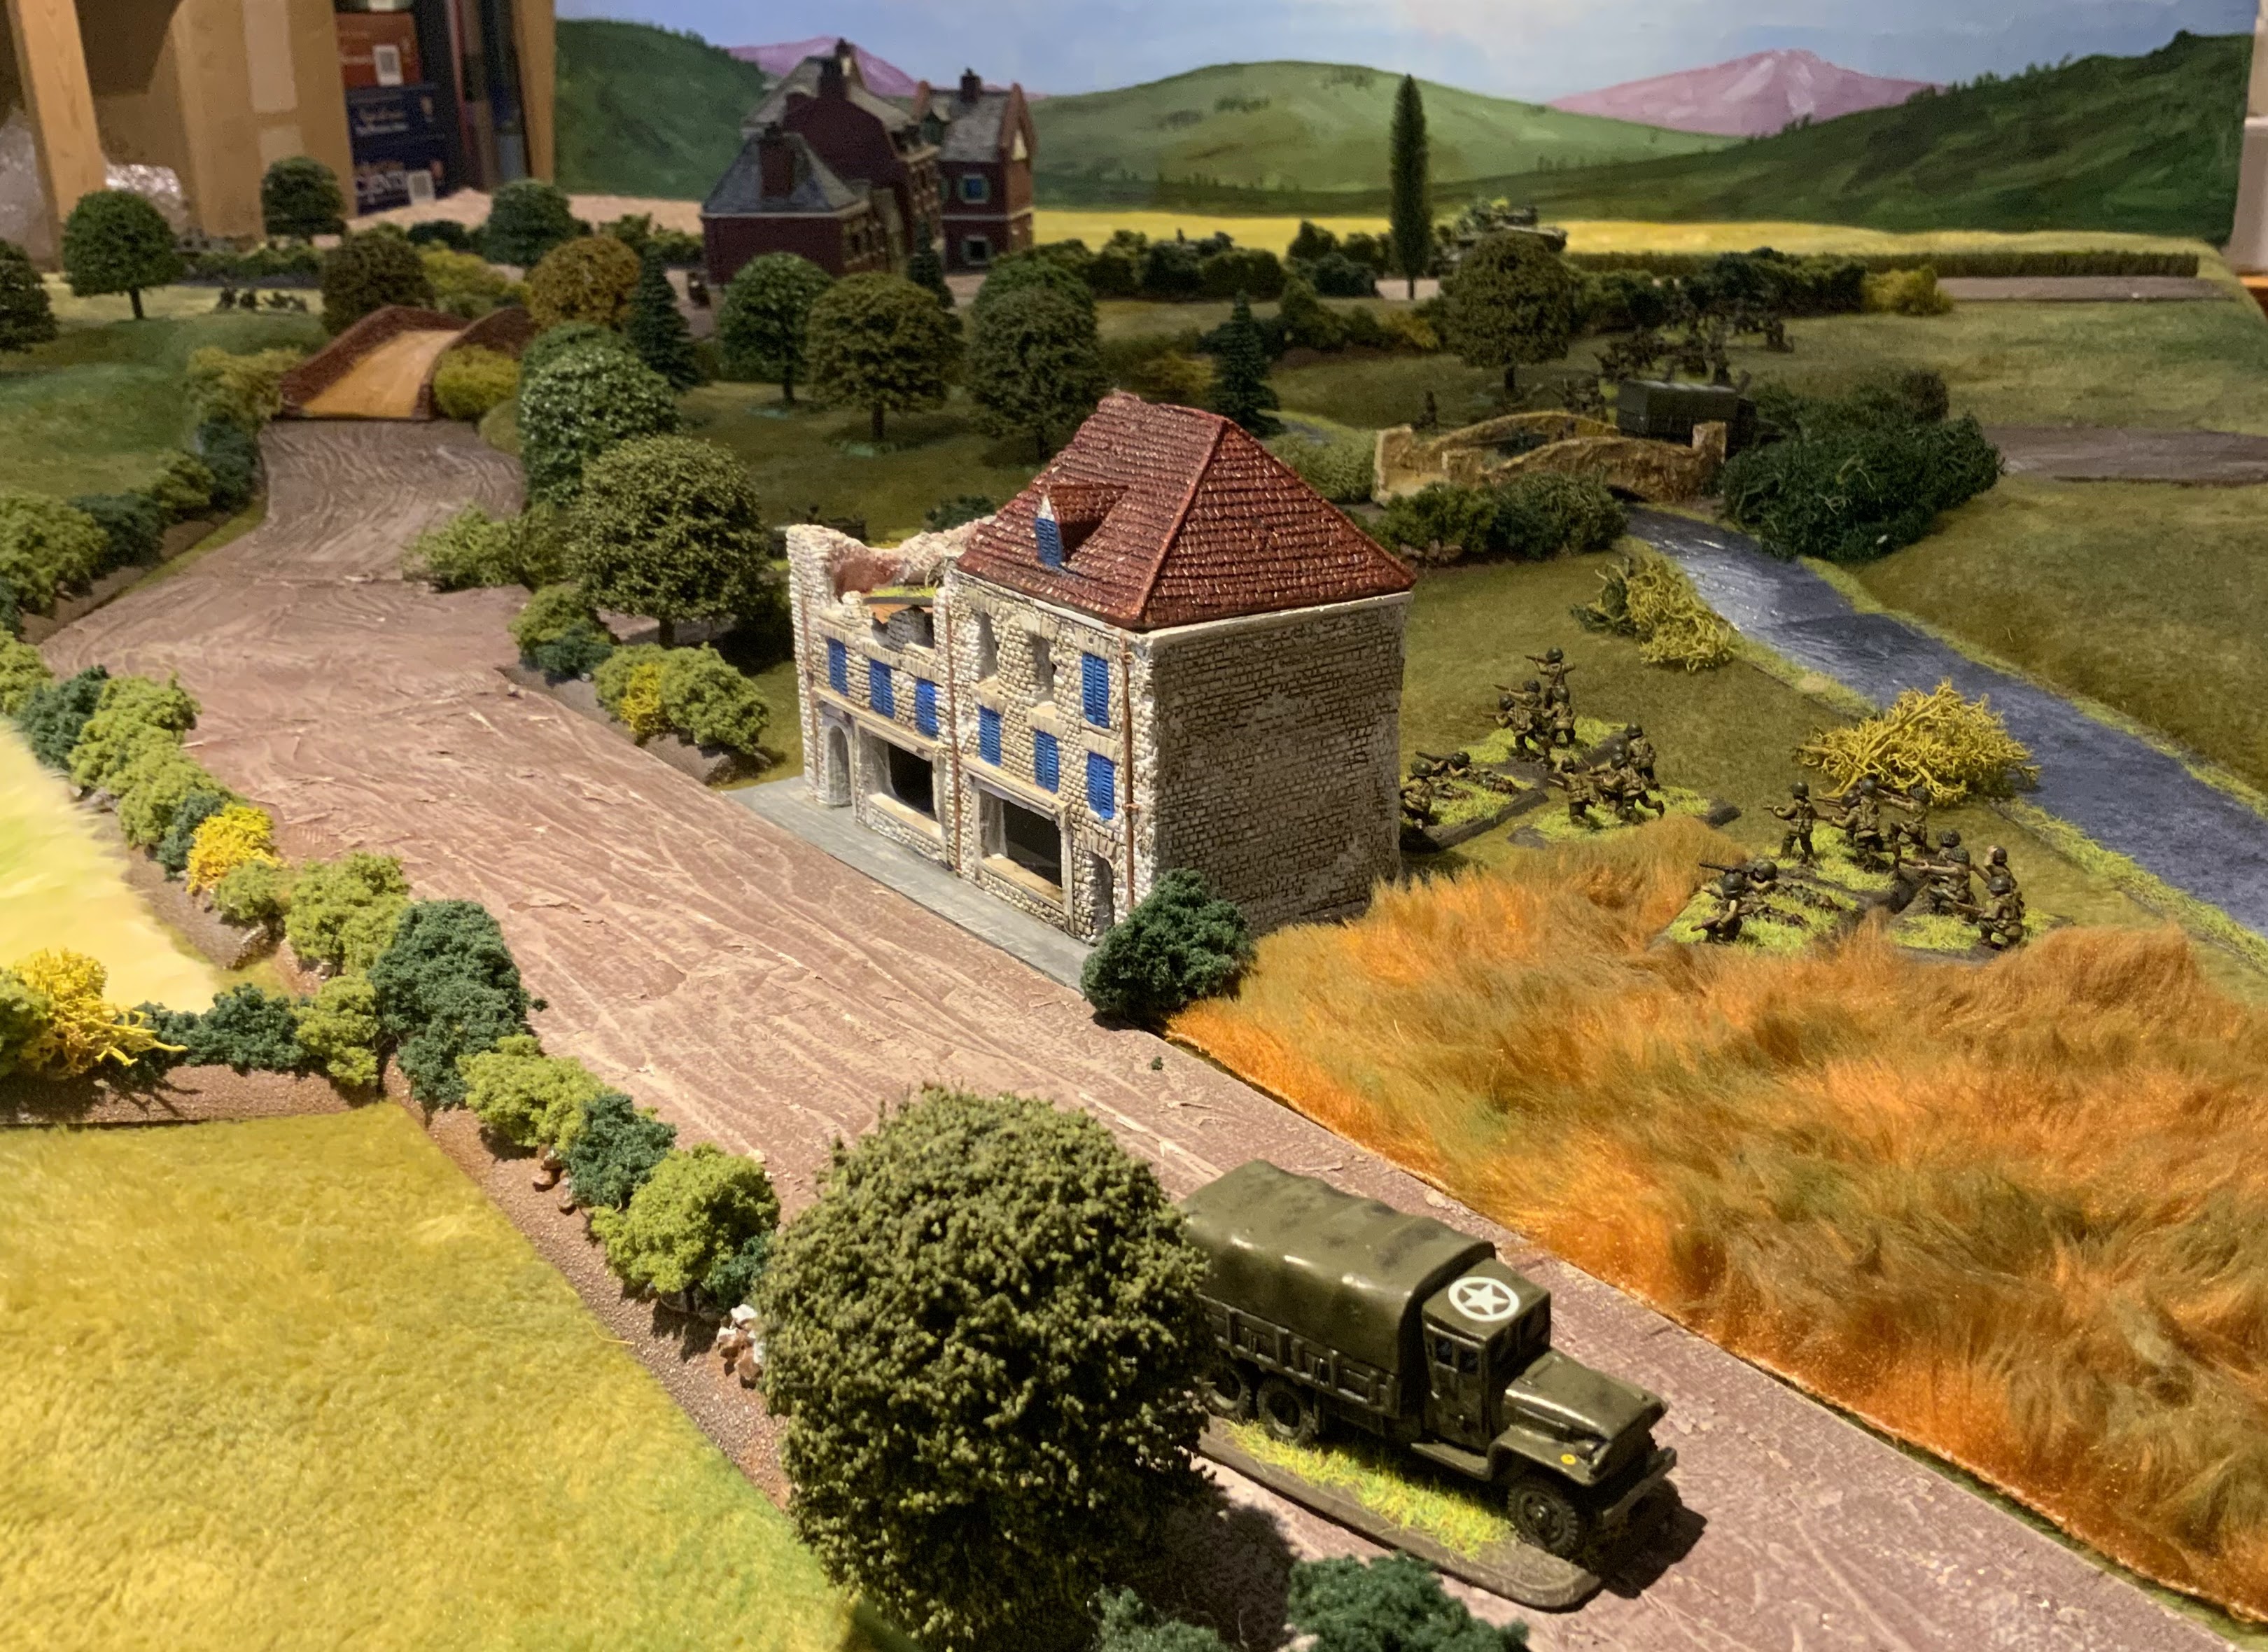
But this wasn’t a continuation, but a completely new battle. Those eagle-eyed we spot I did change a couple of things adding an extra road and growing the village slightly. The forces would be a bit larger as we had more time. We would again be using Bolt Action with the 28mm ranges to give a fluid battle. For this battle the Germans advance from the South (this end) the Americans from the North. The objective for both sides would be to capture the two river crossings, the river no longer in spate would allow infantry to cross if needed. We gave ourselves 10 turns to complete the battle.
The Germans want to use the advantage of their hill and look to deploy their Pak40 overlooking both bridges.
German armour and infantry heading for the White House 
And then advancing down the road
The Americans deploy slightly more cautiously 
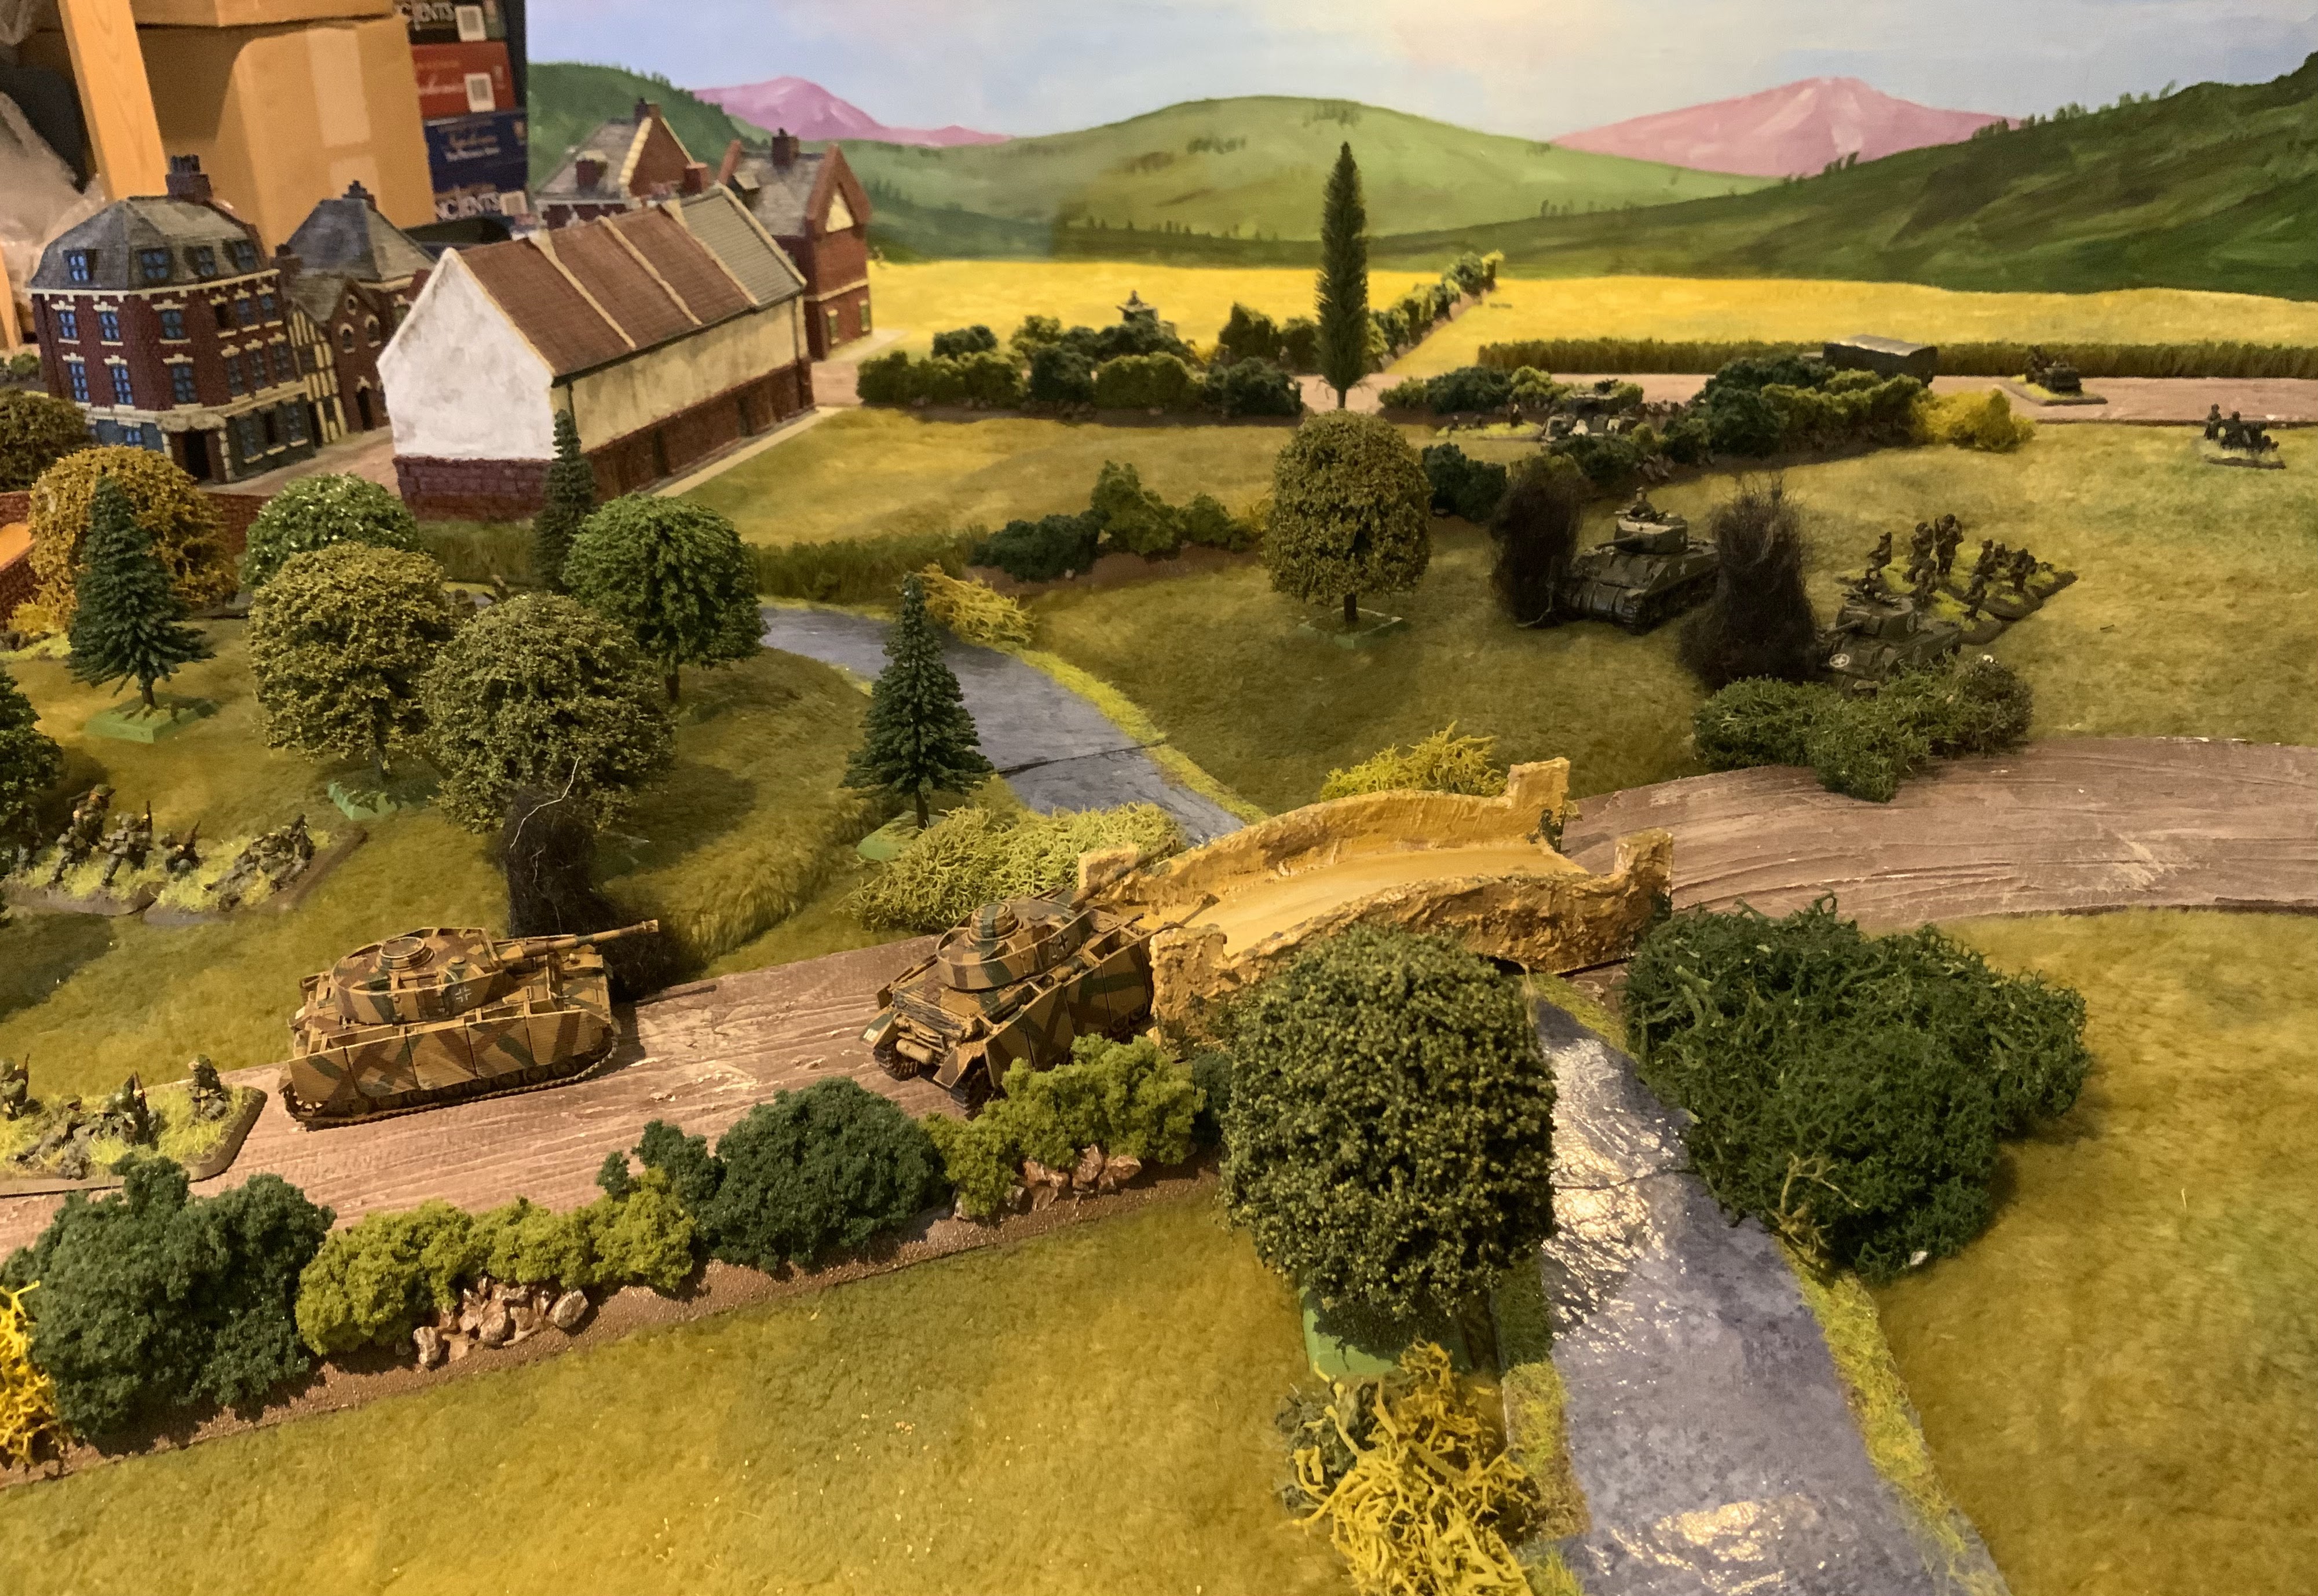
German tanks surge towards the right bridge but one gets a track knocked off and is immobilised (it can continue firing though)
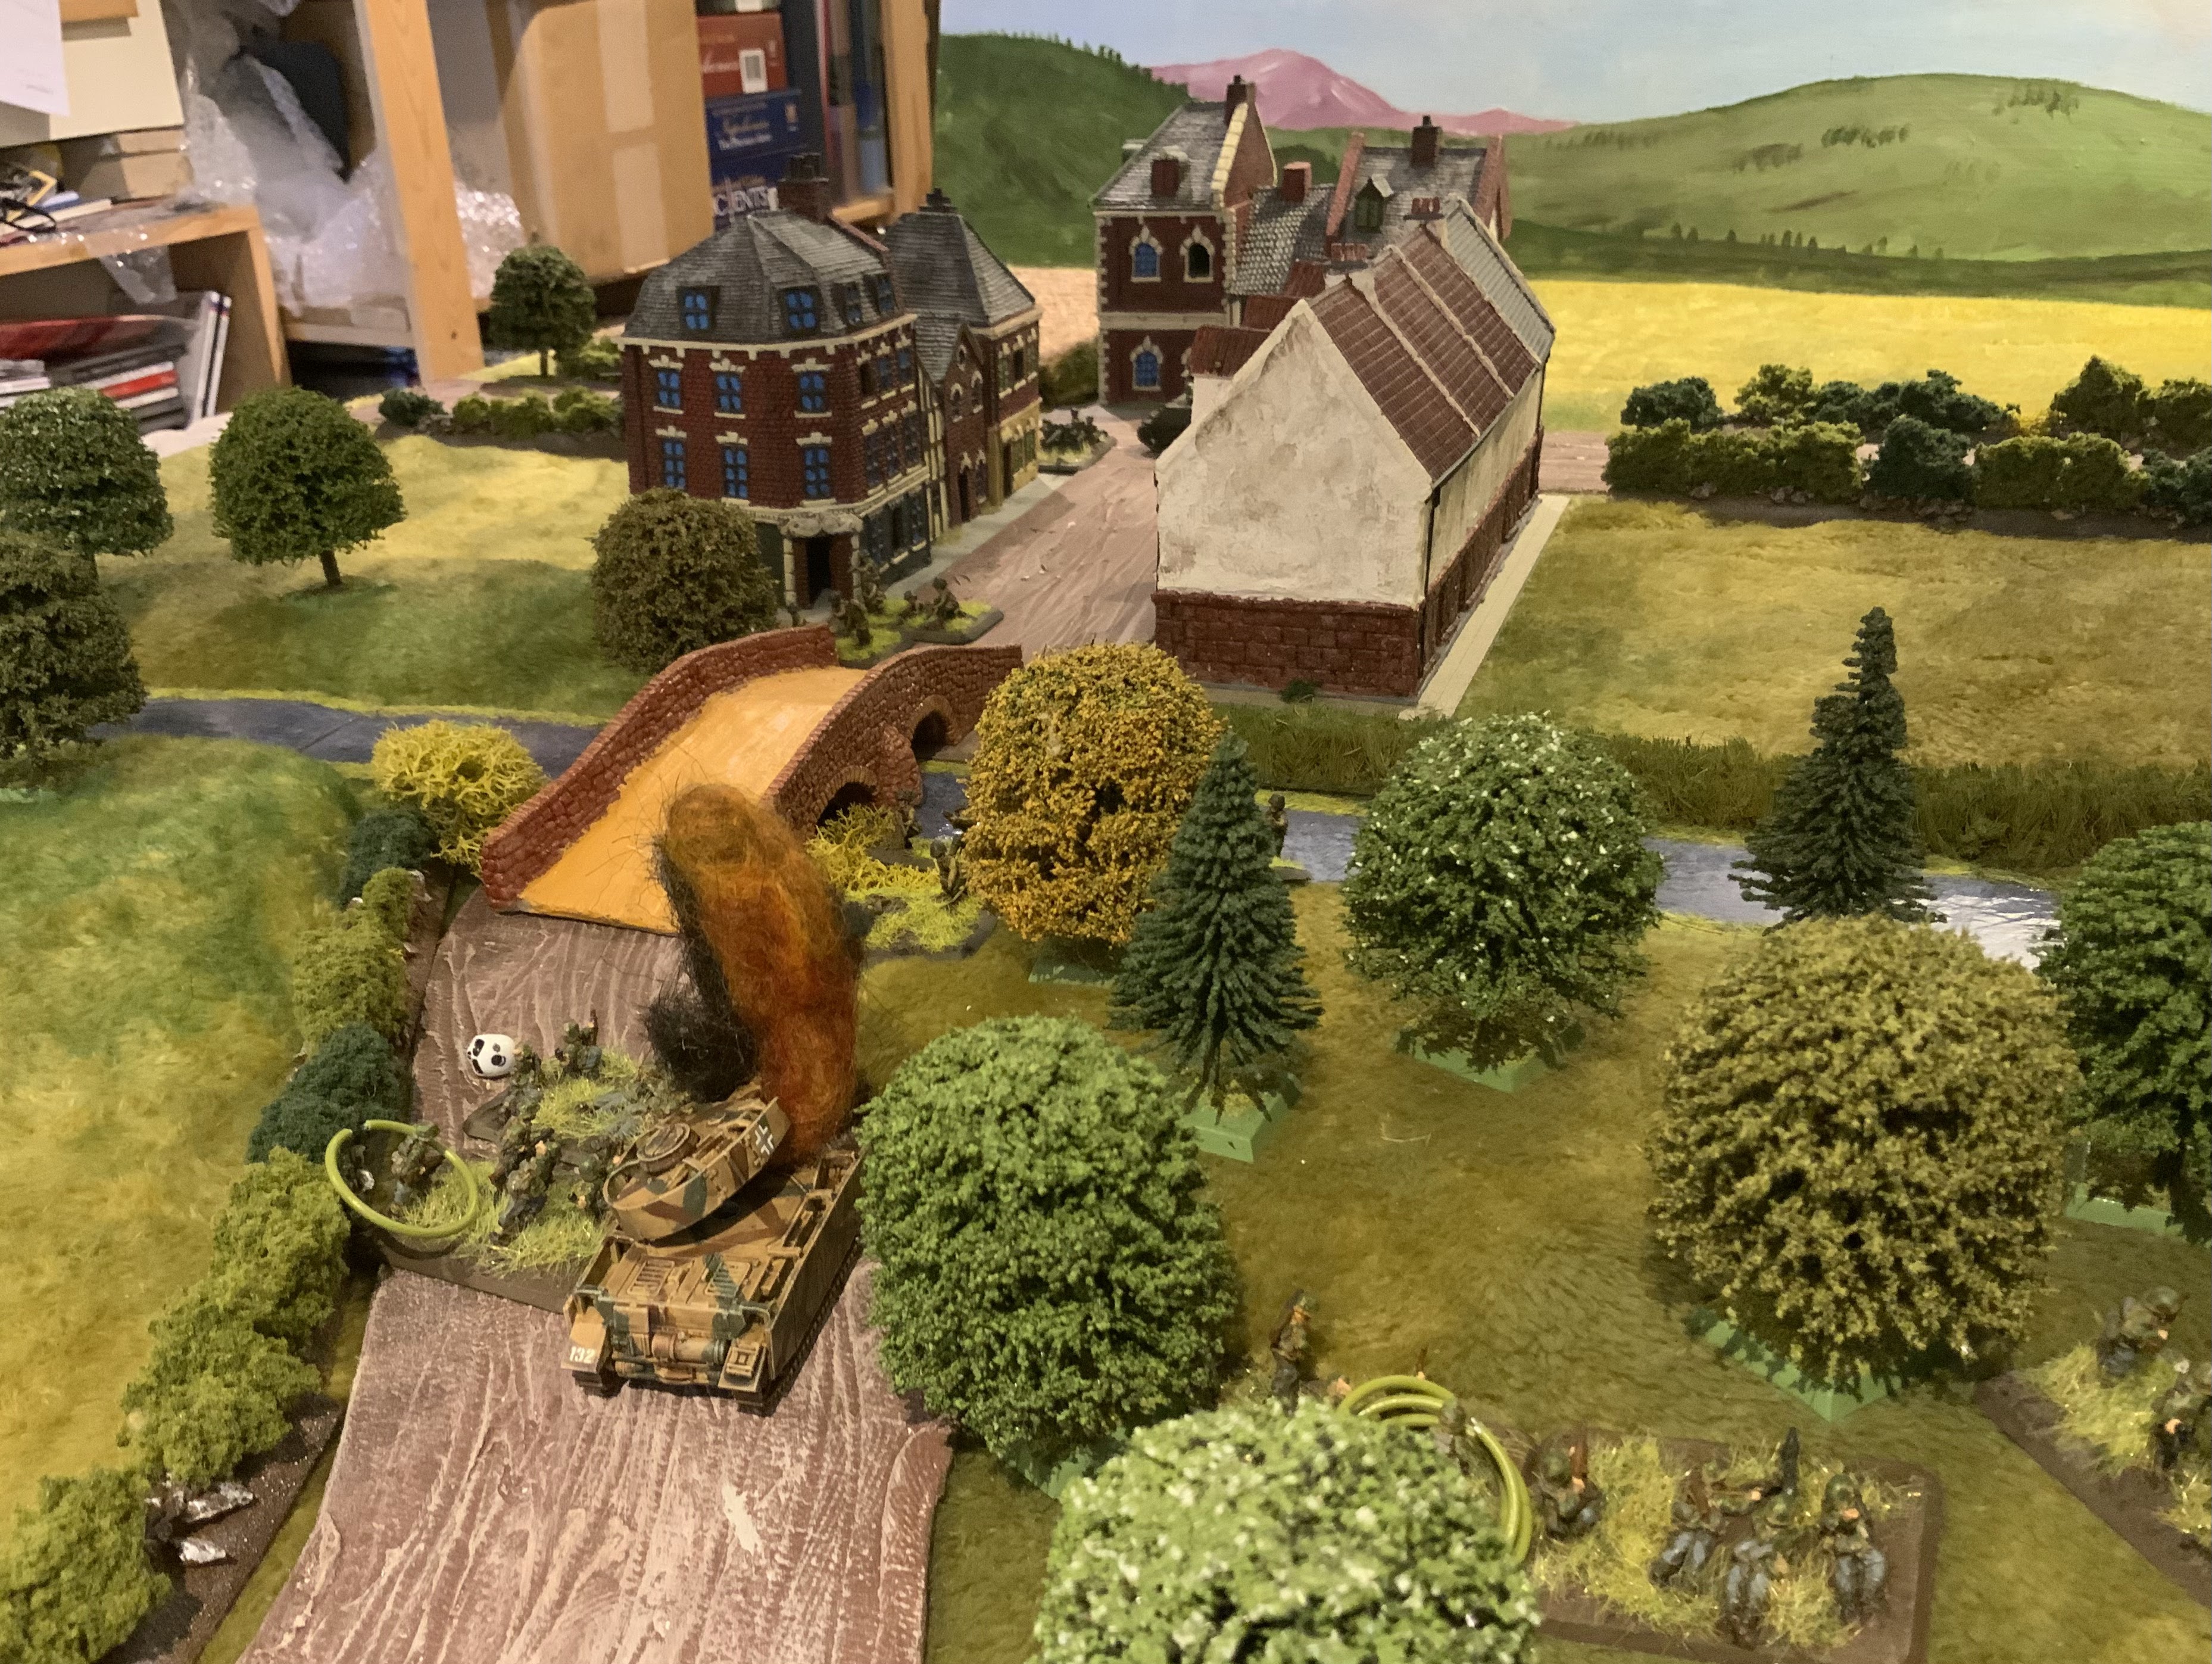
German commander oversees the battlefield from the White House whilst the Stug now engages the enemy across the river at long range
American infantry line the river, whilst the leading Sherman advances over the bridge
The two Sherman’s close to the right bridge are also now immobilised
The Sherman in the village crosses over past another burning Panzer
Quick thinking by the tank commander and he pivots into the woods catching the next Sherman in the open and it too is brewed up.
The woods see really fierce hand to hand fighting several units end their battle in the woods.
The Sherman (armed with Howitzer) manages to knock out the Pak40 and then advances over the bridge
Another burning Panzer and you can see just to the right the lead Sherman has driven right into the German lines, distracting the Germans who eventually knock it out with theStug 
Very close now to the end of the battle, the several German units have thrown themselves at the bridge, eventually a unit gets across past the burning Sherman.
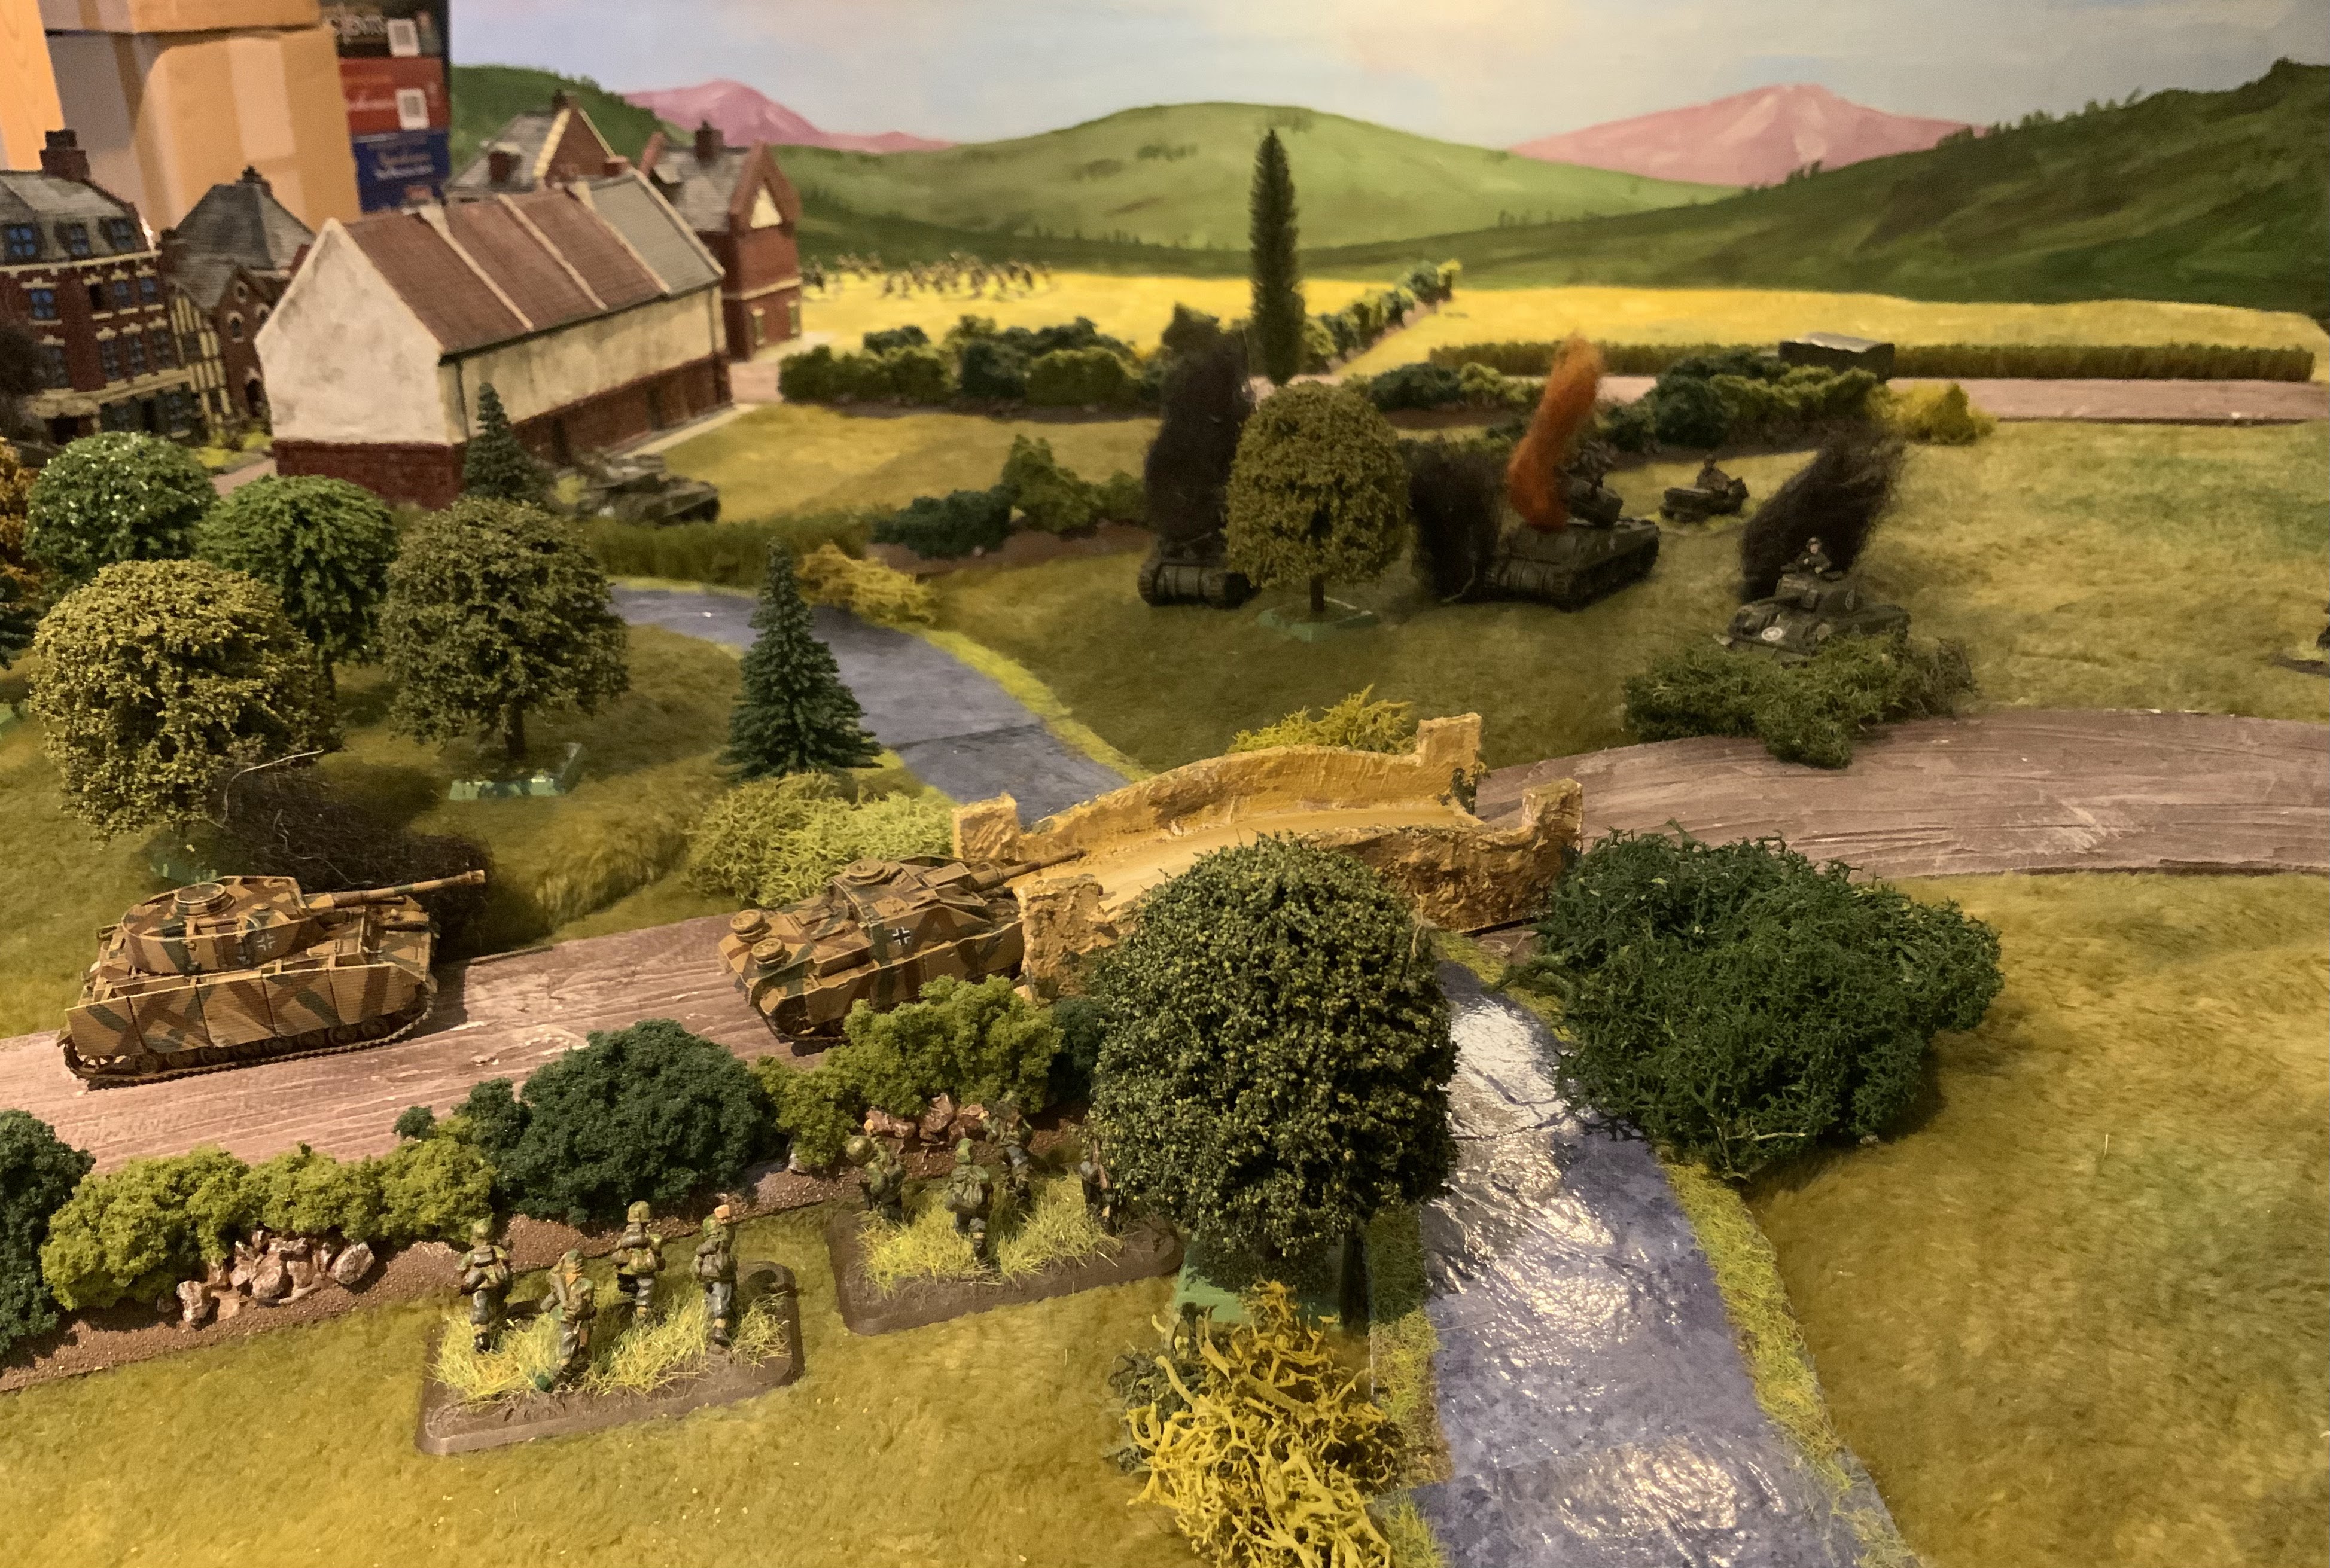
In the final turn the Germans manage to get across the bridge, and knock out the American AT Gun, the two remaining tanks in this sector trade shots across the river.
At the other bridge the Germans are also pushing forward, they have eliminated any Americans near the bridge and the Stug has been brought up to lead the advance.

Seem to say this quite often but another fine battle. Very close and hard fought especially around the central wood. The higher quality of the German infantry won through in the end with random dice rolling not really playing a big part in the outcome. As a couple of people mentioned on the previous post the 15mm is very effective and we are enjoying the simplicity of Bolt action and the larger ranges and mobility. This was such a fine battle that we mistakenly started thinking about more WW2 15mm projects, over a post battle cup of tea. Always dangerous to make decisions in the warm glow post-battle but a plan has already been hatched and implemented 😂 for the new year. More of this in future blogs of course. Who doesn’t need another WWII project !!!!!

Back to the painting desk and hopefully more to share by the end of the week.

Matt


Tuesday, 6 December 2022

Somewhere in Normandy 1944 : Part 1
Not based on any historical battle but a couple of chances to get the 15 mm Normandy collections out on the battlefield this weekend. The first of the two battles saw two relatively small forces playing across the Battlefield.
Americans have the advantage in numbers the Germans quality. We had two objectives each to hold and two to potentially capture. We used very slightly simplified bolt action as the opponent is only an infrequent gamer. To make the battle pacy we kept to the 28 mm measurements, this seemed to work really well and was adopted for the second battle as well. The picture above after the initial first moves, Americans arrive from the left the Germans opposite. The objectives are marked, the stream is in spate so only crossable by all troops at the two bridges.
German Panzer supported by a heavy machine gun seek to take the high ground
American infantry move to take the damaged Farm House
More American infantry advance towards the village setting up an AT gun on the bridge. All hedges were classed as bocage so block line of sight.
German armour strength is on the left by the village
A Sherman Firefly manages to get stuck attempting to cross the bocage in second turn where it remains for the rest of the battle !!!!!!!
But early American success some lucky rolling saw a PzIV knocked out as it pushed through the woods
Whilst the American infantry advance towards the village, the AT Gun waits in ambush on the bridge
Tough fighting near the road junction
In the distance one of the Sherman’s has brewed up
American infantry pushing towards the bridge with the objective just beyond 
At the other end of the battlefield a single Sherman has broken through and is approaching a second objective but they are not on their own
Americans break across Main Street in the village but the objective may be frustratingly out of reach ?
Panzer Grenadiers are able to pull back into the woods to contest the second objective
Battlefield littered with burning Sherman tanks
In a brutal finale the one of the Panzers drives right through the American infantry in the village scattering them before they can make a dash for the objective.

A fun and tightly fought battle, an American win by virtue of them holding their own objectives, but the Germans were able to regroup to get back and hold their own objectives. Really enjoying getting the WWII collection on the table 😀

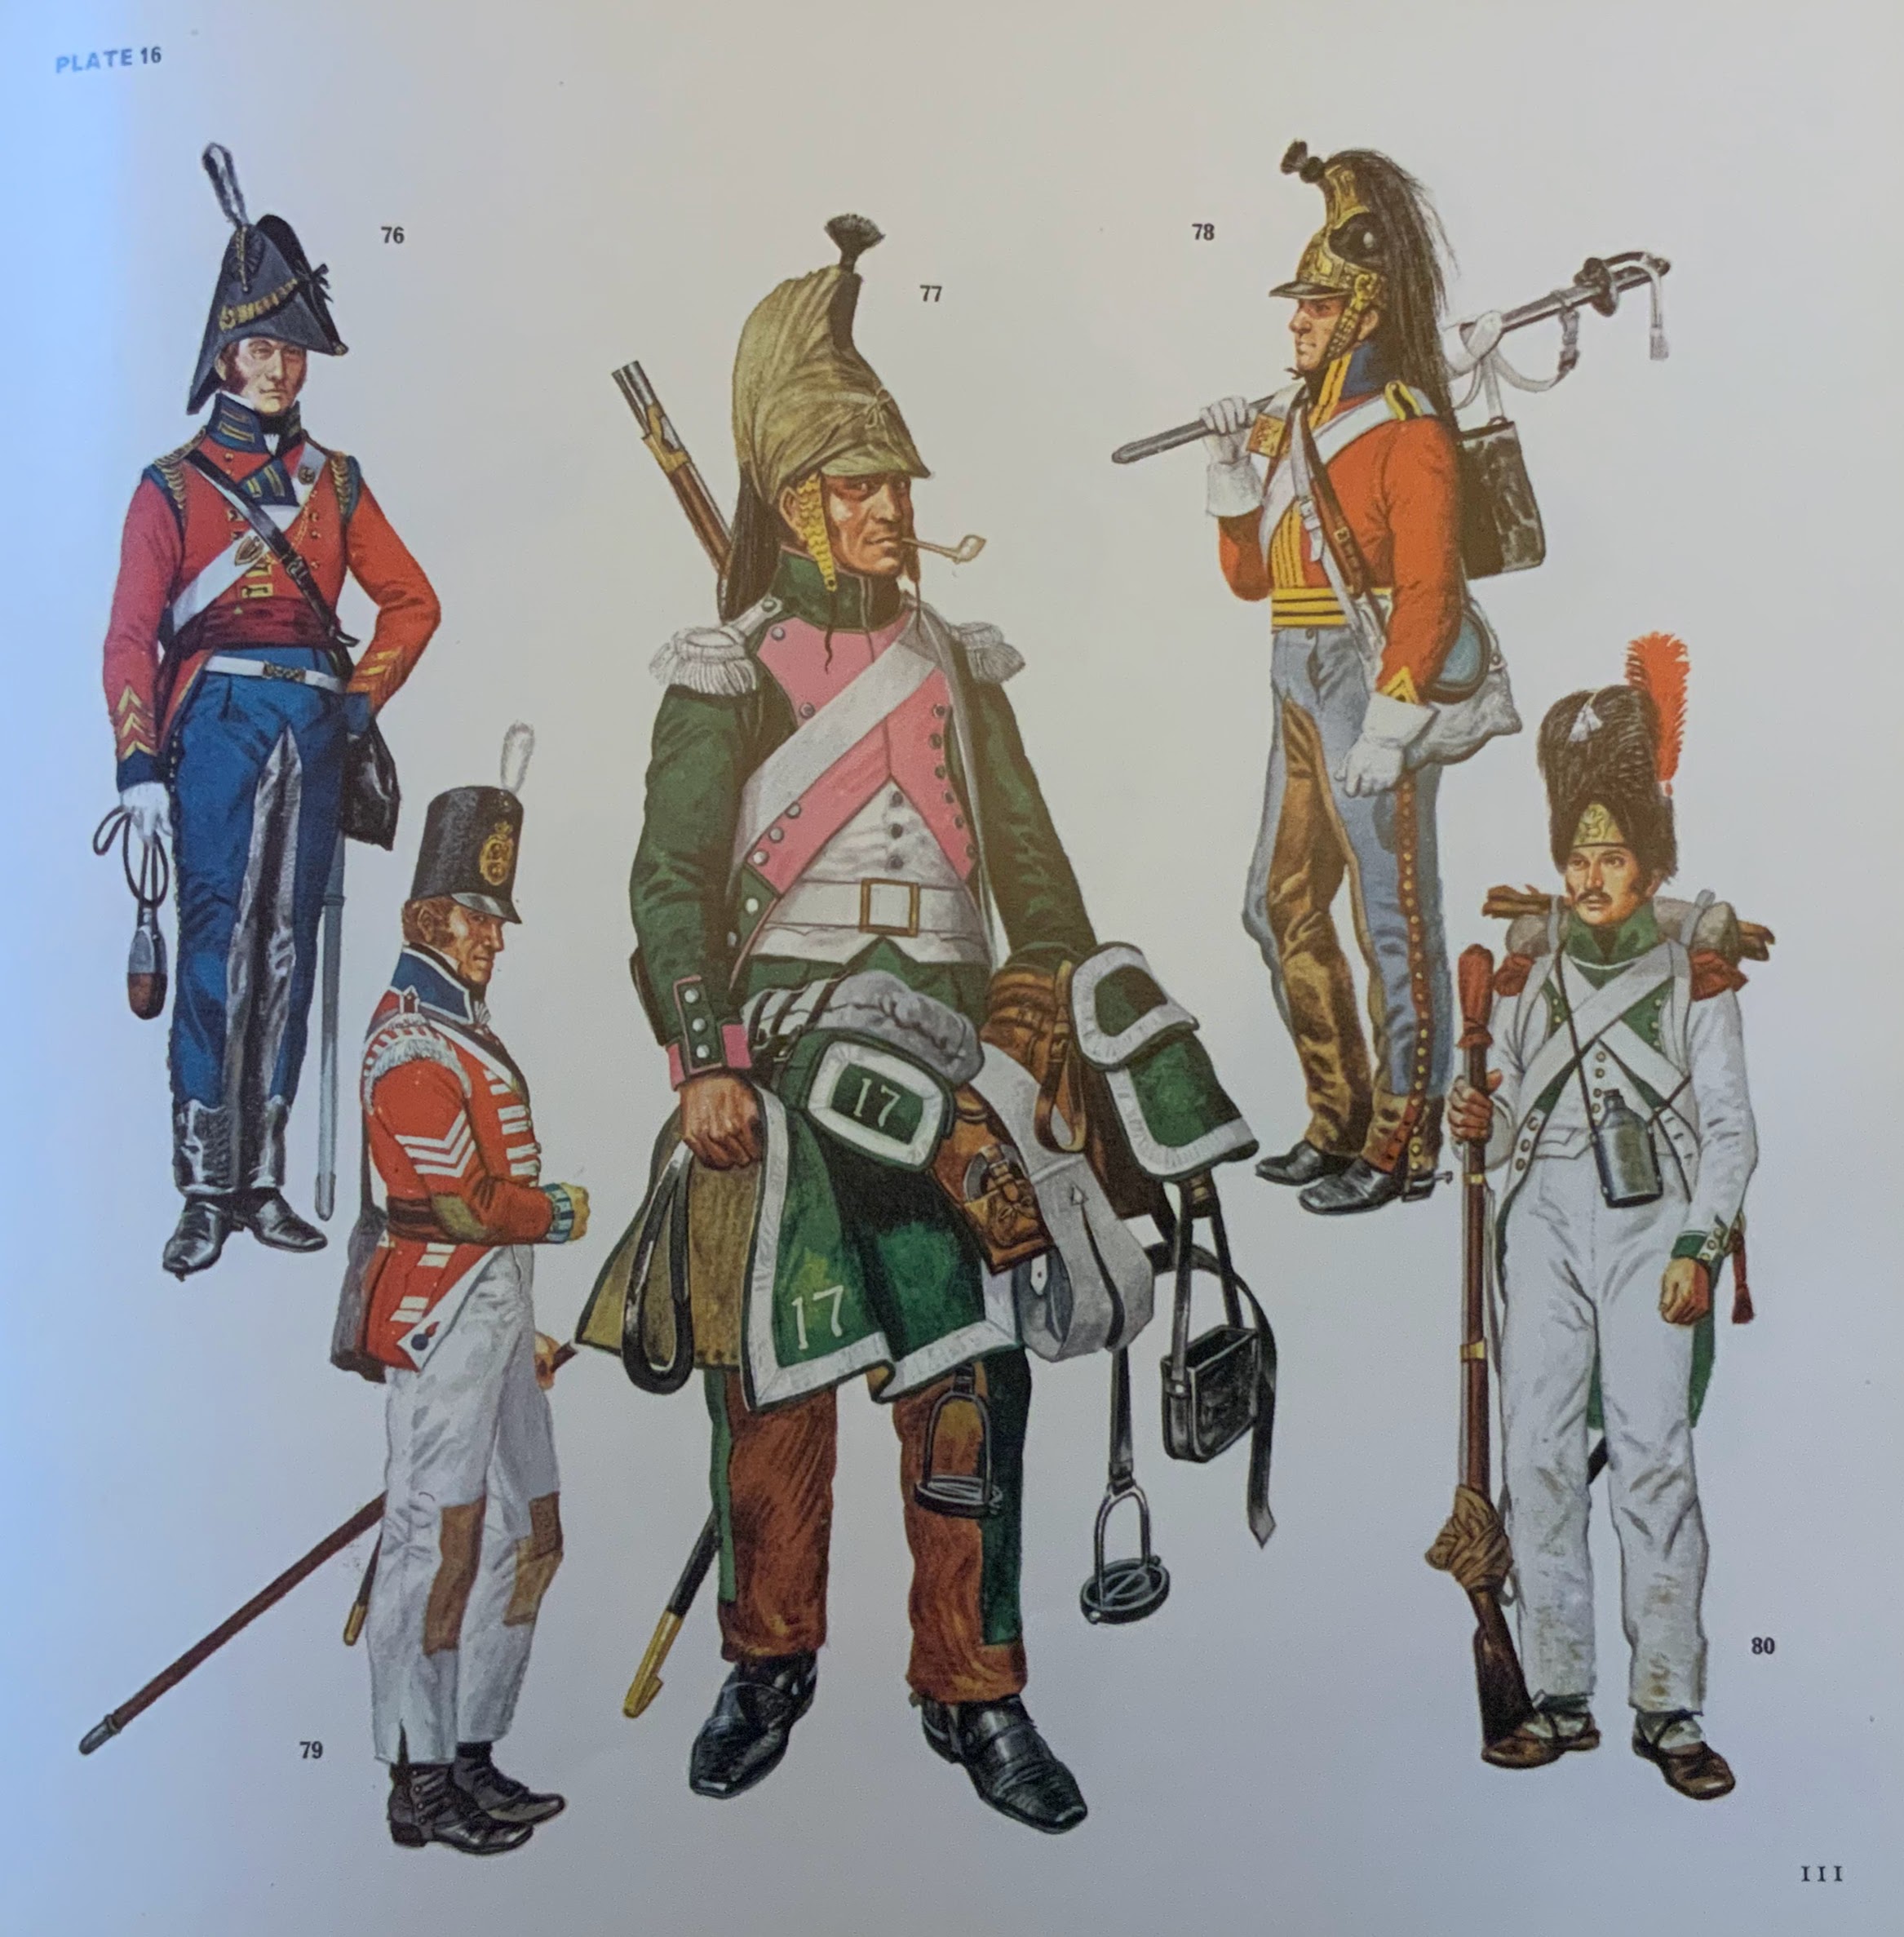
I am now in a head to head contest with Mr Bickley as to who can find the best second hand book, completely unexpectedly I found this in Carlisle on Sunday. Particularly relevant as I am painting up Peninsular figures at the moment !

I am sure many of you have this book anyway but it is packed full excellent colour plates and descriptions

Back to you David…😀