Monday, 6 November 2023

Battle of Hubbardton July 1777 : American War Independence

Due to summer holidays and my recent illness it has been far too long since we moved our AWI campaign clock forward, so time to change that. 7th July 1777 and we have the Battle of Hubbardton. Given its moderate size and fairly equal forces it seems a more popular battle for wargamers and I found several examples of the battle on the web. Anyway regular followers will know all the battles are played remotely using Rebels and Patriots.

One of quite a few maps available on the web of the battle.
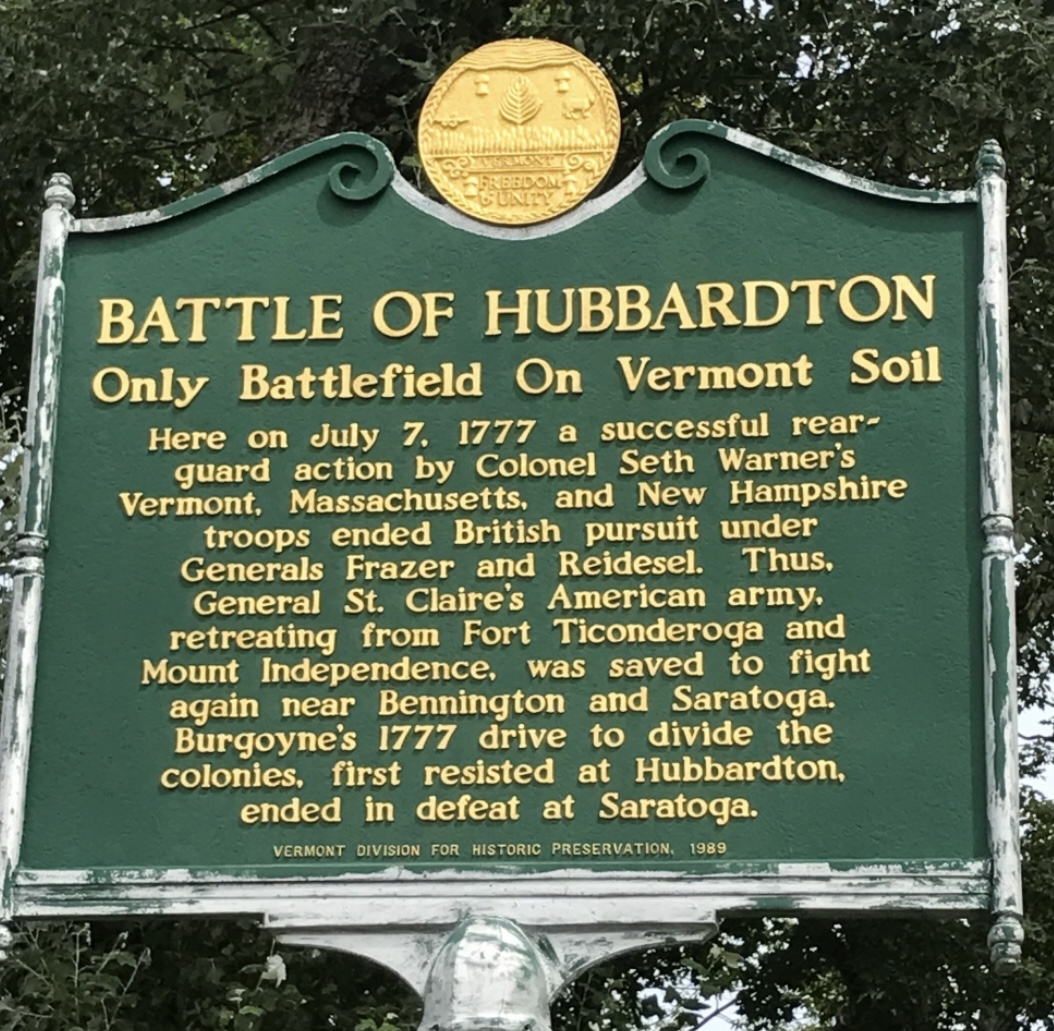
I have not been to the battlefield but I understand it is fairly well preserved
Here is the battlefield setup with all the essential features. Regular followers will know as we have played through this campaign any force attempting to attack a defended position will struggle using R&P but I am hopefully getting better at creating balanced scenarios. For this battle the Americans must attempt to get the three wagons to safety off the road to the left. They will each need to be activated on a straight 6+ but the road is two wagons wide incase the first one fails causing a traffic jam. The Americans must hold until either all three are off the table or captured. Either army will fail its morale and flee as soon as it goes below 25% which for this battle I set at roughly two remaining units and the battle will be over. The British capture a waggon simply by reaching it. The Americans in camp must make their first activation at minus 1 as they are caught in camp unprepared. The stragglers are ‘green’ representing their poor status with wounded etc. all the British regulars are veterans….not that that has done them much good in the past. The whole area is wooded so unless on the road all figures would be classed as being in cover. Finally the Hessian flank attack will be triggered by the three wagons getting over the half way mark. So onto the action……
The British under General Fraser cross the small river catching the American stragglers and rearguard. The British scouts are already across the river.
The stragglers are pushed back towards the main American line.
The majority of the Americans activate immediately from their camp
And start to move into a defensive line, would you believe it a double six and the Americans get a full reserve unit to add to the defence
The wagons all pass their activation and start to move down the road
As the British light infantry cross the bridge and deploy the American stragglers come under fire and they flee or are captured
This allows the rest of the British column to deploy
But the Americans are now in a strong defensive position along the crest of the high ground. Both sides open up
The additional American reserves arrive and immediately open fire on the Native scouts fighting for the British and force them to pull back
After a couple of turns the wagons are making worrying good progress, and the British are a long way from forcing the ridge
But the American skirmishers have now been pushed out the way and the leading British grenadiers are approaching the high ground.
Supported by fire form the nearby light infantry they charge up the hill and attack with their bayonets, but are then initially pushed back
Next turn the final wagon cross the half way mark and the Hessian column under General Reidesel arrives, apparently they were singing hymns to make the Americans think
The first Hessian grenadiers immediately drive the Americans back
The British grenadiers attack again and in a fluke hit General Fraser is killed (note to self I need some AWI casualty figures)
The Americans are still fighting hard, have saved one wagon and are close to getting the second one off the battlefield. However, ‘Lady Luck’ is with the British and the third wagon fails several activations is a row 
The British redouble their efforts to break the remaining Americans even though the second Grenadier regiment take fright and flee for one turn
Just as things are looking up the second Hessian grenadiers roll a double one failing to activated but instead shooting into the rear of their friendly unit, luckily although they kill two the grenadiers in front of them hold their position !
With their blood up the leading grenadiers charge through into the next American unit, pushing them back
Still the battle rages and hot British fire starts to wear the Americans down
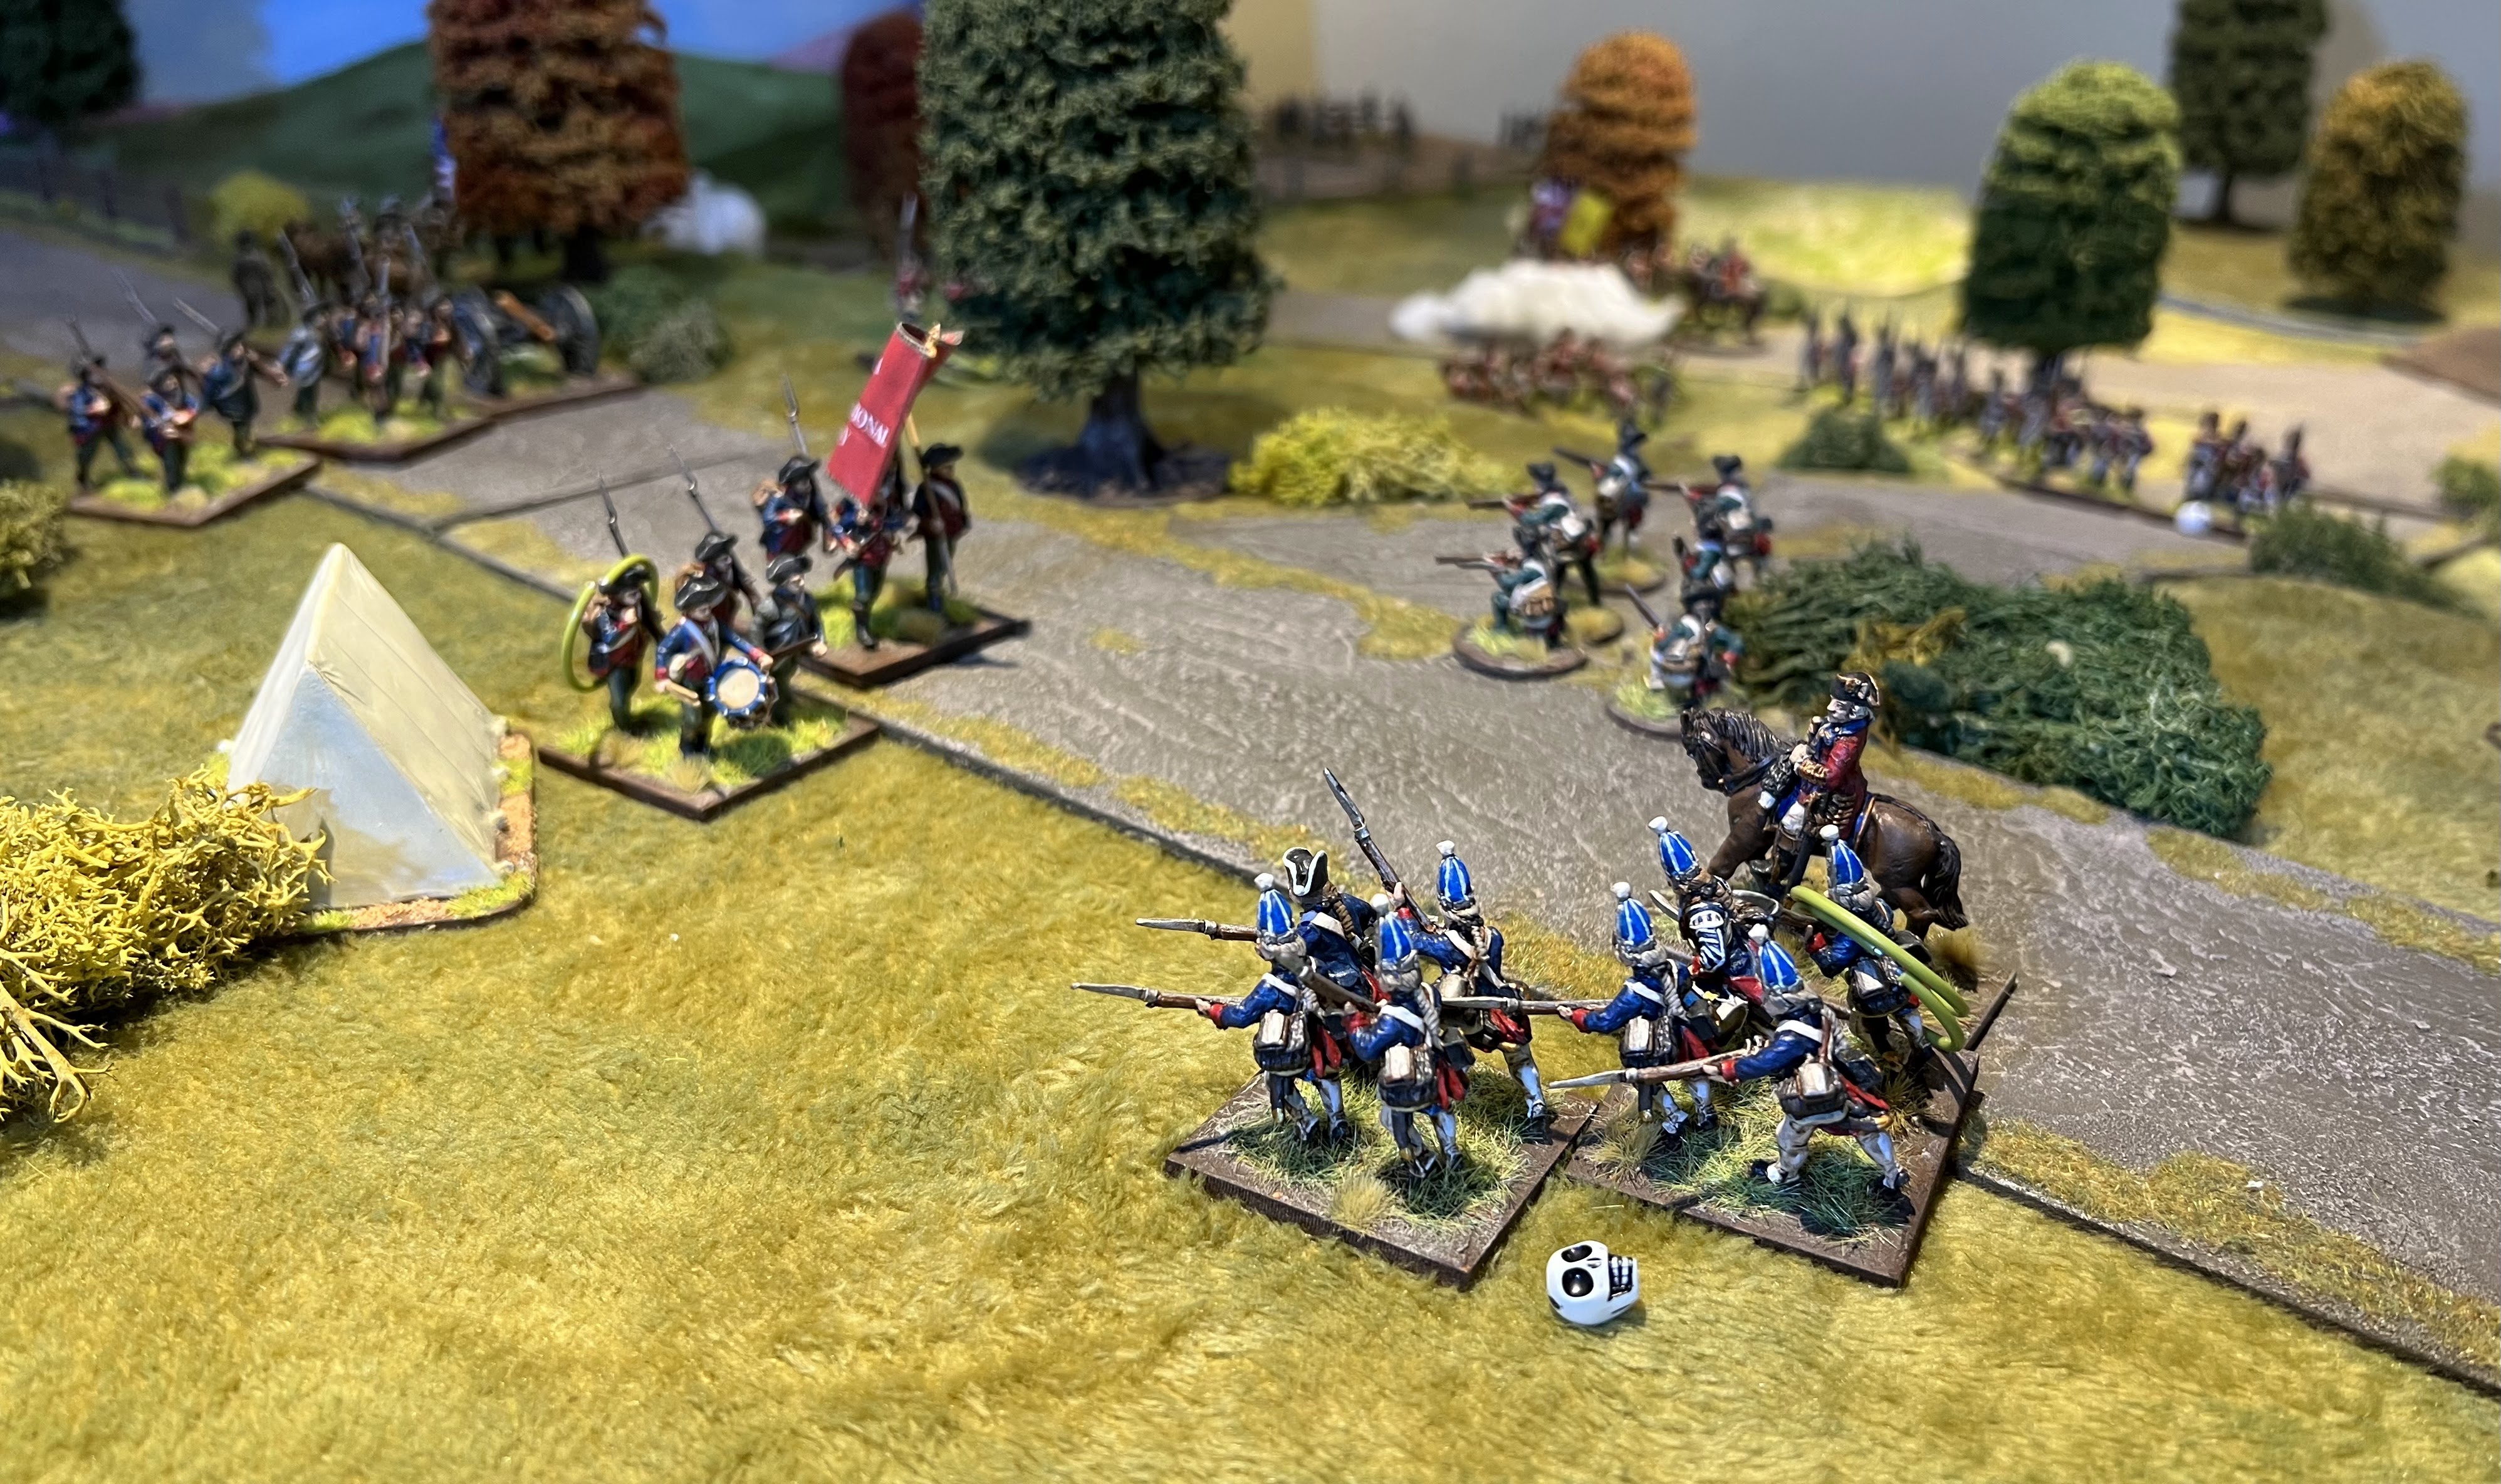
The Hessians continue to push forward
The Americans are now getting close to their 25% break point
The second wagon is then rescued from the battlefield
Many of the British infantry are still firing at long range and unable to impact the last few Americans
But the leading Grenadiers are still in the battle 
They charge in yet again
Driving yet another American unit from the battlefield, this triggers the 25% break point and the British have managed a win at the last minute.

A super fun battle, although a lot of Americans were killed or fled the battlefield it was in fact a very close battle. If the third wagon hadn’t failed at least four or five activations they would have held out long enough. Without doubt the unit of the battle were the leading British Grenadiers who took out at least three American units putting them to the sword/bayonet. I’m sure it won’t be so long before we have the next battle.

As I was putting the figures away into some new storage boxes this morning I thought it might be nice to take a parade photo for both armies so here they are
The British and Hessian forces
The American ‘Rebels’
I find it helps me see what else I might need and ensure the forces are balanced. As you can see the British need some more artillery, I certainly have at least one cannon in the lead pile. Then perhaps another American unit or some dead American casualty models ?

Thanks as usual for checking by 😀

Matt


Sunday, 5 November 2023

A diversion to the Spanish Civil War ….

After our SYW battle from the weekend before we had another Saturday battle planned in. Martin has been building a Spanish Civil war collection in 10mm and we agreed to give this a run out in the dungeon. Unfortunately not a period I know much about and with my RCW collection it currently feels like a project ‘too far’ ? Anyway Martin developed a simple scenario to utilise all the available forces. Out of interest we would be using bolt action with some slight modifications to ranges, basically reducing hand held guns but keeping movement the same to give a fast paced battle.

Very roughly based on a real map but perhaps more like generic northern Spain, I took this photo the evening before you may notice it doesn’t have any buildings in the villages. These were supplied by Martin and you will see them in the following photos. The nationalists will be attacking from the south/left, the republicans defending and attempting to prevent a break through towards Bilbao. With the caveat that I don’t know much about the period the photos will have to describe the action.
My republican force, the International Brigade digs in to hold the river crossings.
Huge convoys of Nationalist infantry arrive in trucks.
Republicans are also holding the village of Vallesa
The international brigade are sent forward to block the valley road, antitank guns by the church open up but one is knocked out by accurate mortar fire
Another antitank gun by Vallesa is also knocked out by artillery firing across the valley from San Christoval, but not before it was able to knock out the leading nationalist tank.
A fierce fight in the narrow valley blocking the advance 
Some much needed Republican reserves arrive, in the middle distance our artillery opens up counter battery fire across the valley
Armed with Molotov cocktails my infantry manage to knock out one of the advancing tanks but they are then attacked from across the river
Nationalists advance across the open valley past the village a big danger they will overrun our position
Things are looking thin close to the bridge as well, infantry support is being rushed from the village to support the defence
Finally after several failed activation test the Republican tanks find their way to the battlefield bolstering my right and with the support of some cavalry the nationalist advance is thrown back hoorah !
But things are going badly by the bridges as the international brigade has been wiped out, the leading enemy tank is burning on the bridge hit by one of our BT6’s
With the second enemy tank now burning things briefly improve but there is too much enemy infantry to hold here
Stalemate in the centre, the nationalists face a tough fight if they want to cross the river and assault the village, at this point we drew things to a close with a draw, the republicans have clearly lost the left flank and the bridges, but thrown back the assault on their right. With the centre in stalemate a draw seemed a good result for the Republicans.
One point of note the Nationalist general had been fighting on the left, with his forces thrown back in confusion he was very lucky to escape with his life, one failed activation by the republican cavalry saved his skin as he hides behind the village.

A fun diversion into the SCW thanks Martin for pulling the collection together.

Thanks as always for checking in 👍


Wednesday, 1 November 2023

28mm German U boat

Well the title pretty much says it….


This is the Empress model I picked up secondhand at the Border Reivers show at the start of September. The crew aren’t quite finished but the main challenge was putting the anti aircraft guns together. The main body also needed a little work to ensure a snug fit for the base. The boat will make its first appearance at Battleground show where I am putting on a participation game. It is a lovely model and a very indulgent piece of terrain. Luckily it fits in a fairly small box.

Thanks as always

Matt😀


Tuesday, 31 October 2023

Some more French Infantry……

As my approach is always paint what you feel like these french infantry came to the top of the list. I should probably be doing some more British but they can wait.
They are mainly Warlord late french in greatcoats with early heads from their early french infantry. They will either play as Legere for which they have the appropriate flag, or perhaps part of a reserve guard brigade 🤔
As I have quite a lot of metal command figures I have bulked the unit up to 30 figures, I do have more of the long plume heads so when I can pick up a further sprue of the infantry cheap enough I will probably do another base to make them up to 36.
When I do get another six figures they will have the option to split down into two smaller battalions

I do have another battle to blog up in the next few days and the painting is continuing

Matt😀

Saturday, 28 October 2023

Sicily 1943 : Operation Husky : Bolt Action

A run out for my Sicily collection from a few weeks ago before my recent illness, but I hadn’t got round to blogging the battle. With two fairly equal forces we chose a slightly quirky scenario. As the battle was some time ago the photos will have to tell most of the story.

Objectives were placed in the far right quadrant, then forces were split with each army coming on as shown above.
German armour heads for the centre of the table to hold the road junction
American heavy weapon support
Including a cleverly placed antitank gun looking along the road
German armour turns left avoiding a potential flank shot down the road
GI’s arrive in force but a long way form the objectives
German Panzer now holding the road junction
But the GI’s are digging in around the farm
GI’s have taken the high ground and have sent their Sherman down the left
The Germans have taken out the damaged building with a direct hit
A wider shot of the battlefield
Finally after several turns the Germans have managed to knock out the American antitank gun
After trading shots the Pz IV knocks out the Sherman with a side shot
In the end the Germans gain a clear victory when their infantry capture the objectives

A fun game and nice to get the Sicily collection on the table.

Thanks for checking in

Matt😀