Thursday, 11 February 2021

Sherburne’s Additional Regiment : AWI

The balance between gaming and painting swings backwards and forwards sometimes. I have been lucky enough to have kept gaming pretty much each week since Christmas but this means I have been missing my painting sessions which are so important, that positive sense of progress and completion when another unit is marched off the desk. Anyway enough philosophy I managed to get these guys finished yesterday.

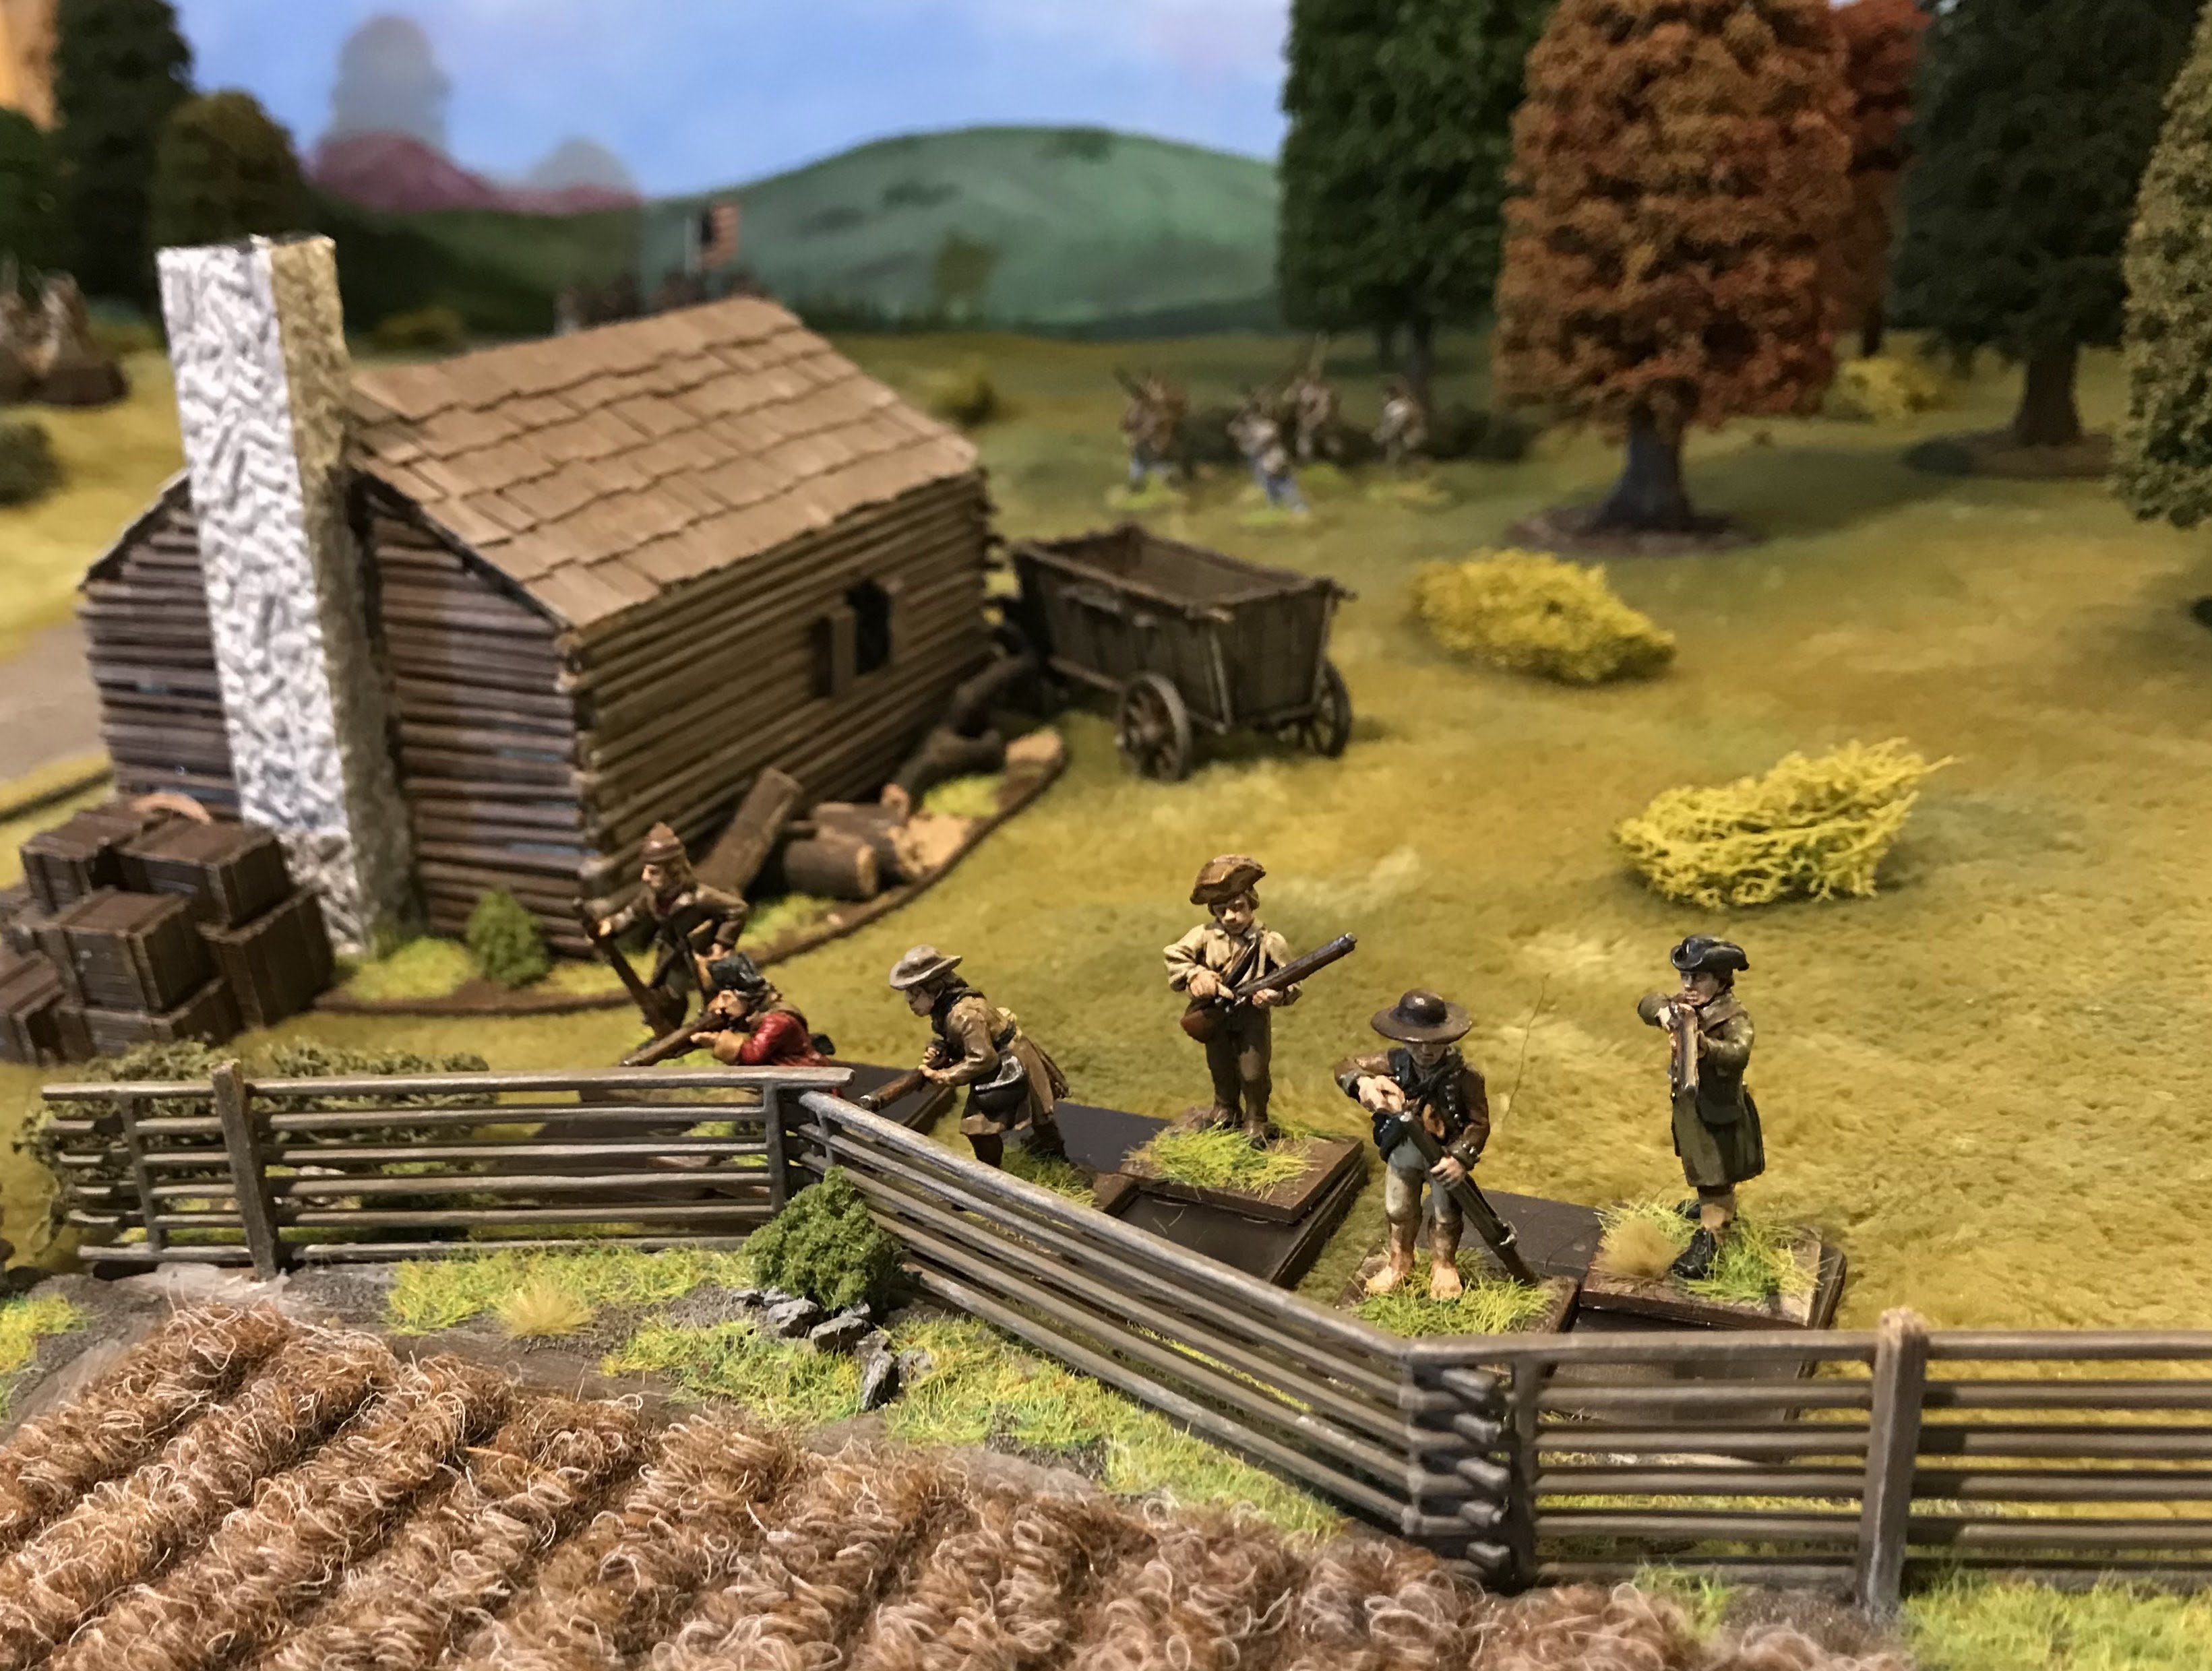
Sherburne’s additional regiment, think they are nearly all Wargames Foundry but a Perry might have slipped in, they work together anyway, these are the first of 2 or 3 metal (yes metal David) American units picked up in a big jumbled job lot at Vapnartak a year ago I think. I have since picked up a Perry command set and am using them to mix the units up a little.

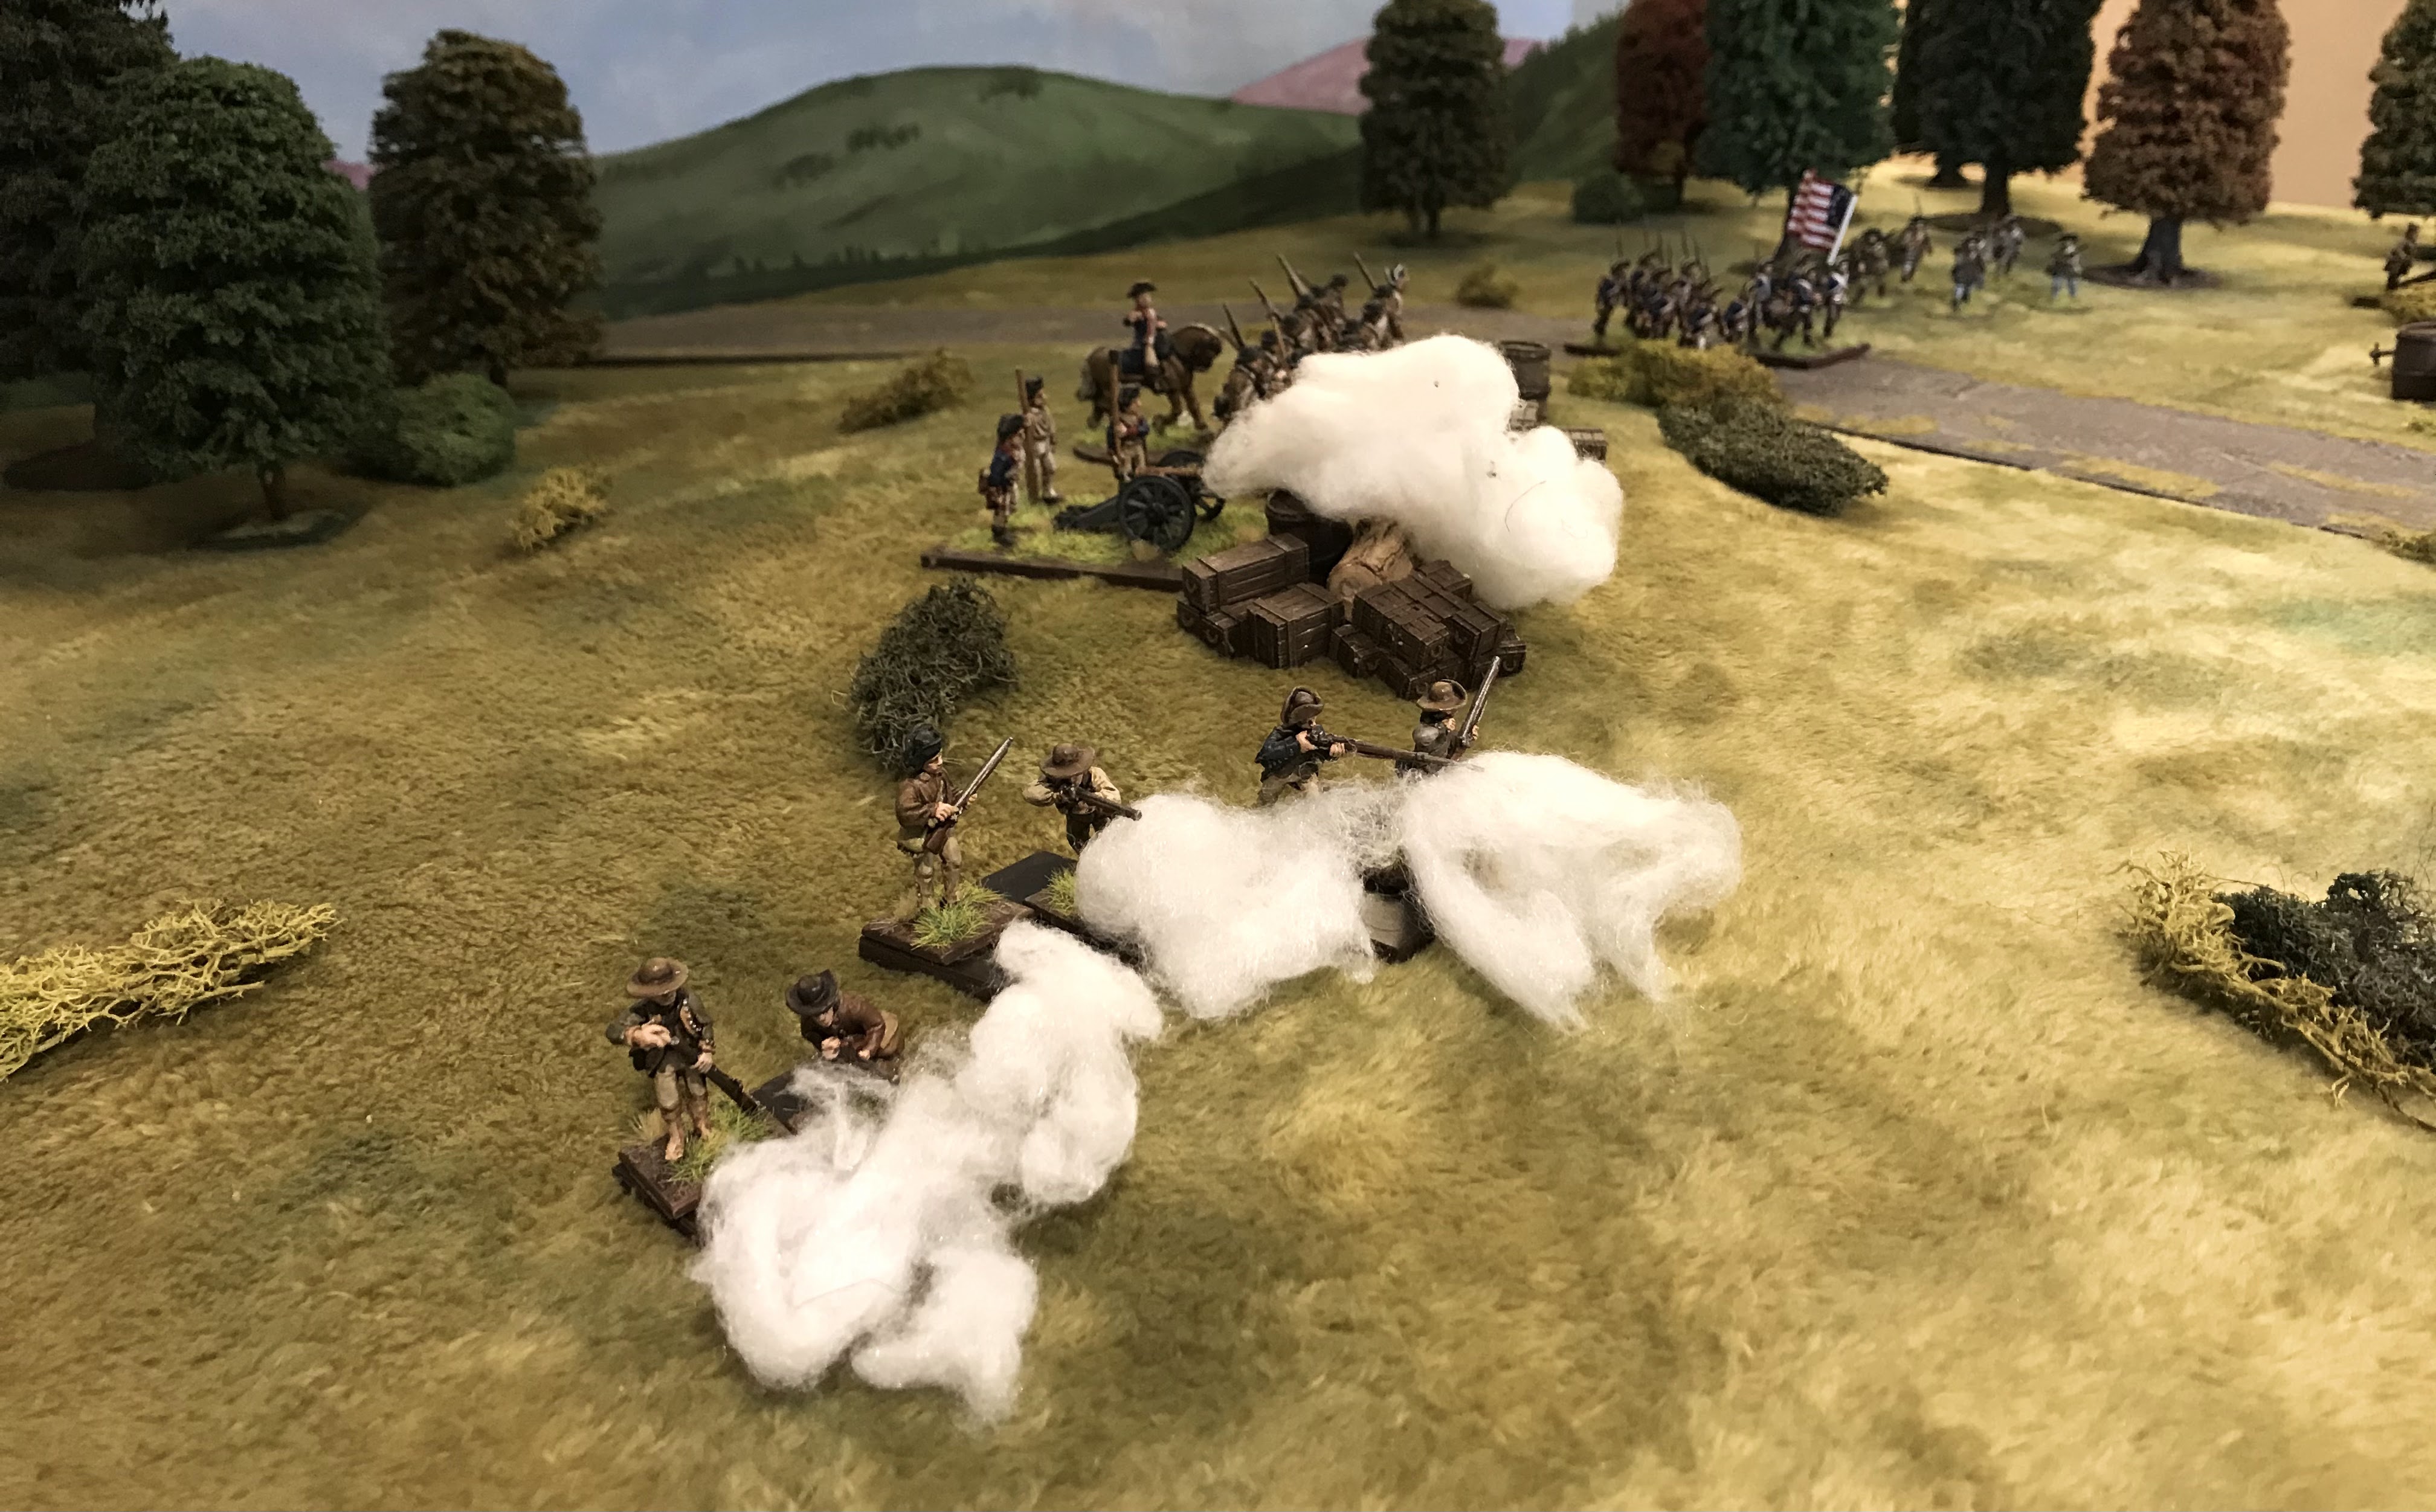
Although we haven’t quite completed our mini AWI campaign our thoughts have turned to what next. The obvious thing is a single slightly larger game covering Bunker/Breed’s Hill. So whilst tidying up I got out the American forces to check if I had enough here they are (minus the artillery).
The good news is if we stretch Rebels and Patriots i have almost exactly the right number of troops. All I need is an extra British cannon crew, a couple more commanders and some Marines. These then will be target over the next few weeks.

But in the meantime another game to organise hopefully for this weekend🙂


Monday, 8 February 2021

Debacle at Concord Bridge : Despatch

General Gage

Our forces as requested have searched the area around Concord, I can report a very successful engagement with the Rebels and a number of hidden weapons have been located and destroyed in the area around Barrett’s Farm. We also encountered a small skirmish force close to a Bridge having taught them a lesson we chose to retire in good order. We did suffer some minor casualties but there was no great significance in this combat. It does appear Sir the Rebels mean business but their discipline isn’t up to much. I will now conduct our column safely back to Boston and will await further orders. I think it is safe to say the rebellion has been crushed and the local trouble makers wont be any more trouble.

Yours sincerely 

Lt Colonel Francis Smith

Well that is how it was supposed to work out, for our second battle in our “mini campaign” (who knows where this may end up). Jonathan had created a small battle to the south of Concord around the South Bridge. Here the Rebels had quickly built a ‘hasty’ entrenchment to prevent the British column moving further south. The British flushed from their success at Barretts Farm decided to sweep the Colonials from the field. We are again playing with Rebels and Patriots. A more detailed description can be found on Jonathans blog here :  https://palousewargamingjournal.blogspot.com/

South Bridge Concord all quite at the moment
The British column advances, mainly veteran Redcoats a combined light infantry unit and Veteran Grenadiers, they immediately cross the bridge 
But the local Militia have built a crude defence on nearby high ground and prepare to make a fight of it, looks like they have been hiding another cannon and this is the main objective of the British.
British skirmishers spread out and wade through the shallow stream
The Americans also have some skirmishers
...but they are quickly chased away, a false sense of invincibility and confidence takes hold of the British commander
A simple matter now “drive them away boys they won’t stand” the British redcoats duly march forward
On their flank some more skirmishers and some unfortunately Loyalist troops who feel the first ferocious fire from the Rebels.
.and then the Colonials open up fully !!!!
The Loyalists are the first to turn and run, the British skirmishers return fire
The British lights caught by the farm also exchange fire
One of the few successes the British chase off the rebel skirmishers
The grenadiers, however, having failed to advance despite being veterans have been decimated by cannon fire and volleys from the hill forcing them back
The British combined lights are the first to break
Quickly followed by the grenadiers !
The ignominy of it, the Americans let out a cheer and advance from the shelter of their defence
The British, bloody noses and reputation in tatters flee back across the bridge
The field is left in the hands of the Rebels
Full of confidence numerous despatch riders are sent out to local districts. The damned British have been beaten and taught a lesson .......the smoke hasn’t cleared from the battlefield but a plot is already hatching to ambush the British on their way back to Boston !

Now you know the truth, a real drubbing for the Redcoats, a couple of unlucky failed activations and I fear some poorly over ambitious tactics. The British should have avoided the hill altogether and focussed on mooing up the rebels by the farm where they would have easily won a victory....but where is the fun in that. Never had so much fun being thoroughly beaten. Enjoying these games......encouraging me to paint more and looking forward to the next. Hopefully we might see some larger games in the future.

Matt 😀 KBO


Saturday, 6 February 2021

Weapons Cache Scenario : RCW

As a change from wooden blocks and ACW we rolled out a RCW game to play our next virtual game. No particular historical context, but a slightly modified version of the weapons search we played for AWI at Concord. 

The scenario set up is as below. There are five hidden locations marked on the map only one contains the weapons and this isn’t known to either Commander. The Reds who were searching will arrive from A or B the Whites as defenders arrive form C. Searching is a simple activation on the location. The whites have a small unit of elite troops who will ambush turn one at one of the cache locations. In hindsight (a wonderful thing) as this played out we should have allowed the Reds to arrive from A and B splitting their forces.

Scenario setup somewhere in the Don valley (Russia not Yorkshire)
The Reds arrive en mass turn one, and wouldn’t you just believe it the officers regiment ambush is randomly selected at the nearest cache. (This was unfortunate and random but caused too much of a roadblock in the initial couple of turns impacting the Reds ability to deploy across the table quickly hence the comment above about entering from both A and B)
The White force from the other side of the battlefield, mainly regular infantry a machine gun and a Rolls Royce armoured car.
The whites ‘colourful’ regiments spread out
As do the Reds once they have chased off the Officers. (Victory points will be earned by the reds as follows 1 point for each cache search and an additional 3 points if they find the weapons, the reds get one point for each cache saved and a point for each red unit completely destroyed)
The whites take up a commanding position at the road junction
but come under heavy fire in one of the ploughed fields
Russian Sailors regiment make a run along the road
More Bolshevik  infantry makes for the second cache
The whites have run through the farm to contest the objective but get pinned down
Fierce exchange of gunfire
But the Reds make it to the objective
Comrade Babushka shouts encouragement
But when the boxes are searched it isn’t the weapons
The number of White units defending is shrinking quickly but they have struggled to wipe out any Reds, choosing rather to protect the caches 
In the end as darkness falls the Reds chose to pull back.

The Whites have won but it is a marginally victory 4 (3 intact caches and only one unit wiped out) points to 2 caches searched. As mentioned above it was a little hard for the Reds due to the limited entry options. But it was good to get a game in, catch up over zoom and talk all things wargaming with Phil. I think we might try this scenario again with the amendments using a different period.

I do have a few more RCW figures to paint up so this might encourage me to get them done ?

Keep safe 👍 keep painting 🎲


Tuesday, 2 February 2021

Command and Colors : Napoleonics Pennisular Campaign

Between my large ACW game I have managed to keep playing each week another of the C&C scenarios with my son. We continue to enjoy them and although some of the results you will see might indicate something different all games have felt quite close. If lockdown continues we might get through the whole book ! But then we have the Prussian campaign as well. Anyway as red and blue blocks are not massively Photogenic I haven’t taken lots of photos and will give you no more than a brief overview of the battle.

Talavera 28 July 1809

Classic Wellesley a defensive battle for the British on the heights of Cerro De Medellin, the french have numbers but it will be hard to do-ordinate an attack. 
Now if you have gamed with me you will know that I have a real reluctance to be defensive and almost almost just throw everything in, so the french immediately start to drive down the right with cavalry hoping to catch the British cavalry napping and perhaps turn their left flank.
Unfortunately on this occasion it backfires completely and the french cavalry is smashed to pieces by the British heavy cavalry !
Well if the right won’t work we’ll try the left, the challenge here being the river which although crossable is a disadvantage, the French under General Sebastiani throw themselves forward
Whilst on the right the British heavy cavalry is still causing problems
The french do manage to get across the river but unlucky rolling means this is only temporary
And then suddenly out of nowhere the British cavalry sweep in for an easy kill
This was a whitewash for the British which surprised us both as it actually felt quite close ? I was too aggressive, wasted my right flank cavalry and didn’t build the track with enough force. I think I learnt my lesson 🤔
Thought it would be interesting for people to see what my son sees from his end when we are gaming, so we got him to take a screen shot. he does need to check which troops are which occasionally but otherwise it feels like we are in the same room.

River Coa - Crawford and the Light Division July 1810

A famous battle where Crauford must escape the attack of Ney’s 6th Corps this was the first scenario with slightly different victory conditions. Here the British can earn victory banners by escaping across the narrow bridge across the Coa. Heavily outnumbered they must chose where to hold and where to attempt to escape. A really interesting scenario
Well the French seem to be attacking in most of these scenarios. Thinking I might cut off the bridge and then defeat them piecemeal I head off down the left flank.
Applying some pressure in the centre as well, the battle progressed really well and was tight
Until out of the blue my son pulled this card ! Allowing him to suddenly jump from  4 to 6 victory banners and claim victory. The french looked slightly red faced at this ! This is one we definitely want to try again some time as it is a great little scenario.

Bussaco (Reyniers Assault) 27 September 1810

Last up for this set our game from Saturday another frontal assault by the french at Bussaco, of course I have remembered my mistakes from Talavera !
A harder position for the french with no river to hide behind, and they are weak on numbers, so taking my time a slower build up mainly on the right but taking opportunities to develop in the centre as well.
The french  have managed to take the hill on the left as a foothold and are threatening the centre, this was really just a feint to weaken the British centre.
French slightly behind but in an increasingly strong position, the Portuguese on the left are looking vulnerable and the french have broken through on the right as well. You can see form the photo that both armies are significantly weakened at the stage so we started to get very cagy pulling back weakened units. The Fuke of Wellington was getting really worried at this stage
The french are definitely in the stronger position able to pour artillery in on the British, and they advance on the left as well trying to pin the Portuguese militia in the corner.
At this stage, and this was the first game like this, nearly every unit has seen combat and almost nothing is full strength, the battle could have gone either way, but Wellington pulled some trick out of the hat to claim the winning banners ! This was a superb game and tremendously fun to play with lots of interesting tactics and twists.

So we have managed to play through a number of games, we are getting better at the rules, with little need to check them. All games have been enjoyable and it has encouraged me to read a little bit of background on each battle. We certainly intend to keep playing through the scenarios. Let’s hope the french can get another win soon 😢