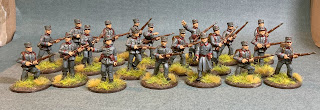
Having rested for a few days in York the news came through to Harold Godwinson that despite the time of year and the mixed autumnal weather Duke William of Normandy had landed on the south coast. He raced south with only those elements of his army fit to ride gathering more troops. Arriving in London the advice from everybody was wait and gather more forces before attacking the Norman invaders. After all what could they do. Harold an admirable man of action would have none of it and wanted to throw them back into the sea before they could cause more damage on the south coast. William had already been marauding local villages. Gathering as many troops as he could Harold headed to Sussex for the fateful encounter.
I had planned original to play this game outdoors on the 12 by 6 table but a sudden autumnal change in the weather made this a foolish idea so I reorganised the plan to bring it down into the dungeon. This meant Senlac Hill would be slightly more curved than originally planned. I had done quite a bit of reading about the battle, but it is surprising for such a well known event how much is disputed. As with Stamford bridge we tried to ensure the key elements as we know them were part of the battle.
Here are two of the many maps I referred to
Translated into our set up.

Using Kings of War again we didn’t focus on any specific numerical balance but tried to ensure things looked right. A couple of things we included in the battle. No charge bonus obviously for going up hill. To represent the potential for the Saxons to come down the hill we implemented a rule whereby if they failed a morale check they could be dragged down the hill. The Saxon also had throwing weapons although no archers, and of course the potential for Harold to get shot in the eye, any Saxon unit taking a hit from archery within 6” of Harold and he must test, on a roll of double 1 he is hit in the eye. We were quite flexible with morale tests allowing re-rolled failed break tests.
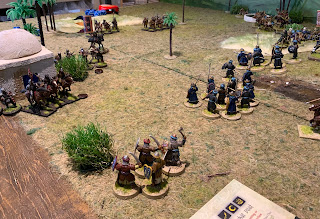
Anyway on to the battle, I took a fair few photos enjoy them or skip, of course these dark age battles have one thing in common blocks of bearded men pushing and shoving against each other till one breaks and runs. One final thing you might see a few Norsemen looking figures amongst the Saxons of course they are good Anglo Saxon lads who have picked up Viking armour at Stamford bridge and carried it down with them 👍
The Saxon right wing under Gyrth Godwinson
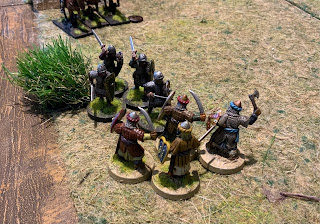
In the foreground the Saxon Hurscarls, tough and heavily armoured, King Harold behind them
A view from the south east
Saxon left flank under the control of Leofwine Godwinson
The Normas obvious know the Saxons aren’t going to come down to meet them so Duke William advances the whole army towards Senlac hill.
Norman archers and crossbowmen open fire. The Saxons front line moves to the edge of the hill and hurls spears, stick and stones down on the advancing units.
The first Norman knight s charge up the hill to test the metal of the Saxon shield wall
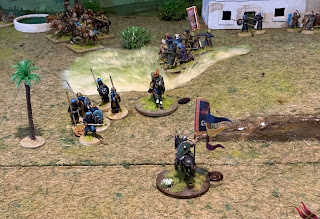
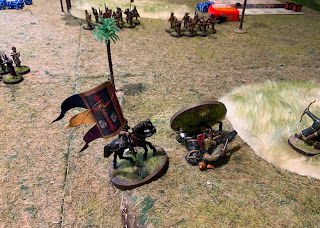
The Saxons know it is going to be a fight, Alan the Red the Breton commander orders his Breton cavalry to test the far left flank
In the first couple of turns the Norman archers take a battering so pull back slightly to allow the infantry to advance
The French on the right of the norman line are commanded by William FitzOsbern
The clash of the two lines, cavalry and infantry charge up the hill to break the Saxon line ?
The Normans in the centre must face the Hurscarls
Duke William watch’s form the centre to make sure his troops can see he is still alive !
The leading Norman units struggle to make much progress
But in places the Saxon line starts to break here on the Norman right some of the Saxons have been forced/encouraged to chase a French unit back down the hill
Assaulting the centre of the Saxon line
We are about half way through the battle here and both sides are gradually losing units and leading units are becoming worn down with fatigue
But still plenty of troops on both sides
Another shot of the Saxon right a really tough struggle
No quarter given……
Some of the knights are forced to retreat heavily wounded
The Duke sends in his last infantry reserves
A couple of very poor dice rolls by the Saxon army means there combat results fall behind the Normas who start to get the advantage.
In several places the Norman knights are running amok , they prove very powerful even without their charge bonus
Duke William has now made it to the hill, seeking an opportunity to kill Harold and claim his crown
The Normans are gradually turning the pressure up as the Saxon line thins out then starts to break up
A gap appears and the duke charges in against Harold
But the fighting isn’t over
The Saxons on their left are holding the French back
The Breton cavalry is doing better and the Hurscarls and been pretty much wiped out in the centre
Eventually the inevitable happens, with no Hurscarls to defend him Harold is cut down by the Duke.
We had already called the battle at this stage, there were plenty of Saxons still fighting all along the ridge but it was clear they were doomed with the Normans now having the numerical superiority. The Saxons have the advantage on their left but the Normans have the right and the centre. With king Harold dead we reckon the army would break up to be chased and cut down by the remaining Norman Knights. It is strange to look back at the photos as they seem to show little action but that is not how it felt on the day, each combat was brutal and hard fought.
This was a really enjoyable battle giving a real feel for the events on the day. With some different rolling I think the Saxons could have held the ridge but that wasn’t to happen. So at both Stamford Bridge and Hastings we have historical outcomes, but both were in the balance.
Of course that just leaves us to fight the third major battle of 1066 ?
Hope you enjoyed Keep painting 👍