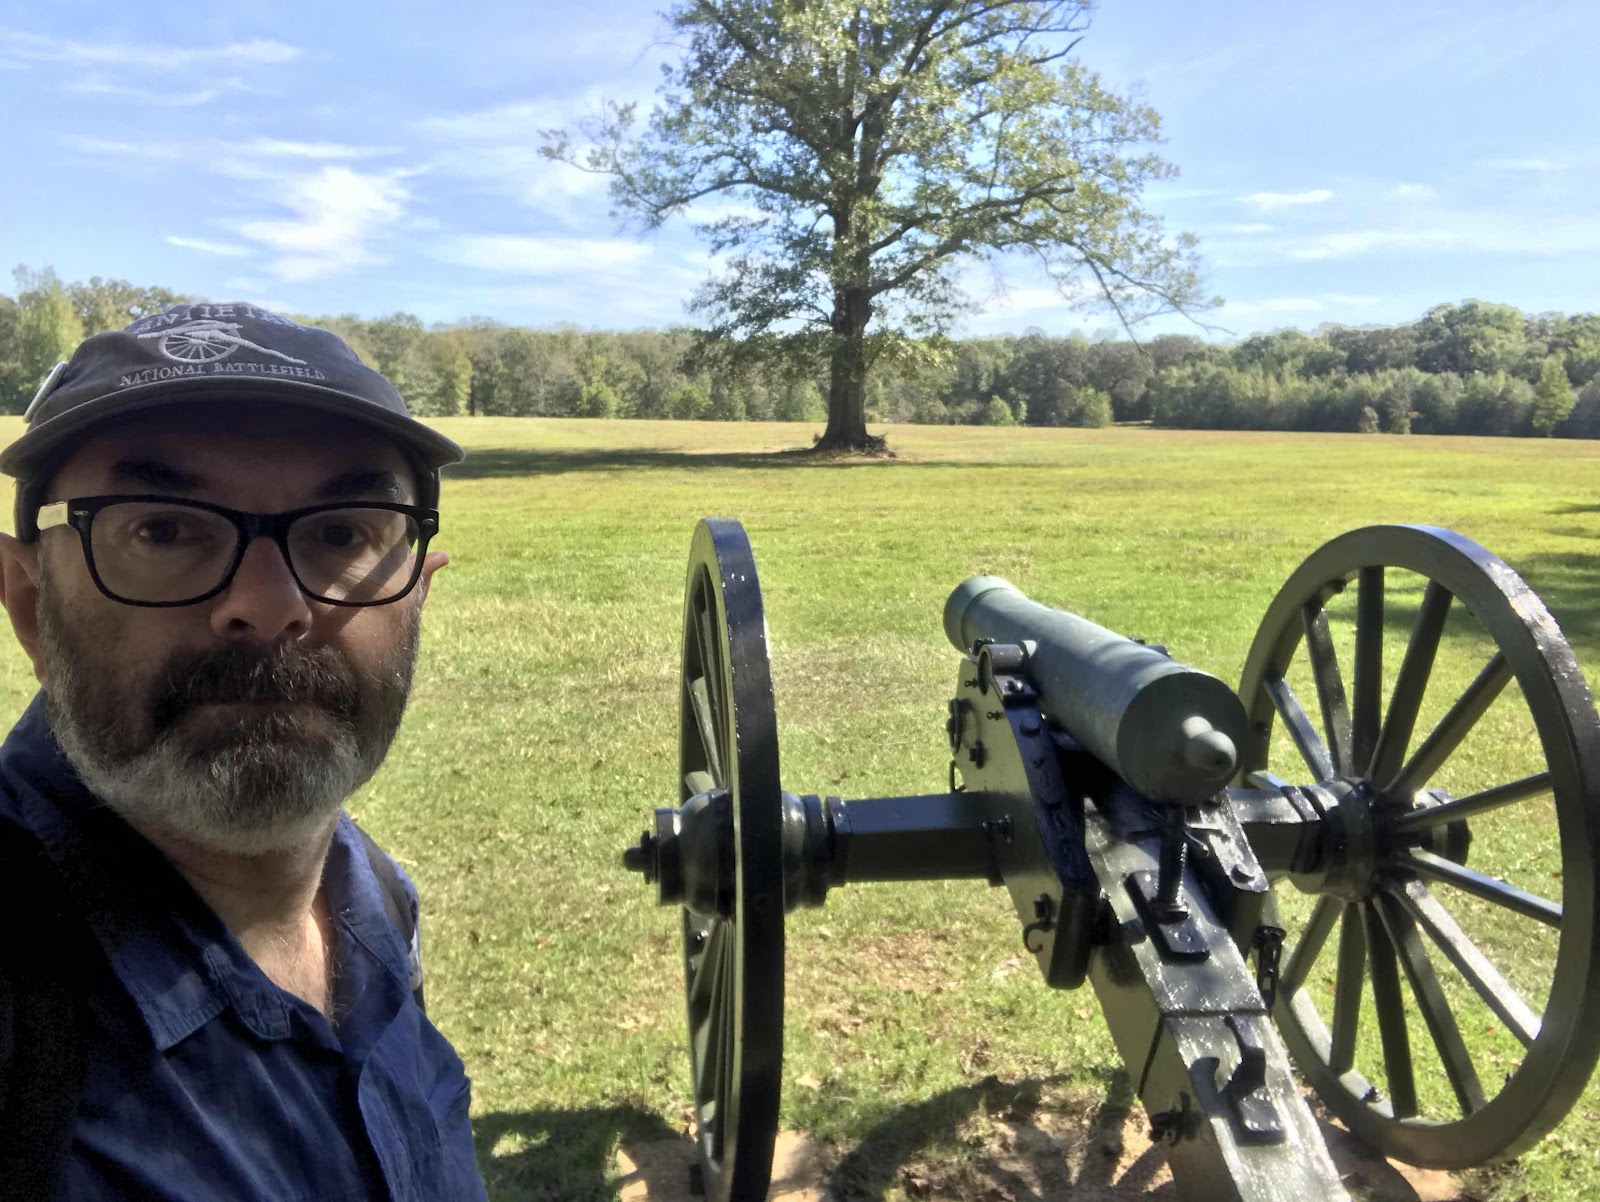
Back in 2018 I visited the battle field here is a shot from the confederate lines across the Duncan Field. A wide open space to attempt to cross under fire !

A shot along the Union line which utilised a slightly sunken road, always hard to estimate the thickness of the woods on the day.

The modern memorial at the Hornet’s Nest which actually saw heavier fighting during day one.
This is of course only a small segment of the battle on day 2, the basis of the scenario is from This Bloody Field by Brad Butkovich but I have adapted to shrink the size of the battle to my 6x5 table. The forces are broadly equal in size and the battle is a tough head on fight for control. As it is the second day the confederate forces all have a reduced leadership as they are hungry and caught by surprise by the Union assault on day 2. The terrain and set up has been translated to the battlefield below.

The Duncan field is open ground the rest of the battlefield counts as light cover apart from the Hornet’s Nest which is thick cover. I used my ACW home rules based on bolt action which work well for solo play giving lots of tactical decisions through each turn. The uncertainty was increased as both forces only had 12 command dice in the bag and this would not be enough to activate the whole army in a single turn. The white dice gave some interesting random events. I took too many photos so skip through as you wish. On to the battle. The skirmish figures in the photos were just their for fun and played no active part in the battle.

Boyle’s Brigade supported by artillery on a slight hill. They are advancing towards the sunken Road

Statham’s Brigade ready for the assault along the Duncan Field

On their left Trabue currently being overseen by Gen Beckinridge

The initial phase of the battle sees the artillery open up

The confederates advance to the fence

Union artillery open up

A storm of musket fire across the field

The confederate left Anderson’s Brigade are looking to advance along the edge of the field

Firing all along the fence line

Union troops belonging to Smith’s Brigade move to reoccurs the Hornet’s Nest

The confederates are under pressure to sweep the Union army away so choose to step off into the field in force !

Long range fire has taken an early toll on the Union troops left on centre several units are forced to pull back under fire and a weakness in the line develops

Confederates crossing the Duncan field are hit with a massive volley

And some are turned back

But fire across the field is so intense Union forces are being pushed back as well

Smith’s brigade as plugged the initial gap but now the centre has opened up

Meanwhile Martin’s Brigade is sent on mass to take the Hornet’s Nest

Some Union reinforcements arrive and are hurriedly deployed to the sunken road to strengthen the centre

The Union army is in disarray some regiments pulling back others rallying and moving back up

After about an hour the sunken road is virtually unprotected

The rest of Martin’s brigade storm into the Hornet’s nest

Hard fighting across the field

On the confederate left flank the battle is stalled

The Union forces in the centre are in a bit of a pickle with three units retreating and yet to rally

The confederates against the odds have taken the Hornet’s nest

Rebels yell as they charge in possibly a rash decision ?

But the dice gods are with them needing 4’s to hit

The Union response needing 4’s !!!!

The Hornet’s nest is taken

Another attempt to cross the open ground of the Duncan field

Still no progress on the left beyond the Duncan Farm

Martin’s brigade is now pushing forward through the thicker trees of the Hornet’s nest and threatening to outflank the Union centre

One small units is able to charge the artillery

The Union centre in a mess still


The final regiment holding the Union left is assaulted and pushed back

The Union position is now outflanked

The Union forces have managed to get back control of the sunken road

The fighting across the field continues

With sporadic firing around the Duncan farm
At this point I called the battle as a minor confederate victory, having outflanked the Union position. This is probably the best they could do as more and more Union reinforcements would now be arriving on both flanks making the confederate gains unholdable. Given a solo game this was most enjoyable and kept me occupied over the Christmas period. Not sure if I will get another game in before new year, but plenty of painting to do 😀
and finally some Christmas presents. I really do have a lot of stuff to work on at the moment but every body needs a few figures for Christmas here are mine 👍 together with an original Roman Wargame which my son bought me 😀

A very interesting AAR of a nice little section of the battle. I've never seen the ACW played using Bolt Action, but it seems to have worked well. A nice selection of pressies too:). Here's wishing you a Happy New Year and hoping we all have a better 2022!
ReplyDeleteThanks Steve we have been using the adapted rules for some time now for ACW they use the core rules but adapted for regimental based games. I have played with a number of players and all have enjoyed the mechanics. Like all good rules bolt action is easily modified. Let’s hope the new year brings lots more fun👍
DeleteFantastic looking games
ReplyDeleteGreat looking game and nice toys
ReplyDeleteThanks Martin 👍
DeleteThanks Matt, I have just put ACW on painting sticks, so a timely post. I enjoyed all the pictures and can appreciate how long that took to put together.
ReplyDeleteThe Peninsular project got a good leg-up there :-)
Thanks Norm a bit of motivation is good. I do still have some ACW to paint but I’m in no rush they will get done when I am ready. As we all know naps can be a little bit of a dark tunnel but I am really looking forward to driving in 😀
DeleteWhat a great looking game Matt...a surprise the Rebs were able to succeed against all the fire power. A shame your opponent could not make it but I guess one advantage of a solo game is you can take as long as you like and thus as many pics as you want to! The Christmas gifts look very similar to my own two or three tears back when I was doing a Portuguese Division....I used mainly plastic figures from Warlord and I also got my kids to buy the Warlord Rifles pack!
ReplyDeleteThanks Keith , solo not my preference but needs must. The danger is I collect far too many Naps !!
DeleteA splendid looking game there Matt. I just can't get my head around Bolt Action though for the ACW, but if you like it that's all that matters! Hope to see you out and about in the new year!
ReplyDeleteThanks David…..the core mechanics of bolt action are really adaptable the biggest benefit being the uncertainty of command decisions and the ability to influence the command strength by altering the number of dice. I will give most things a go but simplicity is good 👍
DeleteA cracking looking and sounding game Matt…
ReplyDeleteI would never have thought on using Bolt Action for ACW…but I suppose the bag of dice activation works well for solo play.
A nice selection of Christmas toys as well…
All the best. Aly
Thanks Aly the rules are adapted from the core mechanics and do work well for solo games with a little extra unpredictability. More Naps there’s a surprise !
DeleteAly, I used a 'bag of dice' activation mechanism for a six-player Napoleonic game two weeks ago and it worked very well. It works for solo and multi-player games as well with whichever rules are used.
DeleteMatt, you present another visual treat with your superb terrain and figures. Very enjoyable battle report with photography fit for a glossy magazine. Great job. Did you time how long this battle took to play out?
ReplyDeleteGood to see more Napoleonic reinforcements for your fledgling Peninsular War project.
Happy New Year to you!
Thanks Jon, it was certainly nice to get the ACW collection out in force. In terms of timing I do t have an accurate sense, I think I played about 12 turns. Each turn probably taking about an hour. It is obviously slower with solo and photos and distractions. But spearhead over several days.
DeleteSplendid stuff,look forward to more in 2022 and hopefully be able to catch up somewhere. KBO
ReplyDeleteThanks Phil definitely up for a game, I seem to have been doing family stuff over Christmas so apart from the ACW I haven’t played. I have managed to get some painting done which I will post soon .
DeleteI always enjoy the background to your posts Matt. Always very interesting and a lovely-looking game as usual.
ReplyDeleteThank you I do tend to skip a full historical background but hopefully give enjoy to set the scene.👍
DeleteGreat looking game as always and a nice haul for Christmas!
ReplyDeleteBest Iain
Thanks Iain yes more plastic into the pile 👍
DeleteGreat looking ACW gaming, Matt. At first glance looking at the battlefield photos, I thought "wow, what kind of weather is this in the winter?" - before seeing it was from your 2018 visit :) Nice Christmas toys too!
ReplyDeleteThanks Dean the weather was great when I visited autumn 2018. But I’m guessing it doesn’t get that cold down on the Tennessee Mississippi border ? I would certainly love to return but don’t have plans at the moment ?
DeleteTremendous looking game and wishing you a very Happy New Year!
ReplyDeleteThank you Michael and wishing you a very happy and productive new year 😀
DeleteLovely battle. Epic back and forth on a densely figured table. That flanking move by the rebs - that was the swinging point!
ReplyDeleteThanks Allan, it was a head on slug fest but yes the rebels taking the Nest gave them the clear advantage.
DeleteGreat job bringing that scenario to life. That book is one of my favorites. 😀
ReplyDelete