We played another game this weekend (managing to keep to one game a week which works for me keeping my enthusiasm going) as a one off I developed another “Raid” scenario this time using ACW figures and Rebels and Patriots. The idea here was to try and get test the rules where the majority of units on the table were not line infantry. The scenario is broadly based on one from the rule book.

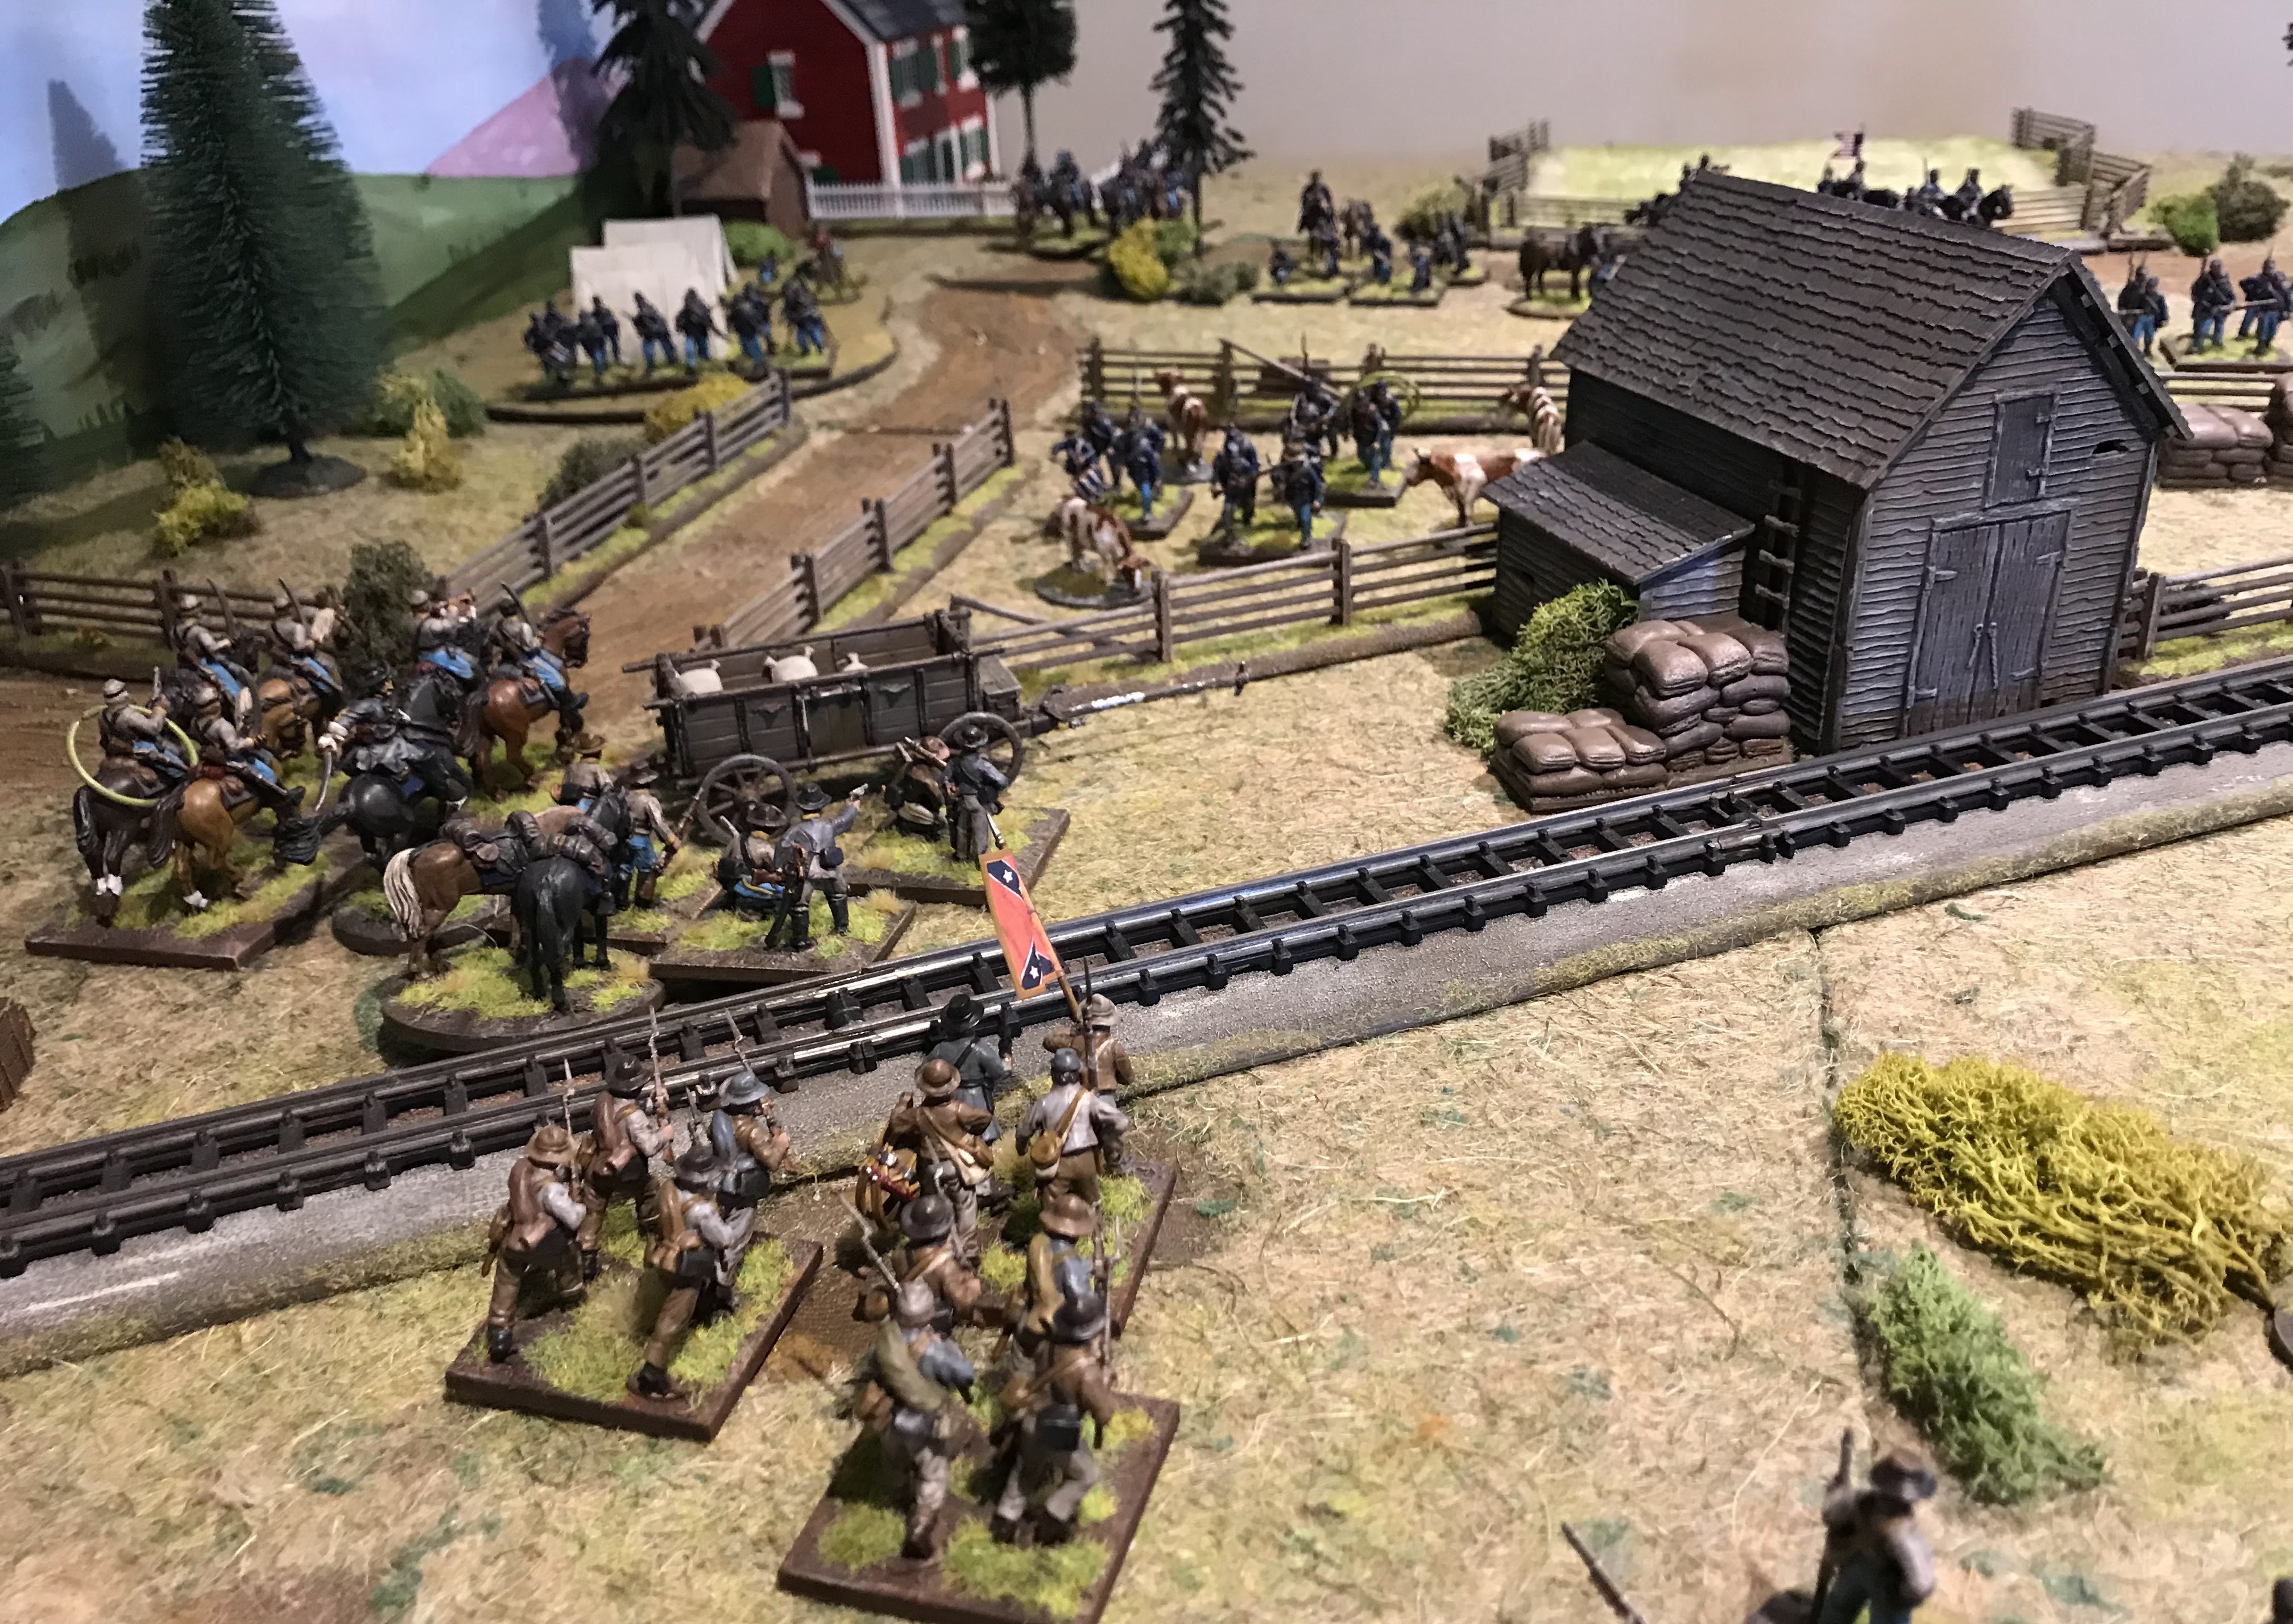
Overview of the Battlefield, the Rebels are raiding Lockdown Junction. Their objective is to carry out a search activation in each of the designated areas, the Camp, Cattle Pen, Grain store and forge. To do this they must chase of the the surprised defenders. The Union defenders are both green and timid so although they look impressive we are expecting them to have some trouble holding their ground. The Rebel force is mainly veterans, cavalry, dismounted cavalry and veteran skirmishers. They are also mainly aggressive so if they get stuck in they will carry the day before the union reinforcements arrive ?

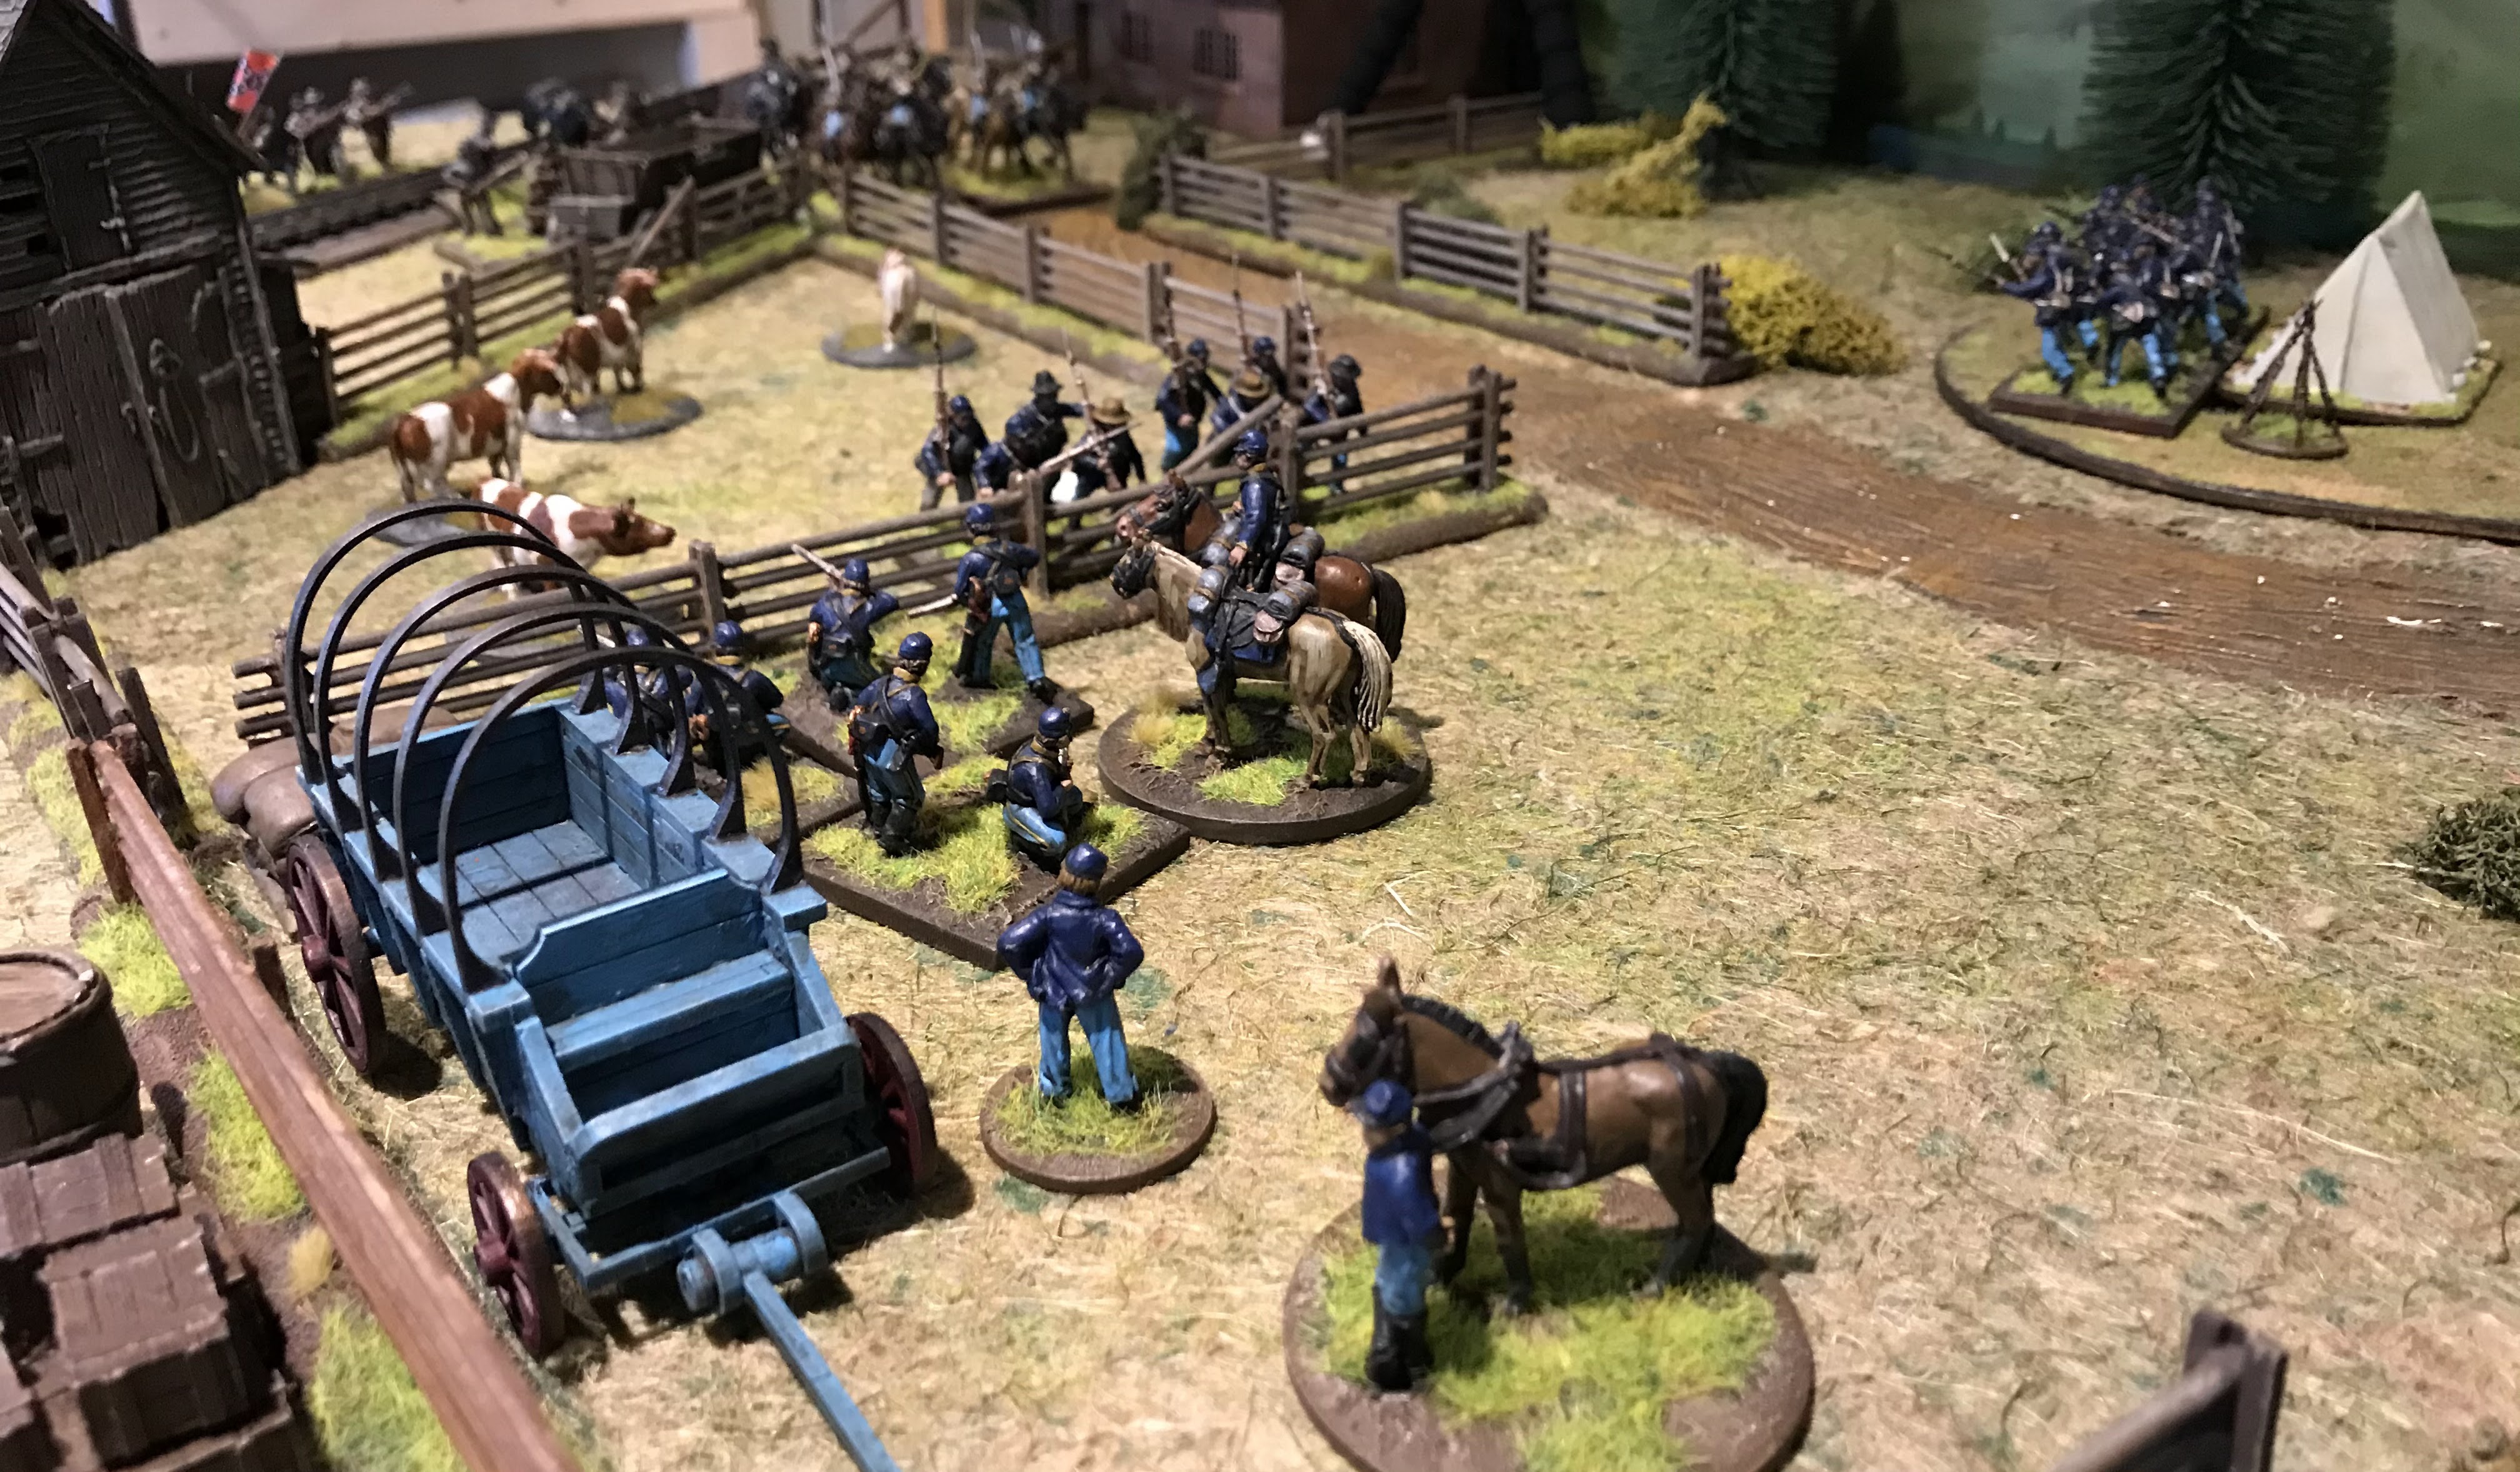
The grain store guards milling about and in the distance the cattle pen.

The camp

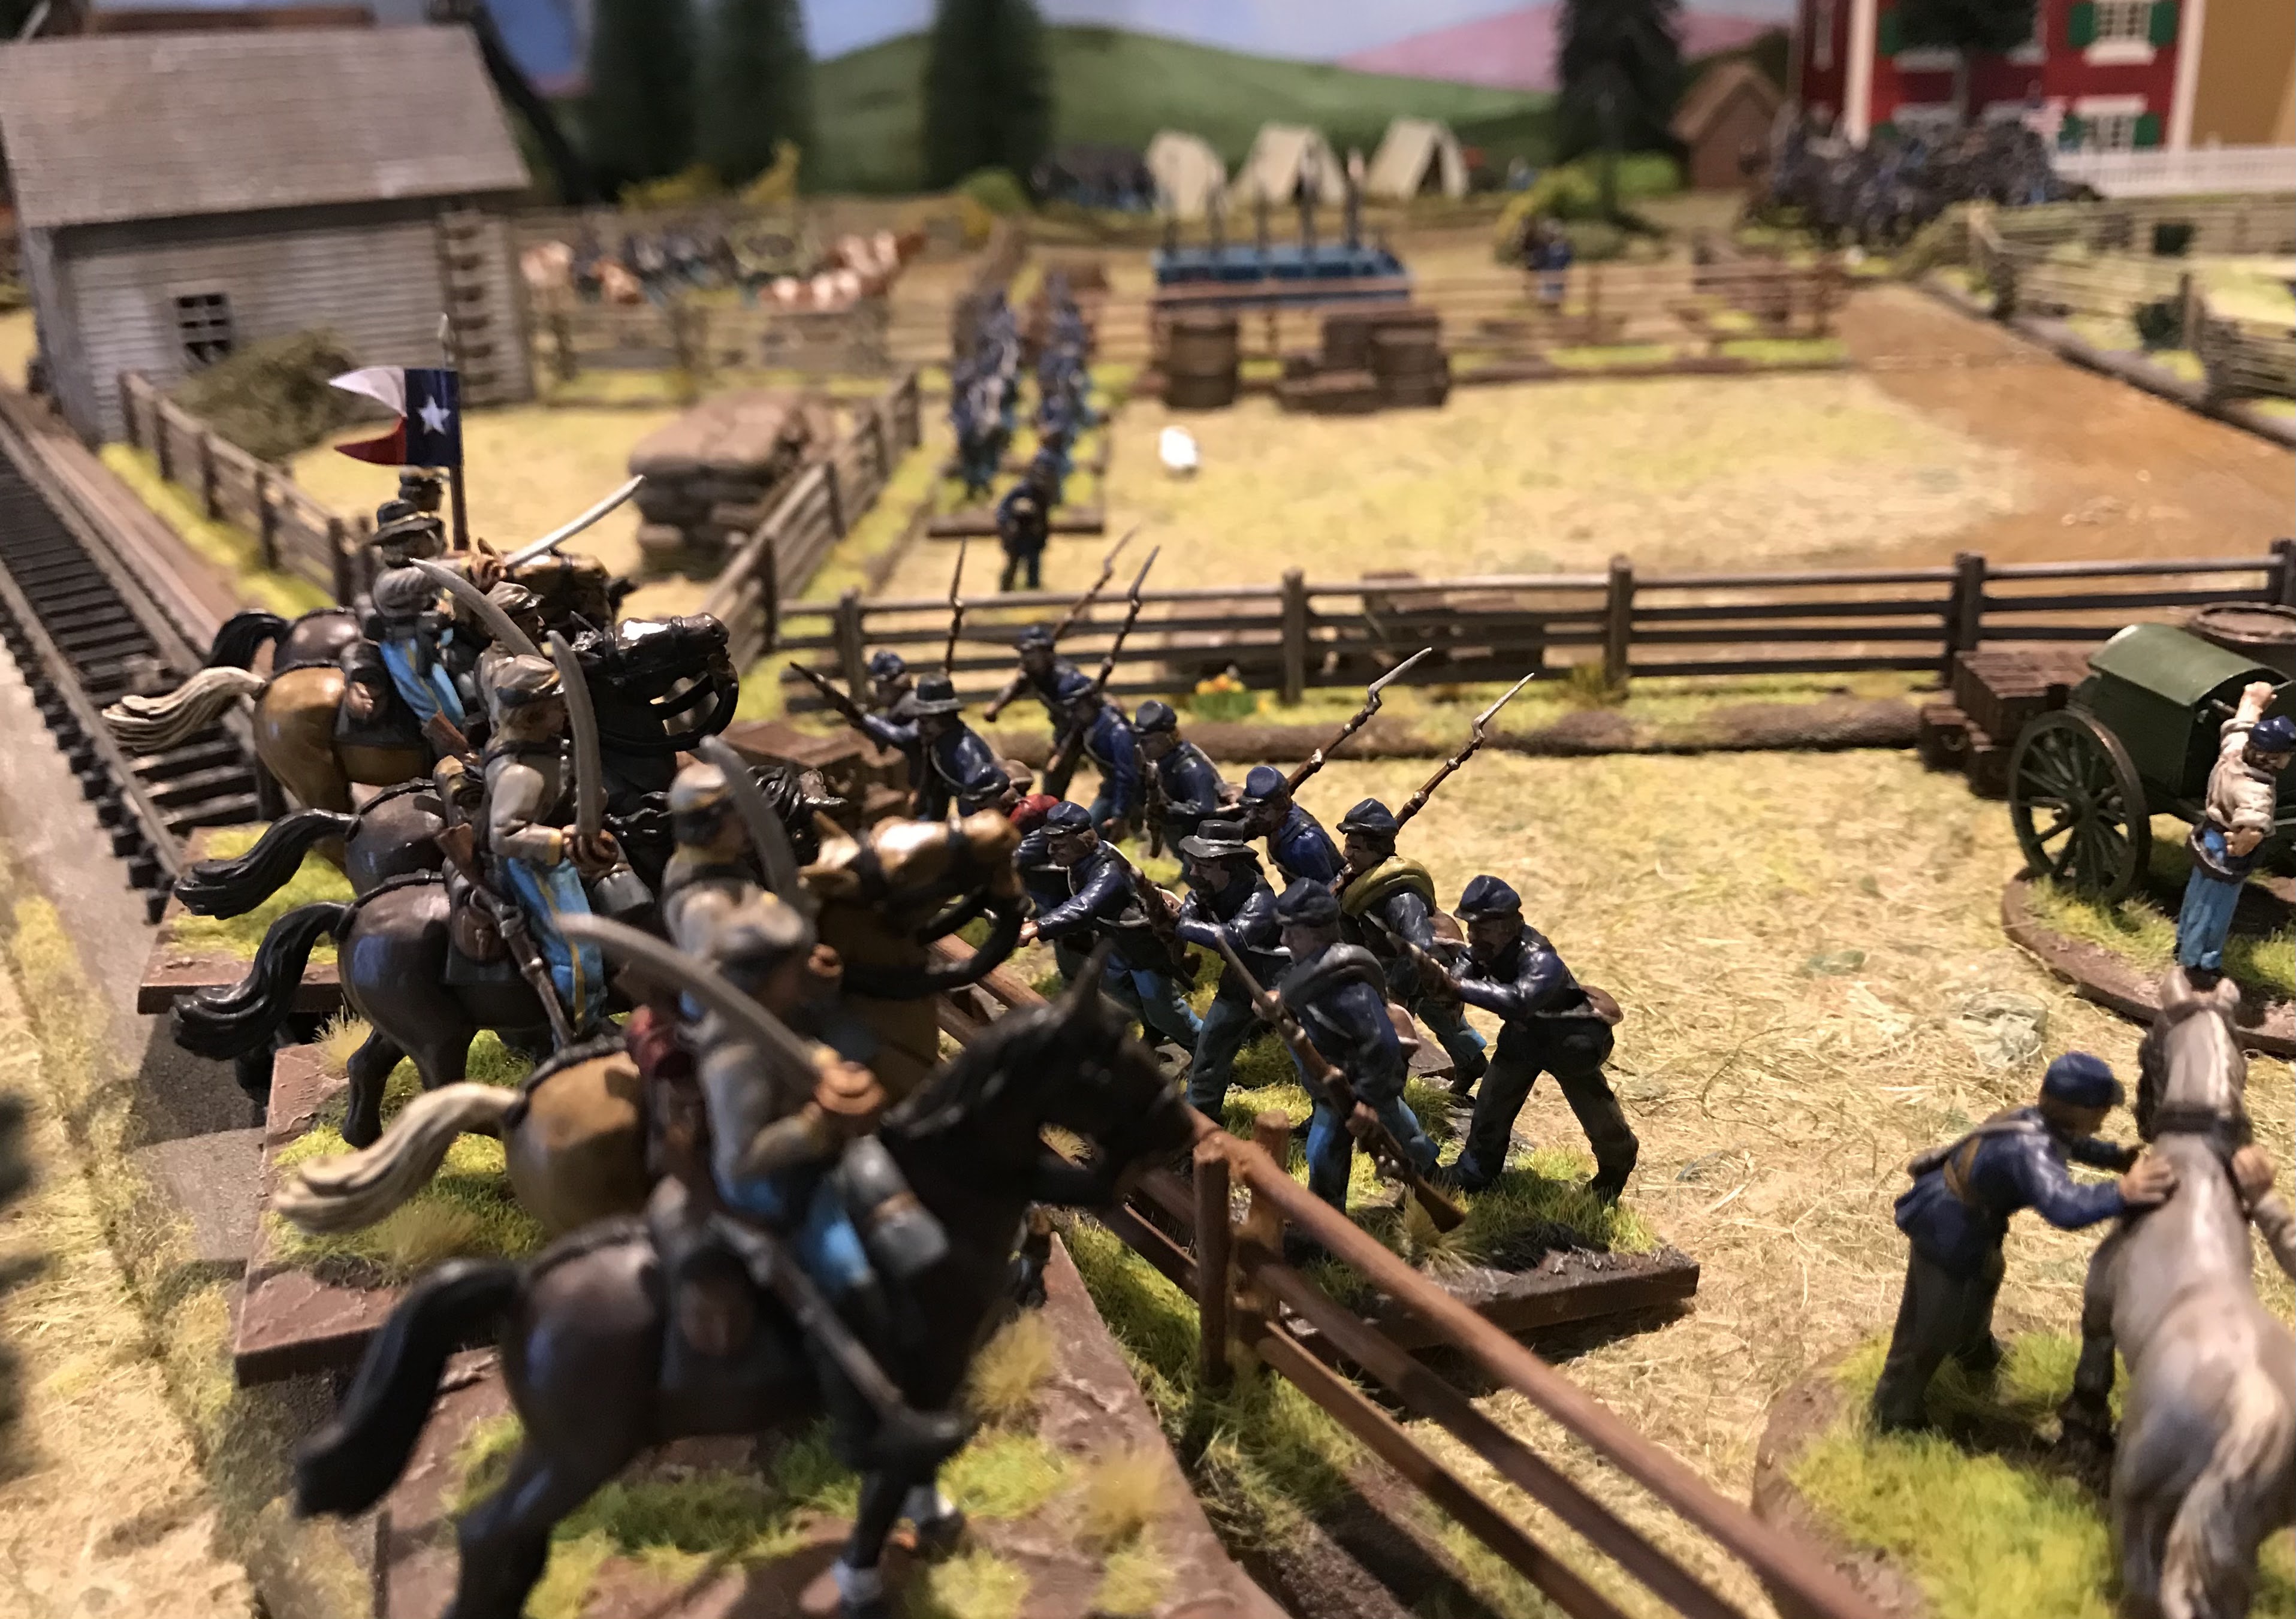
The rebels under Jeb Stuart initially rush on

We played with two cameras again to give the Rebel commander a slightly better view.

Jeb’s cavalry advance down the road and open fire with their guns, as light cavalry they can only skirmish so firing is not very effective.

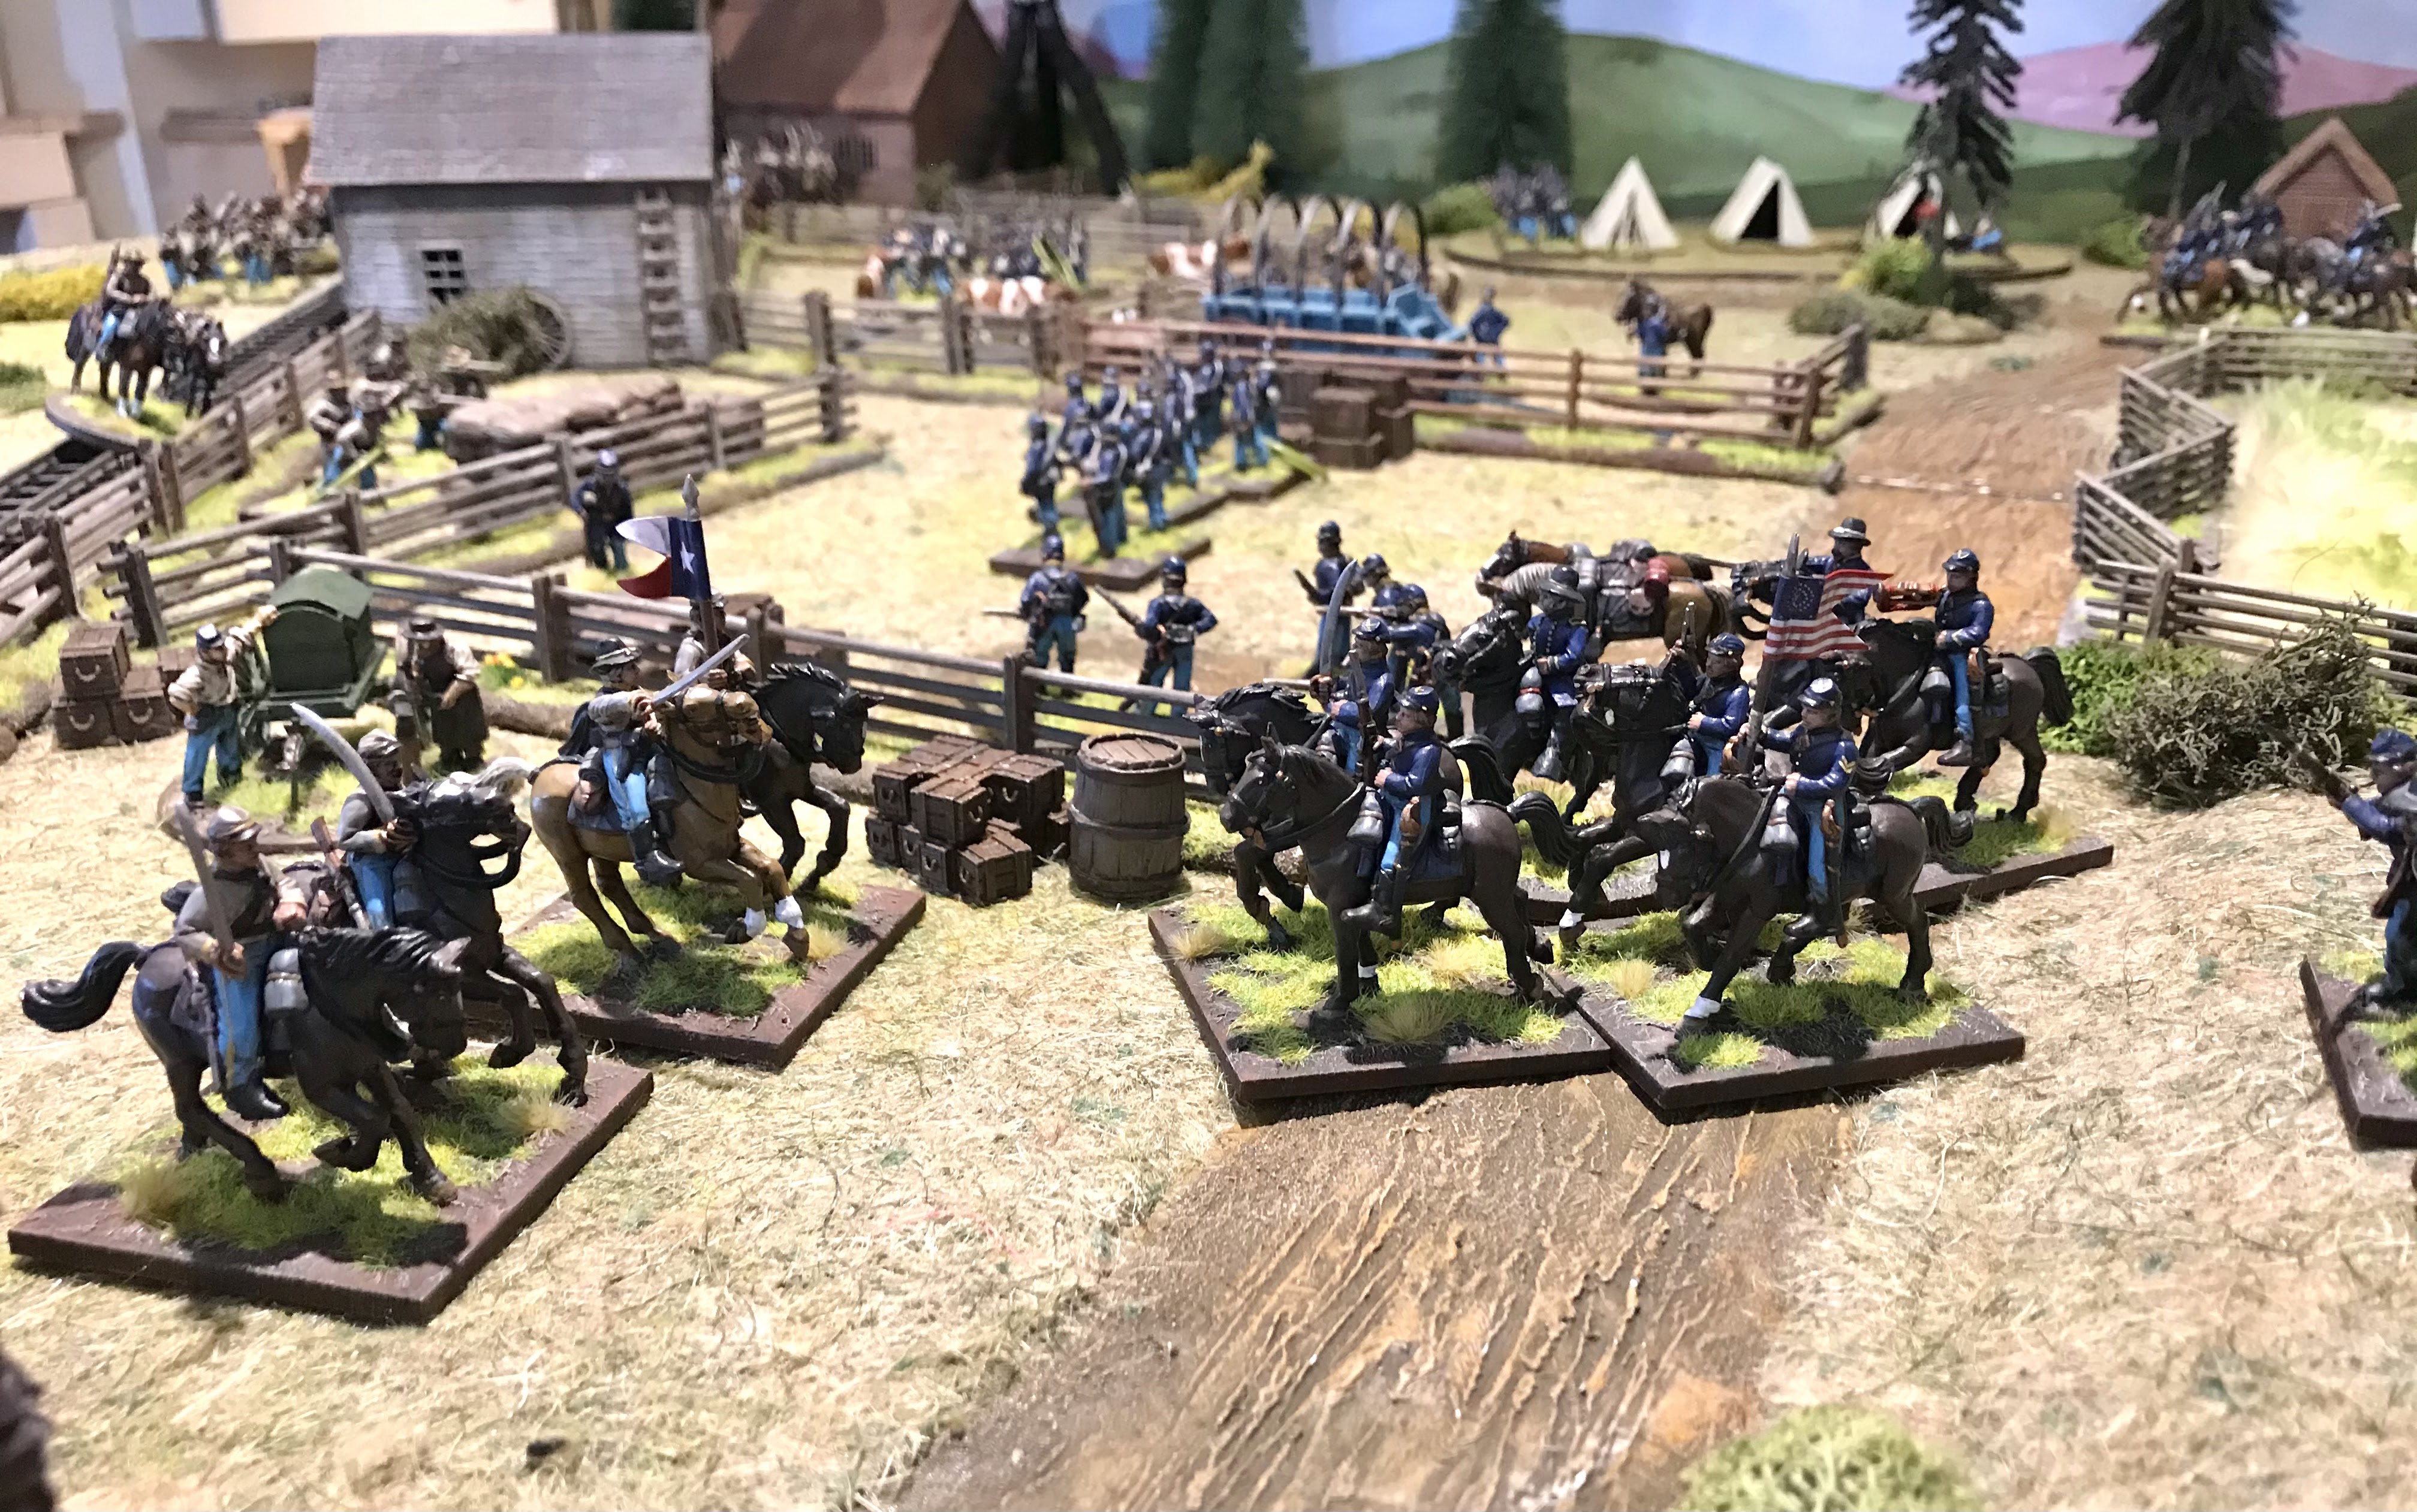
Quick as a flash though the alarm is raised and Union Cavalry gallops on from the town

They also have some dismounted cavalry (effectively skirmishers)
On the Rebel right they charge the defenders of the forge and push them back

Jeb is getting bogged down in a firefight by the cattle pens

The defenders pulling back from the forge with their green status they are remarkably fragile ! But do rally when supported
Remarkably the unit in the pen is holding on

But the Blies are pulling back from the grain store

Rebels skirmishers have taken a couple of tough volleys and pulled back to regroup

The centre objective is empty and the dismounted cavalry rush in to claim it

The rebel cavalry on the right also jump the fence to claim the objective but they fail to achieve their search activation
But before they can search again they are charged by the union cavalry

At least the rebels will be making some bread tonight !
The defenders in the cattle pen have just about collapsed and are pulling back

But then Jeb takes a volley and also has to pull back to regroup

The union cavalry have won the melee

And are followed into the forge area by the reformed infantry

Unluckily for the rebels they rolled a six after 8 turns and had to pull back

They had claimed just one of the objectives and although they had been into the forge had failed to search it.

A win then for the union troops

The rebels looking longingly at the cattle and licking their lips but they don’t have time to take the objective.
A good game, the Rebels in hindsight were not aggressive enough and didn’t utilise their superior fighting ability enough instead getting into a fire fight and a
Though they had enough troops to regroup and try again the dice gods had ended the battle.
Happy with how the rules worked at this scale, the rebels had 32 points against the union 24. Perhaps the rebels were just not hungry enough ?
Thanks for looking
KBO 😀
Another stunning display of wargaming artistry! Looks like a heated little action and an enjoyable read.
ReplyDeleteThanks Jon, the union defenders did slightly better than expected frequently becoming disordered but managing to rally next turn. With hindsight this is what stopped the rebels from rushing forward to claim more of the loot 🙂
DeleteAs usual start aggressively and then get bogged down. Description of most of my battles. Needed to advance in the cattle pen. Good to play and catch up
ReplyDeleteCheers...the rebels simply weren’t hungry enough and I agree a little bit more aggression and you may have swept the defenders away ?
DeleteSplendid report and pictures, a joy to read and behold. You set a mighty fine spread Matt.
ReplyDeleteMany thanks Phil 👍
DeleteExcellent looking game as always!
ReplyDeleteThank you Michal 👍
DeleteLovely looking game Matt! Always tricky to know how agressive to be with your troops, as one good set of die rolls by the other side and it could be game over. KBO as you say;)
ReplyDeleteThanks Steve...yes in this case the rebels after an initial show of force lost the initiative. It’s always easier with hindsight but the better morale and aggressive boost means they should have pushed the defenders away confidently. It may be the Jeb S forgot that he didn’t need to hold the objectives and if he got in quickly he could then pull back with the bacon ?
DeleteLovely looking game and nicely balanced!
ReplyDeleteBest Iain
Thanks Iain 👍
DeleteNice looking game Matt.
ReplyDeleteMany thanks David 👍 nice to get some ACW on the table
DeleteGreat looking game, Matt. I like to see the use of multi-fig bases in games like this - shows it works fine with casualty counters.
ReplyDeleteThanks Dean Rand P certainly works with multi figure bases no problems at all
DeleteGreat job! Nice ACW action and an interesting scenario. 😀
ReplyDeleteThanks Stew 👍
DeleteLooks like the green Union boys did better than expected Matt. A nice little scenario and as always, figures and table look exquisite !
ReplyDeleteGreat looking figures and terrain, game played out well good scenario choice.
ReplyDelete