The scenario we played was from one I adapted from a back issue of Wargames Illustrated back in 2012. This gave fairly simple orders of battle which I then converted to our chosen rule set Rebels and Patriots. This is certainly a large game for a rule set primarily focussed at skirmish games. But in many respects the lack of tactical options faced by both sides at Bunker/Breed’s hill fits the rule set quite well I will put some more thoughts at the end on whether this worked or not.
As a virtual game and given the table was effectively 8 x 5 feet I increased the technology using three different camera views enabling Jonathan to swop between them, his feedback indicates this worked pretty well, Jonathan has shared his ‘remote’ thoughts on the battle here http://palousewargamingjournal.blogspot.com/2021/03/battle-of-bunker-hill.html#comment-form
As every good scenario we had a number of special rules to try and reflect some of the historical elements in the battle. All possibly bar one of these worked really well and made an active impact on the game. I covered the general setup position in the video in the last post.
So on to the action.
One of the many maps available on the web showing the essential details of the battle which are well documented
Having read a number of scenarios I managed to get the majority of the features onto the battlefield, we played with a fairly historical set up with units deployed as above
The American militia have been busy through the night constructing a formidable redoubt on the top of Breed’s Hill it is now manned by Dr Joseph Warren and a mix of Massachusetts Militias
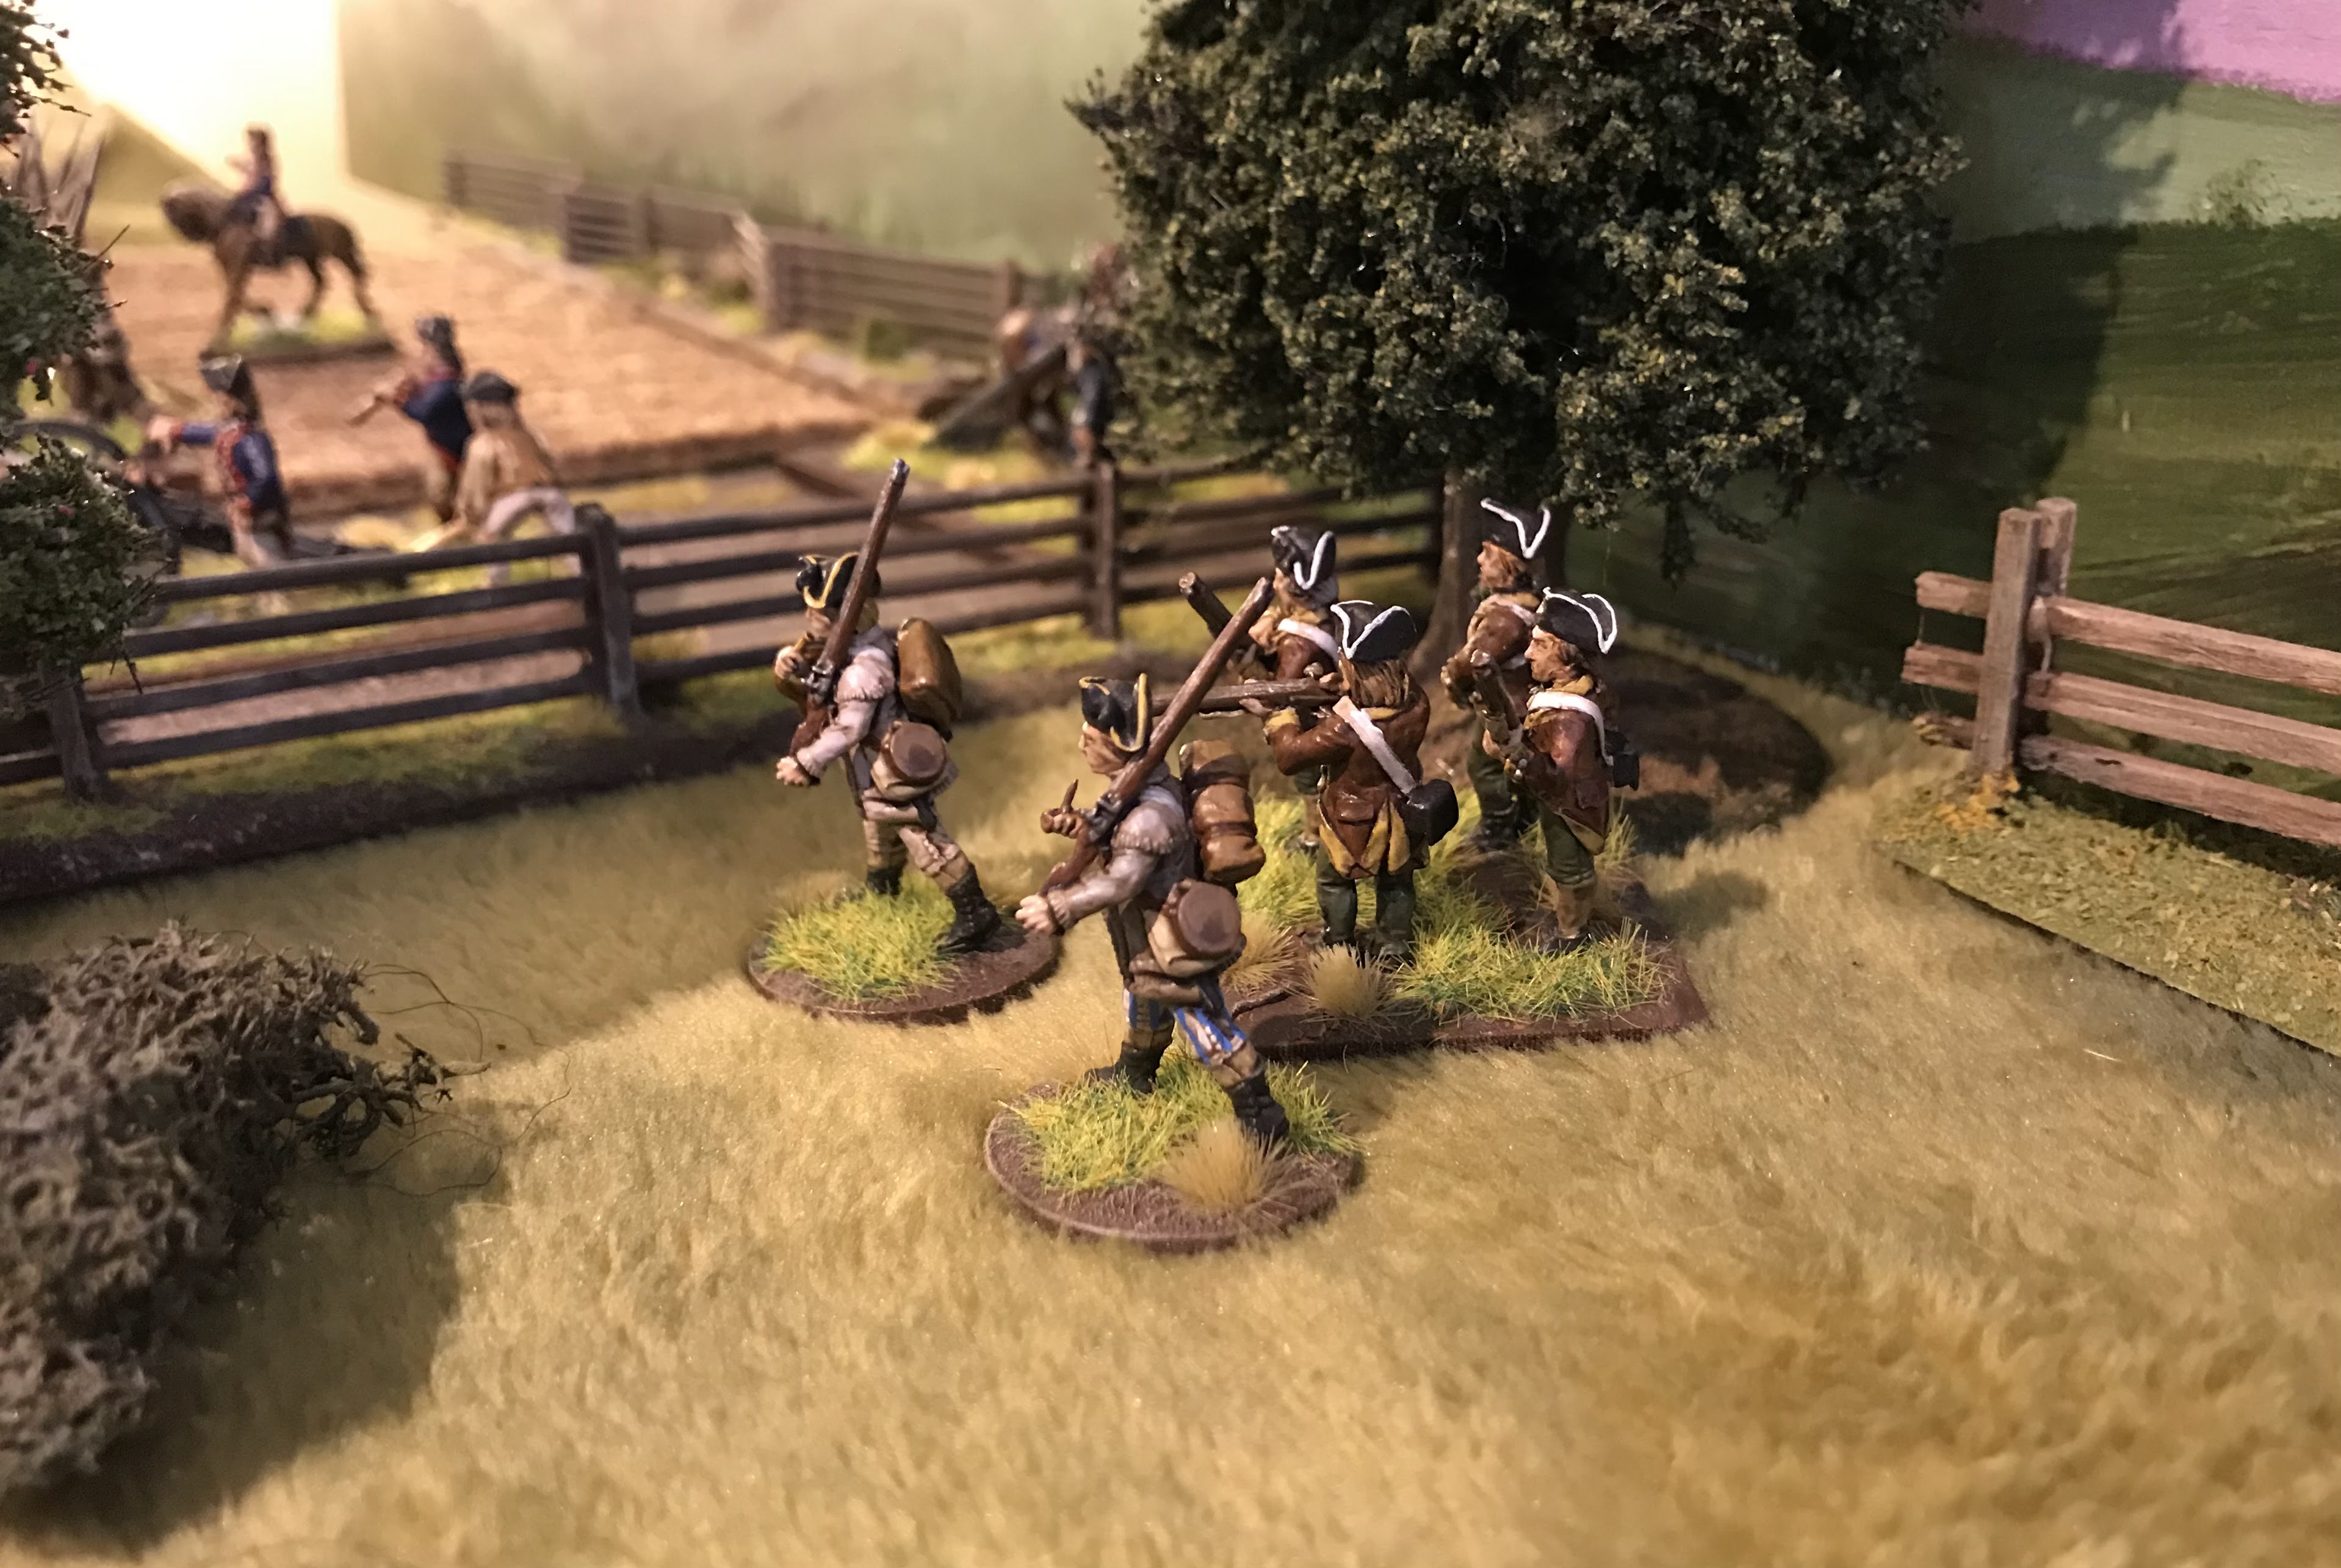
Colonel Putnam is closer to the Mystic River where Reed and Stark’s militia have strengthened the rail fences with stones
General Howe in the centre of the British line orders the British line forward, after all it seems unlikely the rebels will stand against British grenadiers, surely they will turn and run
British artillery on Morton’s hill the guns are hampered by a short supply of the correct ammunition
Closer to Charlestown the the 47th Regiment of Foot and the 1st Marine Battalion must wait to arrive as the first wave of British reinforcements
Local rebels in the town of Charlestown prepare to take pot shots at the British as they advance towards the redoubt
Colonel Prescott’s men prepare to receive the advancing British.
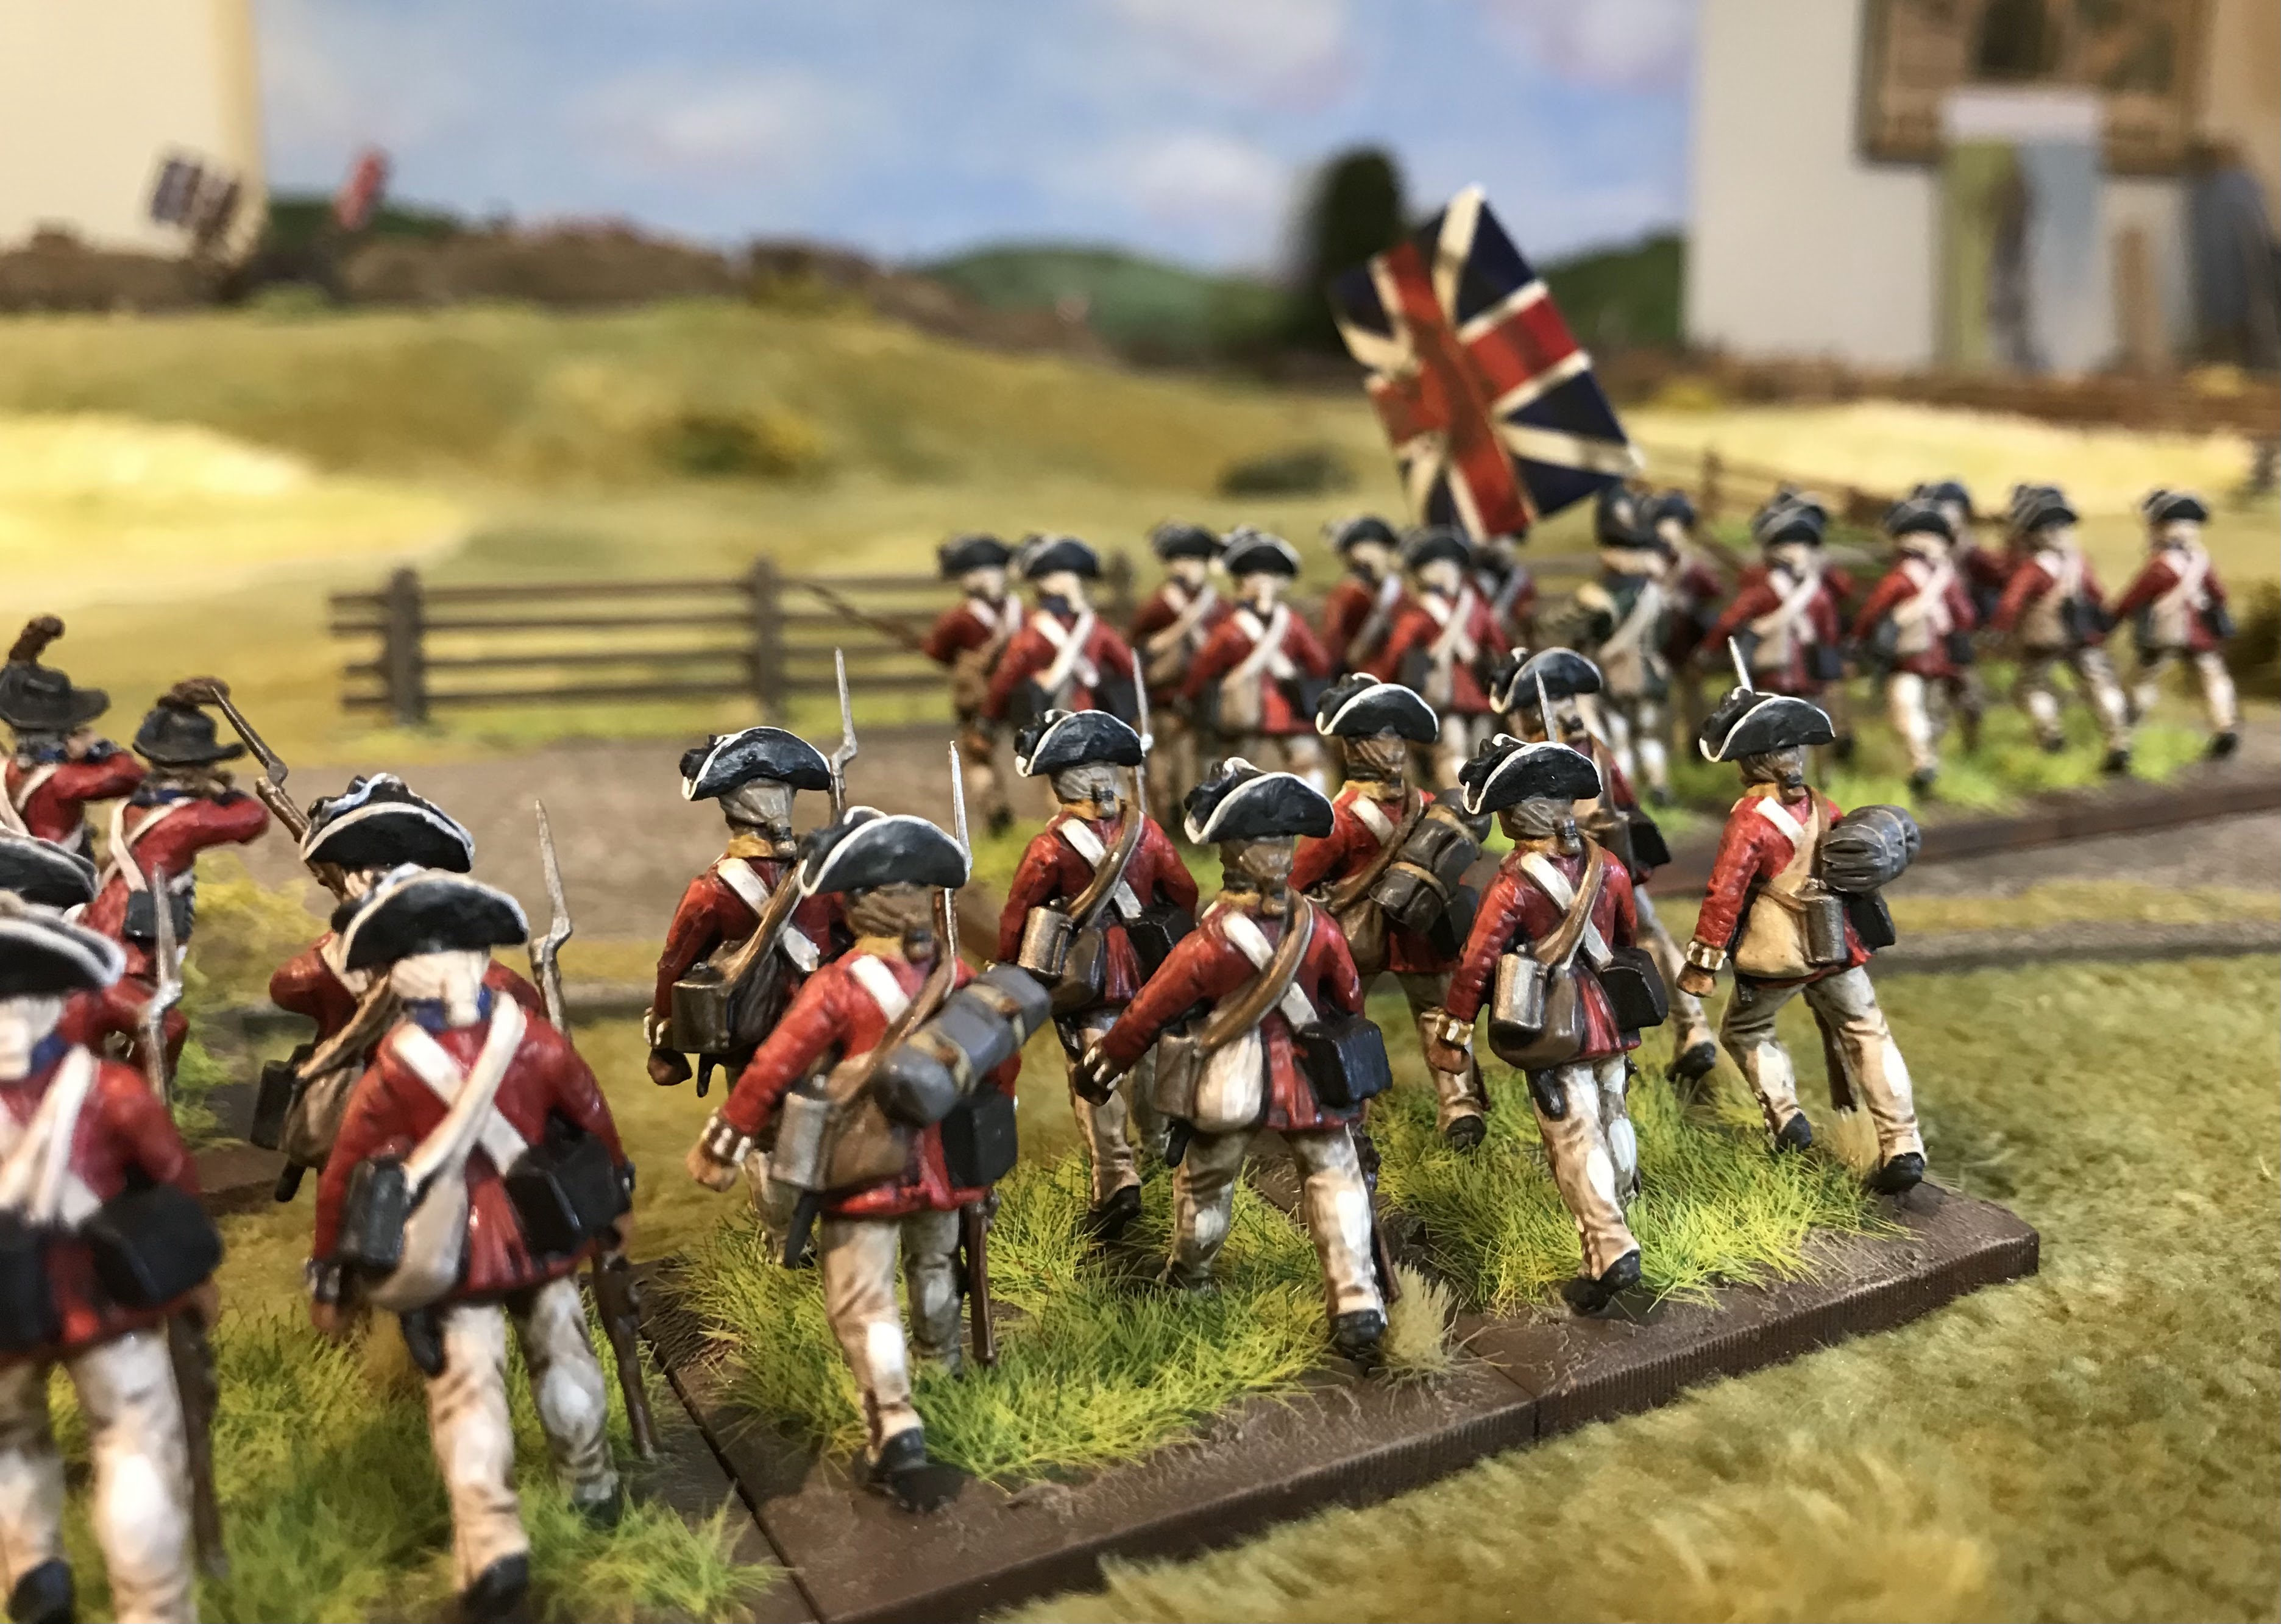
To the sound of drums the 38th and 43rd Regiments of Foot march forward, confident
On the British right flank light infantry is sent to assault along the mystic river
Supported by the 5th and 52nd Regiments of Foot
The British redcoats advance, but still no shot from the defenders, perhaps they are shaking too much to load the British soldiers laugh to themselves
and to boost their confidence the British guns open up as well
Waiting till they can see ‘the whites of their eyes’ the Rebels hold their fire as long as possible, they are also aware they have limited cartridges.
As the smoke clears the British line staggers !
They form line and start to fire back but uphill into the breastworks the shots have little impact, the British on the other hand are in the open and Pigott’s Flank Battalion is already shaken and forced to pull back
The British are bogged down and many haven’t reached the base of the main hill
Not surprisingly the grenadiers are made of sterner stuff and charge up the slope, only to find the rebels rather than fleeing have waited for their advance to release a withering volley into their faces.
In the distance the grenadiers are at the redoubt but other regiments are pinned at the base
Finally general Clinton is able to lead the first British reinforcements forward in support
On the right the light infantry are now engaged with Stark’s Militia, they are supported by the 5th Foot, the 52nd having already fled to the rear.
But then the single American artillery piece scores another direct hit and the 5th are broken as well, suddenly the British right flank is struggling to make headway
Back at the redoubt a fierce fight at close quarters
The grenadiers have cleared the breastworks of defenders
And charge in, but they are already weakened and dangerously isolated. Surely this hand to hand combat will force the rebels to flee, gen Howe waves on form the edge of the redoubt.
The British line just isn’t making any headway and on the left flank they are bogged down firing at the locals in Charlestown
Form bad to worse with General Howe up at the redoubt there are no officers on the right and the light infantry come under tremendous fire and are forced to pull back
This is the state of the British morale at this stage.
The grenadiers have been forced back out of the redoubt but they are not broken and they prepare to charge again
The final British reserves the 63rd Foot arrive at the battlefield horrified by the carnage which meets them
The main British attack is stalled at the base of the hill, they rally fire and then are staggered again and shaken
Perhaps the 63rd can make a difference
The grenadiers having been routed, General Howe has joined the nearest Regiment and leads them up to the redoubt for the assault, perhaps now they can break through
Running low now on ammunition the Americans realise that even without bayonets a musket makes a good club and with a cheer they jump the redoubt to assault the Redcoats
General Howe is forced to retreat again
Nothing if not brave the 63rd march forward to the assault, bayonets fixed, this time, this time they will break !
The Rebels are forced back into the redoubt
Hearing the the cheers from the redoubt more American skirmishers and infantry begin to arrive, they sense a famous victory
Even with limited ammunition the Americans find one more volley and the 63rd are also staggered back
Sensing the time is right Joseph Warren orders some of the men from the redoubt to try and flank the British
General Howe dismayed by the belligerent defence of the Americans pulls back from the attack and rides back to the boats, the redcoats have been incredibly brave, following orders to the letter, pushing in attack after attack but the order to carry out a frontal assault was clearly flawed
In the final seconds of the battle the 63rd continue to fight but soon pull back as well.
A cheer goes up along the breastworks all the way down to the Mystic river the British are beaten, the shout goes out
INDEPENDENCE INDEPENDENCE !
Some hours later when the British have withdrawn and allowed to collect their wounded Colonel Prescott the hero of the day and the defender of the redoubt leads a victory march into Charlestown, a strong message has been sent to the king and a significant step made towards independence.
So an excellent battle very hard fought with no quarter on either side some thoughts.
Rebels and Patriots worked well at this scale, I think the battle took about 3 1/2 hours to play through. It is hard not to think the battle wasn’t slightly one sided and could this be the fault of the rules. Units formed up are slow, well they would have been, defending is much easier, it was, the extra rules we employed to represent reduced ammunition worked brilliantly after 6 rounds the Americans gradually started to fail to shoot but they still managed to get 1 or 2 key volleys off. The British were stronger in combat but by the time they reached the redoubt they were already staggered and weakened. The local skirmishers were annoying but should have been ignored. Two things that chance controlled were the repeatedly poor British morale rolls, but I can square this with the idea of marching in line up hill into a hail of musket fire my morale would be shaken ! Secondly the American artillery which was rated ‘green’ I think might have only failed to fire once or possibly twice and on the British right flank with the advance a long way in the open it crippled the British right before it started. Of course we set up deliberately with as close to historical setup as possible and what we got was a tremendous historically accurate depiction of what the British faced. Back in 1775, the only difference being back then the third final assault managed to break through.
Hope you enjoyed the battle it was great fun to plan, set up and play.....real wargaming fun 👍
Not sure what is next ?


Matt, a lovely table as always and your new redoubt pieces worked a treat. The limited ammo was a nice touch. An excellent read and of course a ton of work for you to bring all of this together into the post .... thanks.
ReplyDeleteThanks Norm, one might say the redoubt a little too effective 😀 We tried to reflect as many of the historical twists as we could and they really all worked. As I mentioned on Jonathan’s blog the only thing in hindsight I would consider was whether the morale of the Americans was too high. An interesting special rule which would have covered this was would see the Americans in the redoubt to drop all their morale as soon as the British got into the redoubt, giving that sense reported historically that once the British were in and the Americans were short of ammo they simply crumbled and streamed away from the front. Next time I will build this in. Of course i find it really hard to come back to a game as my head moves onto the next battle.....so many battles to play👍
DeleteFabulous looking game, Matt. Figures and terrain look superb; particularly like seeing the redoubt pieces.
ReplyDeleteThanks Dean I can only suggest if you want the Russian redoubt to be assailable you make it a bit lower than this one 😀
Deletethat looked fantastic, glad the rules worked well on that scale
ReplyDeleteThanks Martin yep R&P worked fine at a larger scale, although I do plan to adapt the bolt action rules for AWI as well 👍
DeleteMatt, this battle a spectacle, indeed! As I have said many times before, you set a marvelous table and present a great game. Gridley failed to fire a few times but then he only needed two shots to encourage each enemy regiment to head back to the boat.
ReplyDeleteThanks Jon. The challenge with historical games is getting the balance quite right giving some flexibility but holding as close as possible to events. Of course it isn’t a re-enactment so we should expect exactly the same result. Actually I think we got it very very close and with a little more luck on the British morale rolls it could have been very different. From the British side it felt a desperate struggle to get upto the redoubt in the face of stiff resistance. Although I rarely get round to playing battles twice I will come back to this in the future......sometime ?
DeleteAnother lovely looking game and as expected, a tough ask for the British to break through such a strong position. I don't think it was the fault of the rules, more of a reflection that in reality it was a tough task and one the British only just achieved. Bad die rolls may have impacted the game, but from reading the AAR I don't think they did too much. A scenario that I think would be worth re-playing, but allowing both players to choose their own deployments.
ReplyDeleteThanks Steve, yes in hindsight I certainly can’t criticise the rules they were fine and in fact each time I think they could have been different I think the element which I am worrying about is actually reflective of some elements of truth reflected in the game. I think we might have over done the morale for the Americans. But I genuinely think the game could with a couple of better rolls could have gone the other way. I would love to replay but my mind always moves on to the next game.....🤔
DeleteThe result could easily have been different. Attacking across open ground is still very hazardous in R&P.
DeleteAs expected a grand looking game and a fine AAR report with great photos carrying you right down into the action. Just a shame about the final result.
ReplyDeleteThanks David glad you enjoyed it, the result was hard but my poor morale rolls definitely had an influence 😀
DeleteReally interesting
ReplyDeleteWe have used Rebels and Patriots for small battle actions in the Carribean during the 7YW and they worked well. I always think of this family of rules as unit based rather than 'proper' skirmish and as such reasonably scalable
I think of R&P as unit based too. The mix of troop types would not likely be seen in a company-level action.
DeleteThanks David, where the rules do work well for me is games with skirmishers as we’ll as formed units. Rather than games with individual figures 🤔 which you might class as a pure skirmish game
DeleteGreat looking game!
ReplyDeleteA fine looking set to there, a very entertaining game for both players and readers. The rules certainly stood the test of a larger game too.
ReplyDeleteThanks Phil, the rules worked well at this scale, it was certainly entertaining if a little hard !
DeleteGreat game report! The set up and the pics are a real treat. I love a good Bunker Hill scenario and this did not disappoint. 😀
ReplyDeleteYou’re AWI forces have really come along quite nicely and quickly to get this on the table. I feel bad fir Jon with the poor morale rolls but such is gaming. 😀
Thanks Stew, glad you enjoyed it 😀. Just for the record I played the plucky redcoats whilst Jon hid behind those earthworks so don’t feel sorry for Him !
DeleteYes. No need to feel badly for me!
DeleteOh, whoops. I should of known that since it’s been that way the ENTIRE campaign. I’ll give myself 10 lashes or have the wife chew me out later for my mistake. 😀
DeletePerhaps a bit harsh 🤔
DeleteA great game Matt - I see you took all my tactical advice on board....!
ReplyDeleteI have also run a Bunker Hill game about 15 years ago with most of the current "group" but we did manage to get a British win - it was still hard work though (rules were a house set that we no longer use) We also did Guildford Courthouse and again had an almost historical result - the British got to the courthouse but lost lots of men getting there!
Thanks Keith, with a historical set up I felt I didn’t really have any option other than to go with Howe’s orders of the day, do up we marched. I think it still gave a good game, which for my poor morale rolls could have been quite close. In a rash moment I thought we might continue to play through the AWI in some form of historical order , so we might get to Guildford one day 👍
DeleteYour AWI plan sounds like fun Matt...look forward to reading the AAR's!
DeleteGreat report Matt, thses pictures are splendid! An epic battle (limited ammunition? Ouch, must have been hard!) with beautiful terrain and armies!
ReplyDeleteMerci Phil 🙂 much harder for the British and we were hoping the American ammunition would run out a bit quicker really ! I was hoping to do another film but that will have to wait 😉
DeleteLovely looking game, if unfortunate result!
ReplyDeleteBest Iain
Thanks Iain 👍 I kept hoping history would repeat itself but it didn’t happen 😢
Delete